
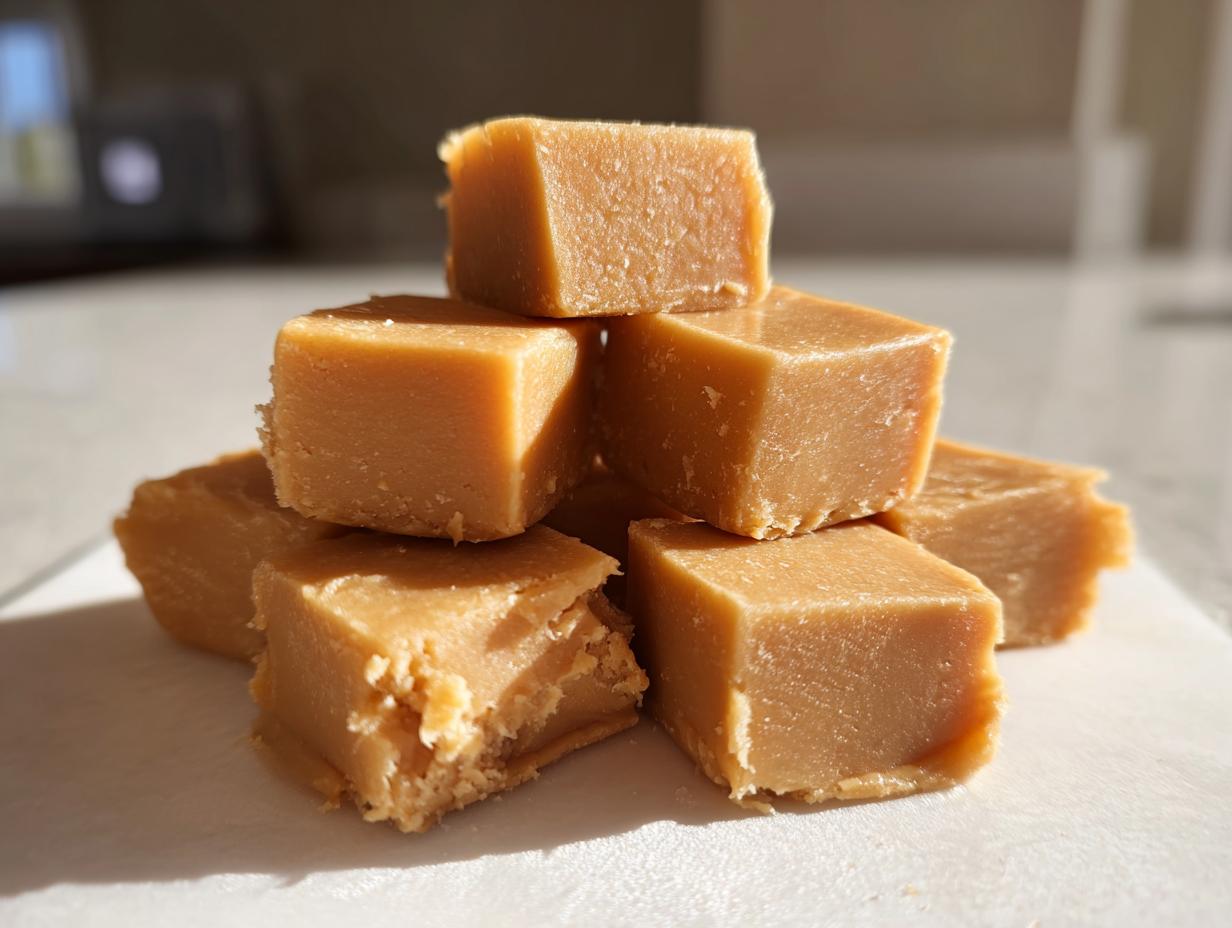
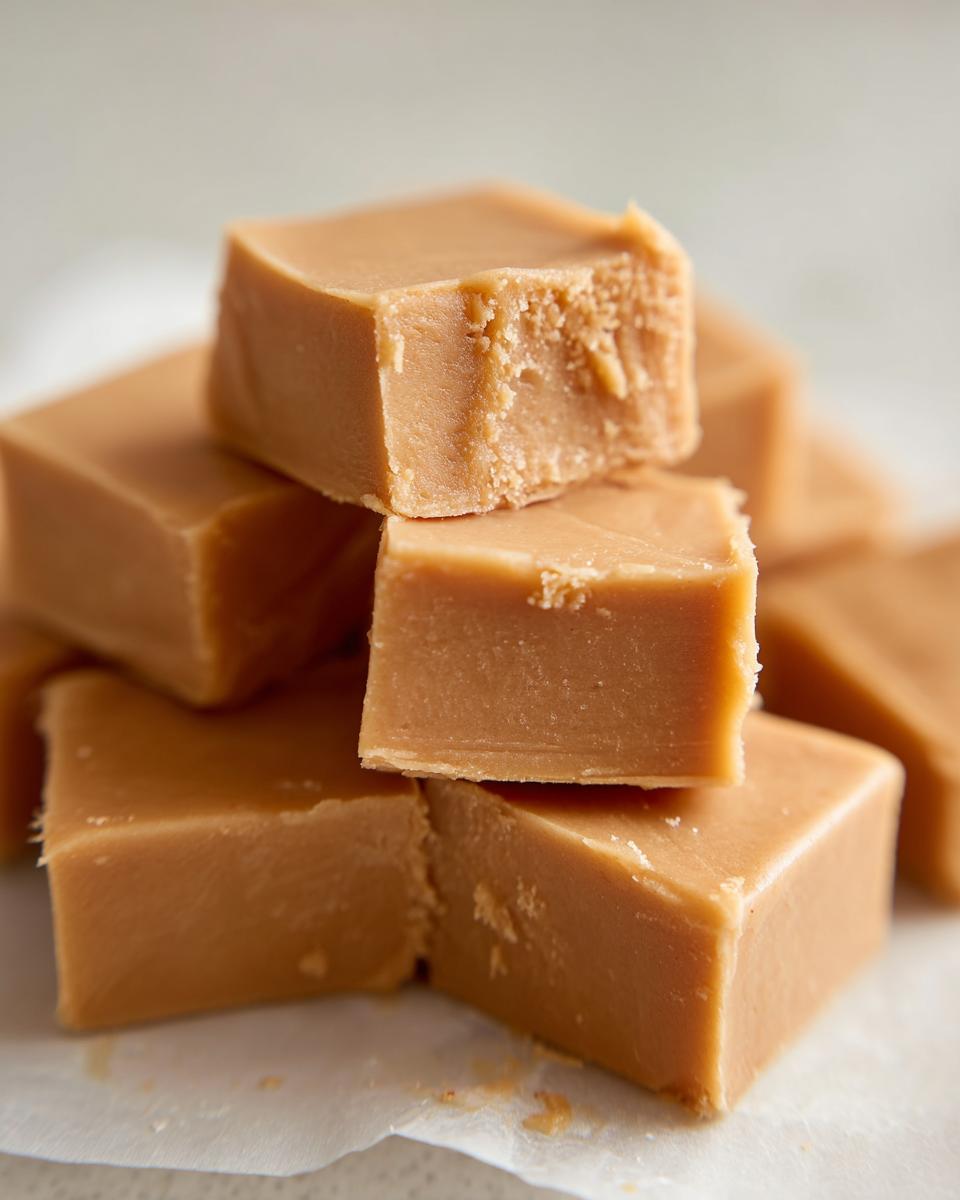
When that intense craving hits—you know the one, where only something incredibly rich and peanut-buttery will do—you don’t have time for fussy recipes that require candy thermometers or hours of stirring. Trust me, I get it! Life is busy, but that doesn’t mean we have to skip out on comfort. That’s why I perfected this Simple 3-Ingredient No-Bake Creamy Peanut Butter Fudge. It delivers that luxurious, melt-in-your-mouth texture we all dream about in a peanut butter fudge, using only three pantry staples. Even with my background and schedule, I need quick fixes that bring back that warm, comforting feeling I remember from my grandmother’s kitchen. This recipe is pure magic, truly.
- Why This Creamy Peanut Butter Fudge Is Your New Go-To Recipe
- Ingredients for Simple 3 Ingredient Peanut Butter Fudge
- How to Prepare Your Easy No Bake Fudge
- Ingredient Notes and Substitutions for Peanut Butter Fudge
- Making Rich Peanut Butter Treats for Gifting
- Storage and Reheating Instructions for Your Peanut Butter Fudge
- Frequently Asked Questions About Classic American Fudge
- Estimated Nutritional Data for Decadent Peanut Butter Squares
- Share Your Smooth Peanut Butter Dessert Creations
Why This Creamy Peanut Butter Fudge Is Your New Go-To Recipe
If you are looking for speed along with flavor, this is the absolute winner. We’re not messing around with complicated stovetop methods here! This is the definition of easy no bake fudge that actually tastes decadent. It’s practically foolproof for beginners.
- It comes together in under ten minutes of hands-on time—seriously!
- It uses only three core ingredients, which keeps things affordable and simple.
- The result is a beautifully smooth peanut butter dessert that rivals anything you buy in a box.
The Secret to Melt in Your Mouth Fudge
The magic, friend, is in how we treat the condensed milk and peanut butter. We just give them a tiny nudge in the microwave—only 60 seconds! This small heating step ensures they emulsify perfectly. When the powdered sugar mixes in after that, you aren’t fighting lumps or dryness. That quick melt prevents the sugar crystals from forming that gritty texture, guaranteeing you get that incredible, melt in your mouth fudge everyone raves about.
Ingredients for Simple 3 Ingredient Peanut Butter Fudge
I always keep these three things on hand because you never know when you’ll need a quick, rich peanut butter treat! Remember, the quality of the peanut butter really shows through here, so go with your favorite creamy brand. You need everything measured precisely for this to set up right, especially that powdered sugar.
- 1 cup creamy peanut butter
- 1 (14 ounce) can sweetened condensed milk
- 3 cups powdered sugar, sifted
That’s it! Just three things to grab before you start mixing up this amazing fudge.
How to Prepare Your Easy No Bake Fudge
This is where the magic happens, and honestly, it’s why I love this recipe so much—it’s so practical for those nights when you just need something sweet *now*. Grab your 8×8 pan first; I can’t stress enough how much easier it is to line it completely with parchment paper, leaving those nice little overhang flaps on the sides. That’s your built-in handle for lifting the whole slab out later!
Next up, the microwave is our best friend; we don’t need any tricky stovetop work or worry about pulling out a no thermometer fudge recipe. Put your full cup of creamy peanut butter and that whole can of sweetened condensed milk into a big, microwave-safe bowl. Zap that for exactly 60 seconds on high. When you pull it out, stir it until it looks like one unified, glossy puddle. If it seems slightly stubborn, give it another 15 seconds, but don’t let it cook long!
Now, here comes the muscle! You absolutely must sift your powdered sugar, or you’ll end up with little sweet hard lumps throughout your wonderful fudge. Add that sweet bounty gradually while stirring until a very thick dough forms. It gets stiff fast! Scoop all that beautiful, rich mixture into your prepared pan. Use a spatula—or just the back of a spoon sprayed lightly with non-stick spray—to press it firmly and evenly into the corners. It’s a smooth peanut butter dessert waiting to happen!
Then, the hardest part: waiting! Pop that pan into the fridge for at least two hours. While it chills, I sometimes head over to read a little about our kitchen philosophy, dreaming of that perfect bite. Once it’s solid, use those parchment flaps to lift it out and slice it into those decadent squares.
Pro Tips for Perfect Peanut Butter Fudge Texture
Okay, so you want that truly flawless consistency? It really boils down to a few tiny details. First, stick to creamy, not natural, peanut butter for this specific microwave method; the natural kind separates too much. Second, *always* sift the sugar—that’s non-negotiable for smooth fudge!
Thirdly, when you press the mixture into the pan, don’t overwork it! If you press too hard or fuss with it too much after the sugar is in, you can lose some of that delicate airiness. A firm, yet gentle, smoothing action is all you need. Follow those rules, and you’ll have the best peanut butter fudge recipe result every single time.
Ingredient Notes and Substitutions for Peanut Butter Fudge
Since this is truly a simple 3 ingredient fudge, those ingredients are doing a lot of heavy lifting, especially the sweetened condensed milk. You simply cannot skip that in this method. It provides all the necessary liquid and sugar structure needed to set up perfectly into a creamy peanut butter fudge without having to boil anything on the stove.
When it comes to peanut butter, processed creamy is definitely the way to go for stability. If you try using natural peanut butter, you’ll find the oils separate out, and you might have to add extra powdered sugar, turning this into a much more involved process. We want this to be your shortcut to a rich peanut butter treat, not a project!
This simplicity is why this recipe works so well for those looking for beginner fudge recipes. It’s all about using the right base components!
Making Rich Peanut Butter Treats for Gifting
Because this peanut butter fudge sets up so quickly and easily, it’s honestly my favorite thing to whip up for last-minute gifts! It looks so unbelievably professional for how little effort you put into it. If you are looking for quick holiday fudge ideas, stop right here. This is your answer.
To get those gorgeous, sharp edges when you slice these homemade peanut butter candy squares, make sure your fudge is fully chilled—we mean rock solid! Use a long, sharp knife, and wipe the blade clean between every single cut. Seriously, wiping the knife makes the world of difference between a clean slice and a crumbly mess.
For presentation, I adore sprinkling just a tiny bit of flaky sea salt across the top right after I press it into the pan before chilling it. If you have a few extra minutes, a thin drizzle of melted semi-sweet chocolate looks stunning against the pale fudge. You can see great presentation ideas over at this fantastic resource. These sweet holiday candy ideas are perfect for gift tins!
Storage and Reheating Instructions for Your Peanut Butter Fudge
The best part about making this easy homemade candy is that cleanup is minimal, and storing it is even easier! Because this is a no-bake situation, your fudge needs to stay cool to maintain that fantastic, firm, yet tender texture. Pop those squares into a truly airtight container—like a Tupperware or a zip-top bag where you’ve pushed all the air out.
It keeps wonderfully in the refrigerator for up to two weeks. If you try to keep it on the counter, it might start feeling a little soft too quickly. I’ve also had great success freezing it! Wrap individual squares tightly in plastic wrap, then toss them into a freezer bag. They freeze beautifully for about two months, making them perfect for making ahead for your next party!
Frequently Asked Questions About Classic American Fudge
I get so many questions about this recipe, which is a great sign that you guys are ready to make some truly decadent peanut butter squares! Since this is such a popular candy, I wanted to clear up a few of the things I hear most often. Don’t worry if you’re new to fudge; this is one of the easiest ways to succeed!
Can I make this peanut butter fudge without powdered sugar?
Oh, I wish I could tell you yes, but for this specific, gorgeous, melt in your mouth fudge, powdered sugar is required. You see, this is a no thermometer fudge recipe because the powdered sugar works with the condensed milk to set everything up beautifully after chilling. If you skip it, you just end up with warm peanut butter sauce! If you absolutely must avoid it, you’d have to switch to a traditional cooked fudge recipe that uses granulated sugar boiled to a specific temperature, which is a whole different adventure. For this recipe though, sifted confectioners’ sugar is key!
Is this considered an old fashioned peanut butter fudge recipe?
That’s a fun question! The *flavor* profile is absolutely old fashioned peanut butter fudge—rich, sweet, and deeply peanut buttery. That nostalgic taste is what we were going for. However, the *method* is wonderfully modern! My grandmother definitely didn’t have a microwave powerful enough to do this in 60 seconds! So, you get the best of both worlds: that classic taste made instantly accessible for your busy schedule. It’s a wonderful, *classic American fudge* flavor in a fraction of the time.
If you have any more questions while diving into making your batch, please feel free to drop them in the comments section below! I love hearing how these treats turn out for you.
Estimated Nutritional Data for Decadent Peanut Butter Squares
We know you want to keep track of what you’re enjoying, especially when these decadent peanut butter squares are so easy to make! Keep in mind that this information is an estimate based on standard ingredient brands and assumes you cut the batch into 36 small servings.
Here’s a quick look at the numbers for one square:
- Serving Size: 1 square
- Calories: 155
- Sugar: 18g
- Sodium: 65mg
- Fat: 8g
- Saturated Fat: 3g
- Unsaturated Fat: 5g
- Trans Fat: 0g
- Carbohydrates: 20g
- Fiber: 1g
- Protein: 4g
- Cholesterol: 10mg
Since we rely on simple ingredients like peanut butter and sugar here, the numbers are pretty straightforward. Use this guide as a helpful reference for your homemade candy plans!
Share Your Smooth Peanut Butter Dessert Creations
I truly hope this simple recipe has helped you whip up some incredibly rich peanut butter fudge! I built MayaPlate because I believe everyone deserves delicious, easy food, and making something this fun shouldn’t be stressful. If you made a batch of this smooth peanut butter dessert, please come back and leave a five-star rating!
I love seeing your results and reading your tips, so don’t be shy about chatting in the comments below. And if you need to reach out directly with a burning question about your next quick recipe, you can always connect with me over at the contact page. Happy fudging!
PrintSimple 3-Ingredient No-Bake Creamy Peanut Butter Fudge
Make this incredibly easy, no-bake peanut butter fudge using just three ingredients. This recipe delivers a rich, smooth, melt-in-your-mouth texture perfect for quick homemade candy or holiday gifting.
- Prep Time: 10 min
- Cook Time: 0 min
- Total Time: 2 hr 10 min
- Yield: 36 small squares 1x
- Category: Dessert
- Method: No-Bake
- Cuisine: American
- Diet: Vegetarian
Ingredients
- 1 cup creamy peanut butter
- 1 (14 ounce) can sweetened condensed milk
- 3 cups powdered sugar, sifted
Instructions
- Line an 8×8 inch baking pan with parchment paper, leaving an overhang on the sides for easy removal. Lightly grease the paper.
- In a large microwave-safe bowl, combine the peanut butter and sweetened condensed milk. Microwave on high for 60 seconds.
- Stir the peanut butter and milk mixture until completely smooth.
- Gradually add the sifted powdered sugar to the peanut butter mixture, stirring until fully incorporated and a thick dough forms.
- Press the fudge mixture evenly into the prepared pan. Use a spatula or the back of a spoon to smooth the top surface.
- Refrigerate the fudge for at least 2 hours, or until firm.
- Use the parchment paper overhang to lift the fudge from the pan. Cut into small squares before serving.
Notes
- For the smoothest texture, use creamy peanut butter and sift your powdered sugar before adding it to prevent lumps.
- If you want a slightly richer flavor, use a small amount of natural peanut butter, but be aware it may require slightly more mixing time.
- To achieve a glossy finish, press the fudge firmly and evenly into the pan without overworking the mixture once the sugar is added.
Nutrition
- Serving Size: 1 square
- Calories: 155
- Sugar: 18g
- Sodium: 65mg
- Fat: 8g
- Saturated Fat: 3g
- Unsaturated Fat: 5g
- Trans Fat: 0g
- Carbohydrates: 20g
- Fiber: 1g
- Protein: 4g
- Cholesterol: 10mg