
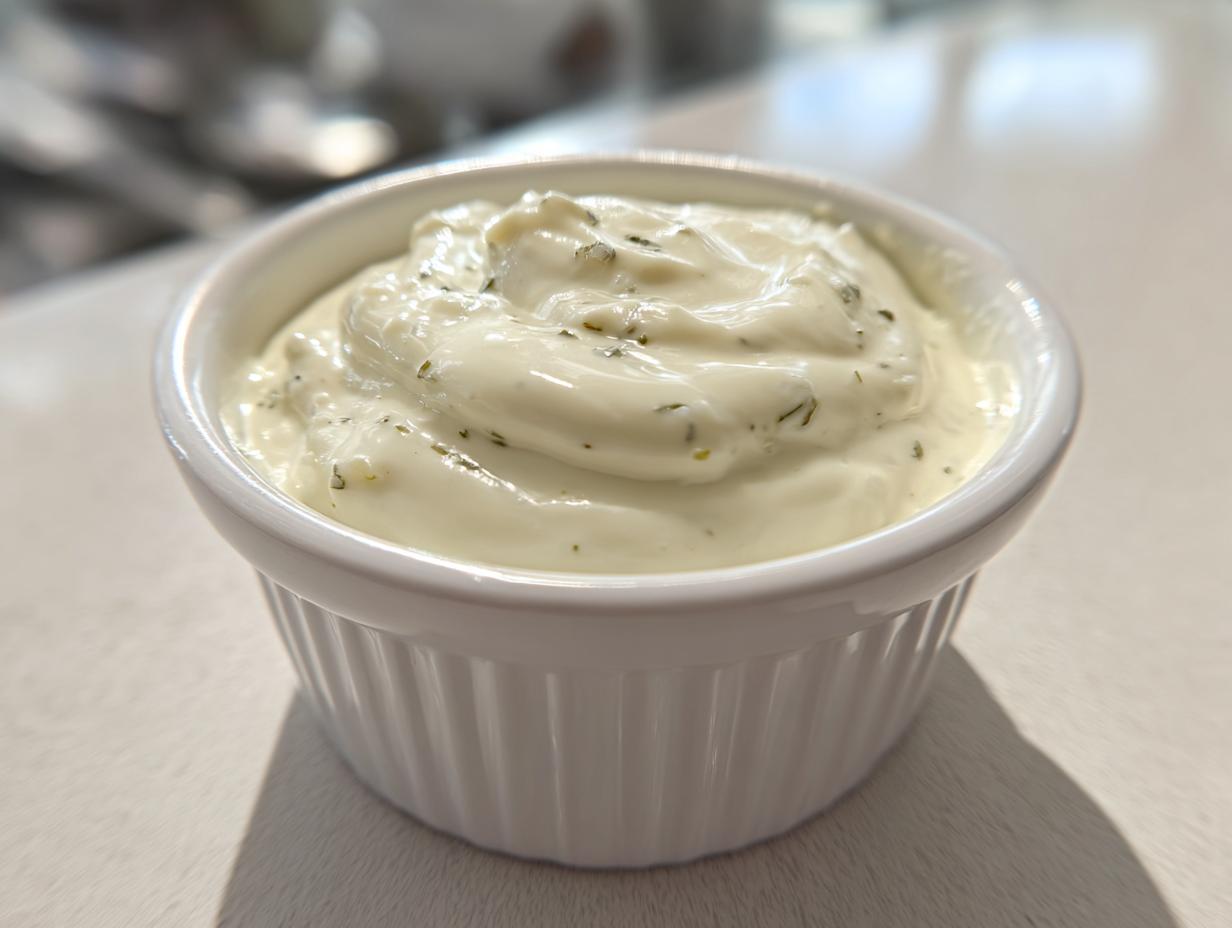
Oh, you know that feeling when you’ve made the most incredible batch of crispy fries or assembled the perfect burger, but the meal just feels… incomplete? That’s the condiment crisis so many of us face! We crave that restaurant-quality flavor, but who has time to whisk eggs for 30 minutes when dinner is waiting? That struggle led me to develop this **Easy 5-Minute Creamy Garlic Aioli Sauce** right here at MayaPlate. My goal, ever since my grandmother’s kitchen taught me food should feel like a hug, is to bring that joy back to your table easily. This simple **garlic aioli** proves that practical, flavorful food is absolutely possible, even on your busiest nights. You can read more about the mission behind MayaPlate right here!
- Why This Easy 5-Minute Creamy Garlic Aioli Recipe Works for You
- Gathering Ingredients for Your Homemade Aioli Recipe
- Step-by-Step Instructions for the Easy Aioli Tutorial
- Flavorful Aioli Variations: Beyond the Basic Garlic Aioli
- Serving Suggestions: Pairing Your Garlic Aioli for Fries and Sandwiches
- Storage and Reheating Instructions for Condiment Recipes
- Tips for Success When Making From Scratch Aioli
- Frequently Asked Questions About Making Garlic Aioli
- Share Your Homemade Aioli Recipe Experience
Why This Easy 5-Minute Creamy Garlic Aioli Recipe Works for You
I get it—your weeknights are hectic! That’s why this **homemade aioli recipe** is my go-to when I need a flavor bomb without the fuss. We skip the whole process of emulsifying oil and egg yolks because we are busy, and frankly, good quality mayo does the heavy lifting beautifully here. It’s designed to respect your time while delivering an incredible condiment.
Speed and Simplicity: The Ultimate Quick Dipping Sauces Solution
Seriously, this takes five minutes, tops! You’re not turning on a stove or waiting for anything to cool down. Since it requires zero cooking, this truly is the easiest **easy aioli tutorial** you’ll ever follow. It’s perfect for when you decide last minute that your frozen sweet potato fries deserve a special upgrade.
Versatility of This Creamy Garlic Dip
This isn’t just a one-trick pony! This **creamy garlic dip** is the **best aioli sauce** for everything you put on your plate. I keep a jar in the fridge constantly. It’s amazing for:
- Dipping absolutely everything (especially those crispy fries!).
- Slathering on chicken sandwiches or turkey burgers.
- Tossing with roasted vegetables to make them taste gourmet.
Gathering Ingredients for Your Homemade Aioli Recipe
Okay, let’s talk ingredients! Since this **garlic aioli** comes together so fast, the quality of what you put in really matters. We’re keeping the ingredient list short, but you absolutely need fresh ingredients here to get that bright, punchy flavor we love.
For one cup of this amazing sauce, you’ll need one cup of good quality mayonnaise—don’t skimp here! Then grab three large cloves of fresh garlic that you must mince very, very finely. Don’t even think about your garlic press for this one; a sharp knife is your best friend.
We finish it off with fresh lemon juice, Dijon mustard, salt, pepper, and then, optionally, a little splash of olive oil if you want to lean into that richer texture.
Ingredient Notes and Substitutions for Perfect Garlic Aioli
When it comes to the mayo, please use a brand you actually like eating on its own. That flavor carries everything! For the garlic, I know grating it finely sounds like a pain, but trust me, it prevents huge, overwhelming chunks later.
Now, here’s a pro tip building on that authority: If you prefer less sharp heat and want that sultry, deep **roasted garlic flavor sauce** instead, you can grab one tablespoon of roasted garlic puree instead of the fresh minced cloves. It swaps beautifully if you have some on hand!
Step-by-Step Instructions for the Easy Aioli Tutorial
Okay, let’s mix this magic up! Since this **garlic aioli** is mayo-based, the order of operations is super straightforward, but we have a couple of little tricks to ensure you get maximum punch. You’re going to whisk everything together until it’s perfectly smooth. Don’t worry about making a huge mess; just grab a medium bowl and a whisk!
First, we’re going to prep our flavor builders. After mincing your garlic super fine, you mix it right away in the bowl with the lemon juice, Dijon, salt, and pepper. Then, wait just a second—this is key!
Once your flavors have greeted each other, in goes the mayonnaise. Whisk until it looks completely uniform. Then, if you’re adding that optional olive oil for extra richness, whisk that in slowly. The whole combining process takes maybe three minutes max. If you want to see a great video on making a similar sauce that really pops for dipping, check out the folks over at this tutorial!
The Flavor Infusion Trick: Maximizing Your Garlic Aioli
This is where we separate the good dips from the *great* dips! See that step where you let the minced garlic and lemon juice sit together for two minutes before adding the mayo? That little resting period is so important. The lemon juice and acid start to soften the sharp bite of the raw garlic just a touch. It’s basically giving the flavors a tiny head start to blend together so you don’t just taste raw garlic spikes later. It allows the lemon zest and the garlic oils to marry beautifully!
The Final Step: Resting for the Best Aioli Sauce
Once you’ve tasted your creation and adjusted the seasoning—and you absolutely must taste it!—cover that bowl. You need to pop it into the fridge for at least 15 minutes. This isn’t just chilling for presentation; this is where the flavor truly develops. Those individual spices and the garlic need time to meld into the rich mayonnaise base. If you serve it straight away, it tastes fine, but if you wait 15 minutes, you unlock the full potential of your **best aioli sauce**!
Flavorful Aioli Variations: Beyond the Basic Garlic Aioli
Now that you’ve mastered the quick base, we need to talk about taking this **garlic aioli** to the next level! We all love simple, fast sauces, but sometimes you want something that just screams gourmet, right? This mayonnaise base is incredibly forgiving and acts like a blank canvas for all sorts of **flavorful aioli variations**. Don’t be afraid to experiment immediately after you finish the resting time!
You can easily ramp up the brightness or add smoky notes. If you want to mimic those amazing dips you find at high-end spots, you need to focus on those additions. For example, adding fresh smoked paprika and a touch of finely grated Parmesan cheese elevates this dip instantly. I saw a fantastic recipe online that uses roasted garlic along with Parmesan, and I totally recommend trying that savory combo next time you’re making it for guests! Check out how they did it.
Creating a Lemon Garlic Aioli or Restaurant Style Aioli
Want a brighter taste? Just add another half teaspoon of fresh lemon juice—that creates a zesty **lemon garlic aioli** perfect for seafood. If you’re chasing that deep, slow-cooked profile, remember what I mentioned in the ingredients section: swap out the raw garlic for one tablespoon of roasted garlic puree. That instantly transforms it into a much richer, sweeter **restaurant style aioli** without adding any extra effort!
Serving Suggestions: Pairing Your Garlic Aioli for Fries and Sandwiches
This is honestly my favorite part: figuring out what to slather this brilliant **garlic aioli** onto! Since we kept this recipe bright and zesty with that Mediterranean-inspired zip from the lemon, it really punches up anything you dip into it alongside your weeknight meals.
Of course, it’s heaven on a plate for your crispy potato companions. Forget ketchup! This is the ultimate **aioli for fries**—whether they’re thin shoestring fries or chunky steak-cut ones. But don’t stop there. It’s fantastic melted over grilled halloumi cheese or drizzled right over a platter of roasted asparagus.
For lunch the next day, this makes an incredibly flavorful **sandwich spread sauce**. Try mixing a dollop into tuna salad or slathering it on both sides of a grilled chicken breast sandwich. If you’re looking for some more ways to use this **quick dipping sauce**, I found some amazing ideas over here that really highlight how versatile it is!
Storage and Reheating Instructions for Condiment Recipes
Since this wonderful **garlic aioli** is a no-cook sauce that relies on fresh ingredients, storage is everything! It keeps beautifully, which means you can whip up a batch just like these **condiment recipes** require and save it for later. Always store your extra aioli in a sealed, airtight container.
The great news is that it will stay fresh and delicious in the refrigerator for up to one whole week. That’s seven days of amazing dipping power! Because it’s primarily mayonnaise-based, I really don’t recommend trying to reheat it. It tends to break or get oily if you heat it up, which ruins that silky texture we worked so hard to achieve. Just pull it out about 10 minutes before serving so it loses that icy fridge chill, and you’re good to go!
Tips for Success When Making From Scratch Aioli
Even though we are using mayonnaise as our shortcut base here—which saves a ton of time churning egg yolks—we still need to treat this **garlic aioli** mixture with a little respect if we want that luxurious mouthfeel you get from a true emulsion. Think of it as faking a very impressive texture! My biggest piece of advice is all about that optional olive oil we whisked in at the end.
If you decide to add that extra richness, go slow, I mean *really* slow. You have to drizzle it in, drop by drop at first, while whisking like crazy. If you dump it in all at once, that oil won’t incorporate nicely into the mayo base, and you’ll end up with a greasy, separated mess. Nobody wants oily aioli!
Also, make sure your lemon juice isn’t ice cold. Room temperature ingredients always combine better. If you’re curious about diving into the real egg-yolk method for that authentic texture, you might want to check out some classic techniques, like the ones detailed over here. But for speed, patience with that oil drizzle is your secret weapon!
Frequently Asked Questions About Making Garlic Aioli
Can I make this garlic aioli recipe without mayonnaise?
Oh, that’s a great question! You definitely can make aioli without mayo, but you’re entering the *authentic* zone then, which is a totally different technique. Since this **garlic aioli** recipe is built for speed, we rely on that pre-made base. A traditional aioli is actually an emulsion made primarily from egg yolk and olive oil, like making a very thick mayonnaise from scratch. That process requires slow, steady whisking to prevent separation. This quick five-minute version is fantastic, but the real deal takes patience!
How long does this creamy garlic dip last in the fridge?
The good news is that since we used a good quality mayonnaise base, this **creamy garlic dip** holds up really well. I always tell folks to keep it stored in an airtight container in the back of the fridge. It stays vibrant and flavorful for about a week—seven days of dipping power! That’s plenty of time to use it up on burgers or even mix some into pasta salad if you have leftovers.
What is the best way to incorporate roasted garlic flavor sauce?
If you want to avoid using fresh, raw garlic and get that deep, smoky **roasted garlic flavor sauce** profile, swapping is super easy! The best way is to replace the three minced fresh cloves with about one tablespoon of ready-made roasted garlic puree. If you have whole heads of garlic, you can just slice the top off, drizzle it with olive oil, wrap it in foil, and bake at 400°F (200°C) for about 30 to 40 minutes until soft. Squeeze out the soft flesh and use that instead of the fresh stuff—it makes a world of difference!
Share Your Homemade Aioli Recipe Experience
Now that you have this super **easy aioli tutorial** tucked away, I can’t wait to hear what you think! Did you manage to whip it up in under five minutes? Did it become your new favorite **quick dipping sauces** in your rotation?
I really, really want to know how you used this **garlic aioli**. Did you stick to the classic—amazing on those homemade fries? Or did you get creative? Maybe you tried adding smoked paprika, or perhaps you made that rich **lemon garlic aioli** I mentioned for your next fish dinner?
Please take a second to leave a rating for the recipe right below—those stars help other busy cooks find simple, delicious solutions like this one! And if you experimented with any variations, drop your thoughts in the comments section. It helps me keep pushing out genuinely useful, practical recipes that fit your real life. If you need to send me a direct message or have a question, you can always reach out via my contact page!
PrintEasy 5-Minute Creamy Garlic Aioli Sauce

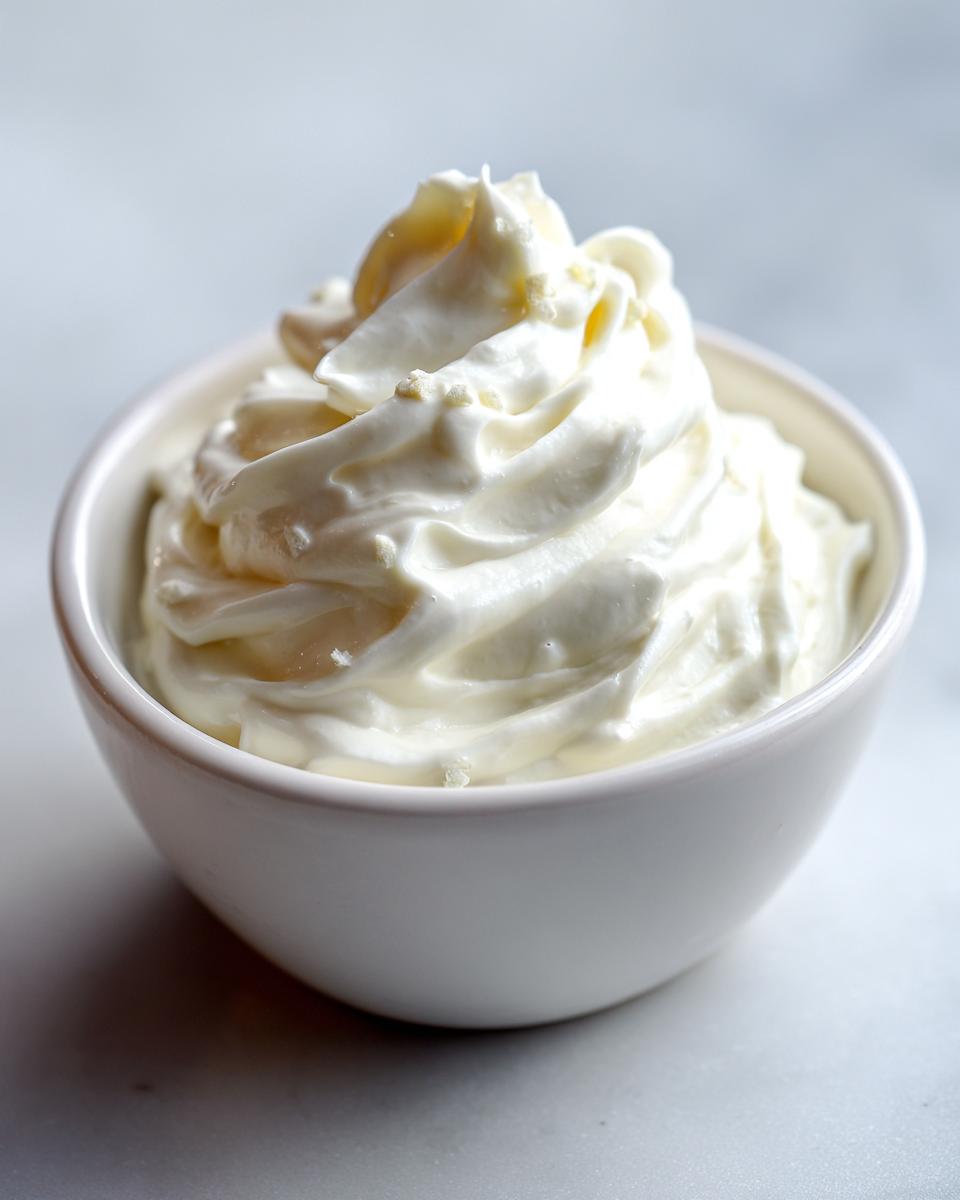
Make this creamy garlic aioli in five minutes using simple ingredients. This homemade aioli sauce is perfect for dipping fries, spreading on sandwiches, or serving with roasted vegetables.
- Prep Time: 5 min
- Cook Time: 0 min
- Total Time: 20 min
- Yield: About 1 cup 1x
- Category: Condiment
- Method: No Cook
- Cuisine: Mediterranean Inspired
- Diet: Vegetarian
Ingredients
- 1 cup good quality mayonnaise
- 3 large cloves fresh garlic, minced very finely
- 1 tablespoon fresh lemon juice
- 1 teaspoon Dijon mustard
- 1/4 teaspoon salt
- 1/8 teaspoon black pepper
- 1 tablespoon olive oil (optional, for richness)
Instructions
- Place the minced garlic, lemon juice, Dijon mustard, salt, and pepper into a small bowl. Let this mixture sit for two minutes to allow the garlic flavor to infuse the acid.
- Add the mayonnaise to the bowl.
- Whisk the ingredients together until the mixture is completely smooth and uniform.
- If using, slowly whisk in the olive oil until fully incorporated, which adds a richer texture.
- Taste the aioli and adjust salt or lemon juice as needed.
- Cover the bowl and refrigerate for at least 15 minutes before serving to let the flavors blend. This is the best aioli sauce for maximizing flavor.
Notes
- For a restaurant style aioli with deeper flavor, substitute the fresh garlic with 1 tablespoon of roasted garlic puree.
- This homemade aioli recipe keeps well in an airtight container in the refrigerator for up to one week.
- Use this as a quick dipping sauce for appetizers or as a flavorful sandwich spread.
Nutrition
- Serving Size: 2 tablespoons
- Calories: 190
- Sugar: 0.2g
- Sodium: 210mg
- Fat: 20g
- Saturated Fat: 3.5g
- Unsaturated Fat: 16.5g
- Trans Fat: 0g
- Carbohydrates: 0.5g
- Fiber: 0g
- Protein: 0.5g
- Cholesterol: 15mg