
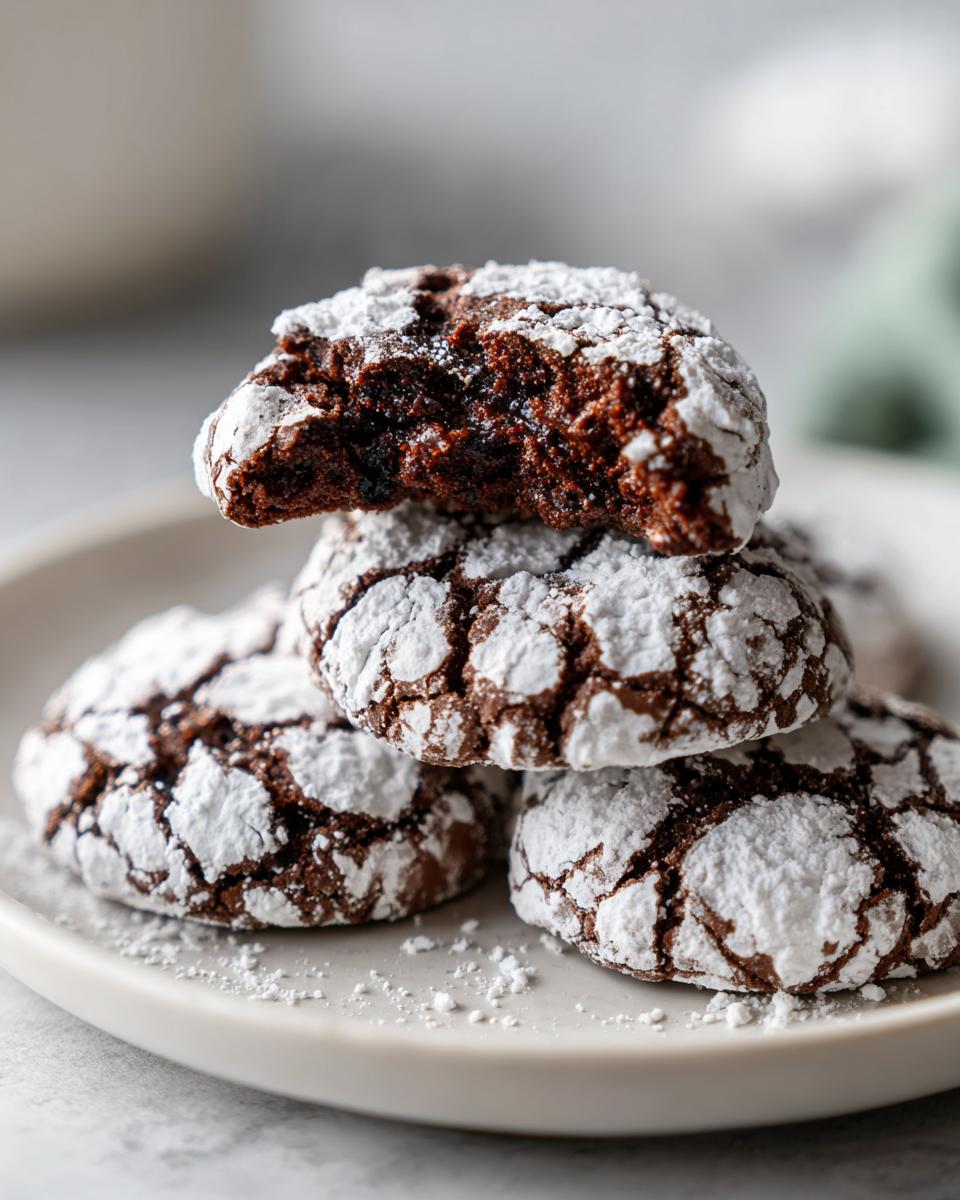
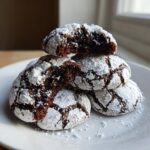
You know that feeling when you bite into something so intensely chocolatey it stops you in your tracks? That’s exactly the joy I want to bring you today! My kitchen philosophy is all about taking classic, comforting desserts and making them both incredibly delicious and practical for a busy schedule. When the serious chocolate cravings hit, or when I’m putting together my annual holiday baking spread, there is one cookie that always wins: the **crinkle cookies**.
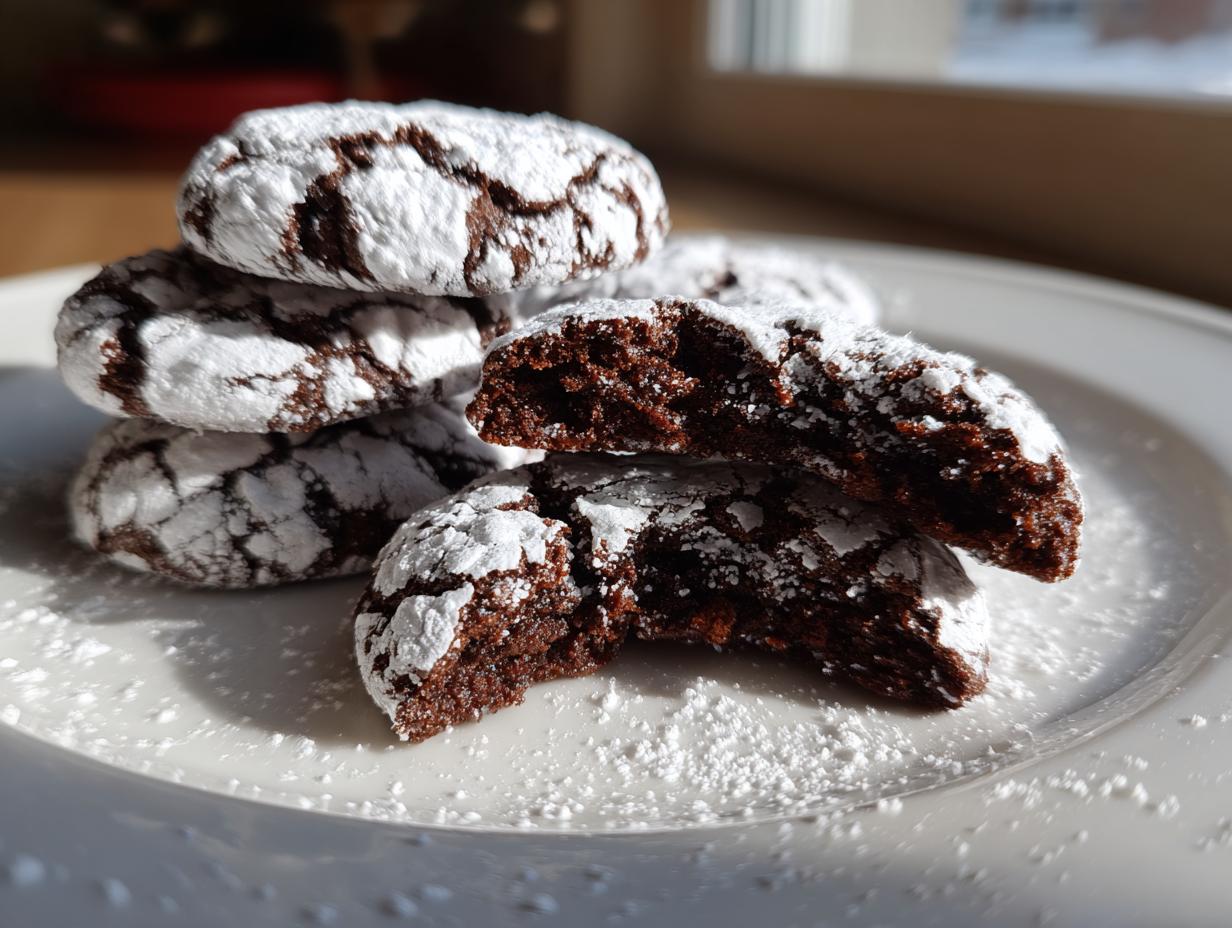
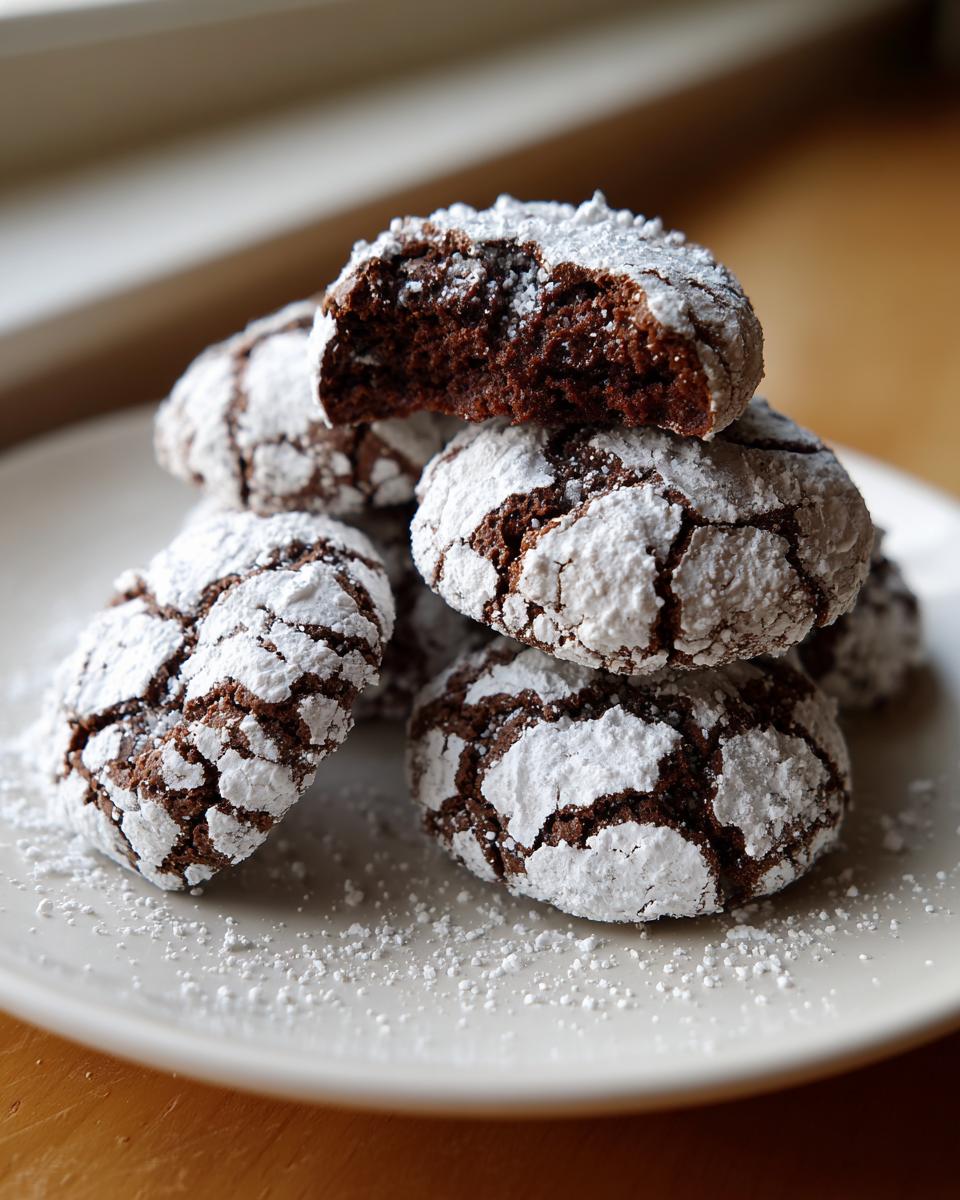
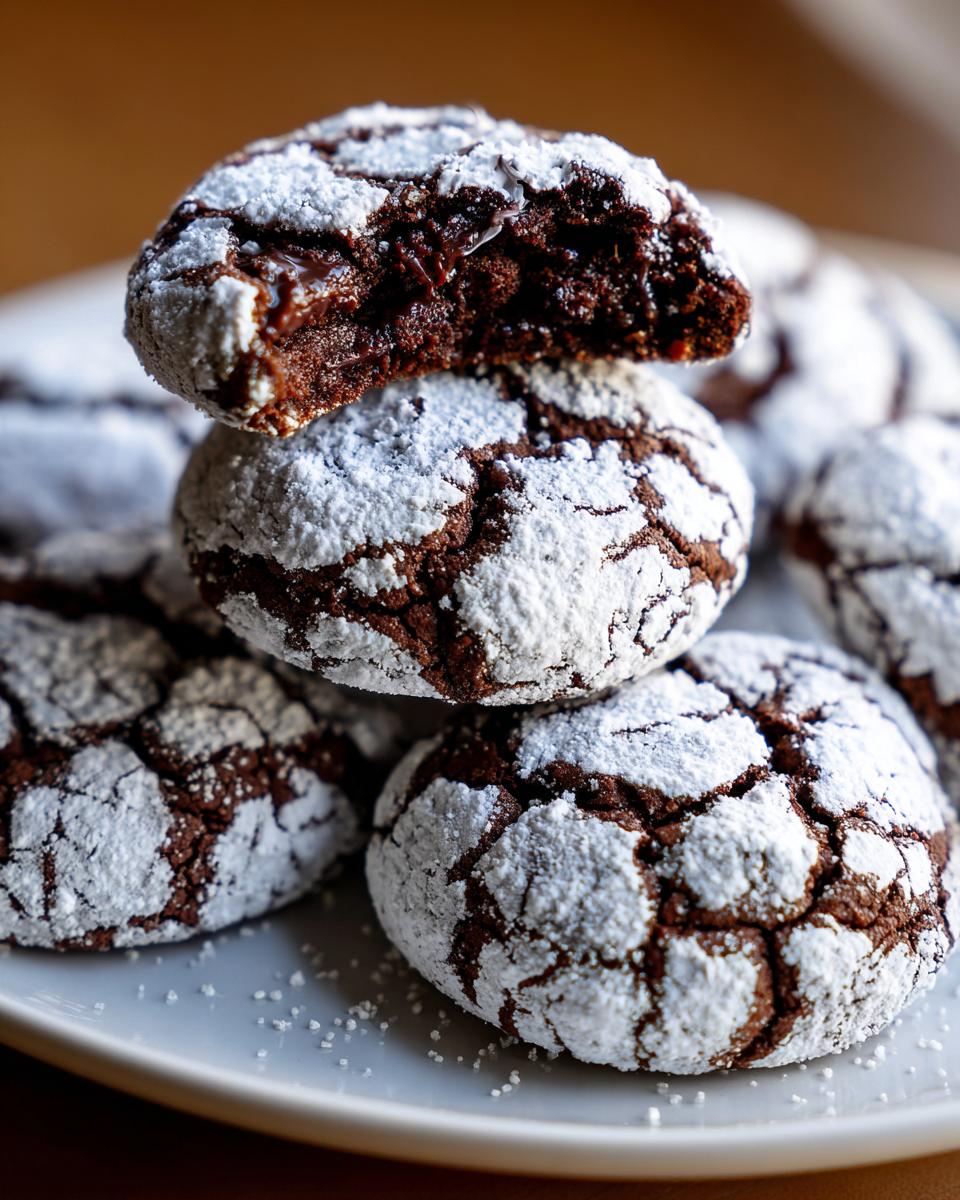
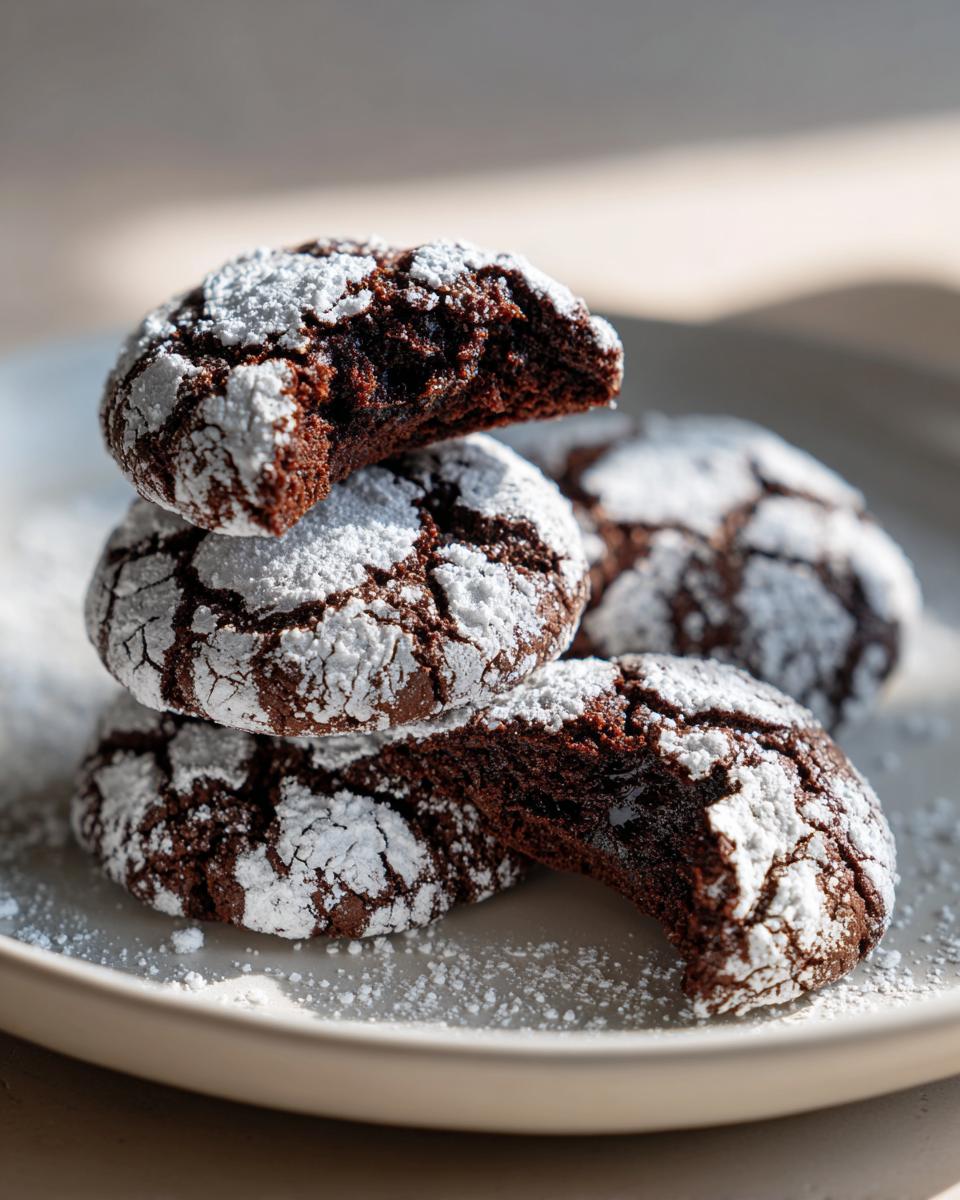
Forget dry, cakey versions. We are making the fudgiest, softest **crinkle cookies** you’ve ever had. Seriously, trust me when I say these taste almost exactly like rich, warm brownie bites surrounded by a beautiful, snowy sugar shell. They are my go-to when I need that deep, decadent chocolate fix, and they fit perfectly into my mission to bring that cozy feeling back to the everyday table!
- Why These Crinkle Cookies Are Your New Favorite Fudgy Cookie Recipe
- Gathering Ingredients for Classic Crinkle Cookie Perfection
- Step-by-Step Instructions for Easy Chocolate Dessert
- Tips for Making the Best Crinkle Cookie Recipe Every Time
- Storage and Reheating Instructions for Chewy Dessert Treat
- Serving Suggestions for Festive Winter Baking
- Variations on Crinkle Cookies
- Frequently Asked Questions About Crinkle Cookies
- Estimated Nutritional Information for These Crinkle Cookies
Why These Crinkle Cookies Are Your New Favorite Fudgy Cookie Recipe
There are cookies, and then there are *these* cookies. What sets this recipe apart is the texture—it’s that glorious trifecta everyone chases! We manage to get that dense, deep flavor that makes you think you’re eating a warm brownie, yet the interior stays wonderfully soft and chewy.
These aren’t just chocolate cookies; they achieve that perfect Brownie Cookies Texture. When you bite into one, they truly just melt in your mouth. People always ask me how I get them so perfectly rich without being messy.
Achieving the Perfect Crackled Top Cookies Finish
The magic of the look is purely physics, mixed with a little fun! Because the dough is so rich and slightly wet—which is what keeps the inside soft—when we roll those sticky balls in the thick layer of plain powdered sugar, the sugar can’t absorb the moisture fast enough.
As the cookie expands in the hot oven, that firm sugar coating cracks open, revealing the dark, fudgy interior underneath. That contrast is what gives you that stunning, snowy, crackled finish every time. It’s stunning!
Gathering Ingredients for Classic Crinkle Cookie Perfection
Okay, let’s get down to business! This list is wonderfully short and relies on pantry staples, which is why this is such an Easy Chocolate Dessert to whip up. For the best texture, make sure that butter is actually softened—not melted—and your eggs are at room temperature.
Here’s what you’ll need for about two dozen of these beauties:
- 1 cup unsalted butter, softened
- 1 3/4 cups granulated sugar
- 2 large eggs
- 1 teaspoon vanilla extract
- 1 cup all-purpose flour
- 3/4 cup unsweetened cocoa powder
- 1 1/2 teaspoons baking powder
- 1/4 teaspoon salt
- 1 cup powdered sugar, for rolling
Ingredient Notes and Substitutions for Crinkle Cookies
Because the chocolate flavor is so prominent here, quality really matters! Don’t skimp on the cocoa powder—use a good quality unsweetened cocoa. That rich dark powder is what gives us that deep, fudgy center, not a wishy-washy brown color.
Also, remember when I talked about creaming butter? That step needs the butter to be soft, and the eggs need to be at room temperature so they incorporate smoothly without deflating all the air we just created. It’s the little things that help us achieve those bakery-style cookies right at home!
Step-by-Step Instructions for Easy Chocolate Dessert
Alright, now that we have our gorgeous ingredients ready to go, let’s put this easy chocolate dessert together! Patience is key in the first few steps, and timing is critical later on. First things first: preheat your oven to 350 degrees F (175 degrees C) before you even start mixing. Trust me, you don’t want the dough sitting around waiting for the oven to catch up!
We start by creaming the butter and sugar until it’s genuinely light and fluffy—that’s where we trap our air. Then, beat in those eggs one at a time, followed by the vanilla. Next, mix your dry ingredients separately, and add them to the wet mixture slowly. Pay close attention here: mix on low speed only until *just* combined. If you overmix the flour, those gorgeous cookies will turn tough instead of chewy, and we definitely don’t want that!
When they come out, let them sit on that hot baking sheet for a good 5 minutes. This short rest allows the edges to set up perfectly so you can transfer them without them falling apart, which is essential for maintaining that gooey center cookies texture we are aiming for!
The Secret to Great Crinkle Cookies: Rolling Technique
This part is messy, but it’s the absolute secret weapon for getting that beautiful crackle everyone loves. Get your powdered sugar ready in a shallow dish. You need to scoop out the dough balls—I use about 1.5 tablespoons for the right size—and I mean *really* roll them. Don’t just give them a quick toss!
You need complete, dense coverage on every single square inch of the dough ball. If there are patches of bare chocolate dough peeking through when they go into the oven, those areas won’t crackle; they’ll just burn slightly. So, roll them around until they look like little white snowballs. You can press the sugar on gently if you need to, but make sure the coat is thick and even. It’s worth the extra sugar dust on your hands!
Tips for Making the Best Crinkle Cookie Recipe Every Time
Now, I know some recipes out there claim you can skip chilling and bake these right away to save time, but if you want that real Bakery Style Cookies at Home texture—that deeply fudgy, perfectly crackled look—you simply have to chill the dough. It is my number one tip!
While the recipe description says 30 minutes is enough chill time, honestly? Overnight does the trick. When I first tried this recipe, I was impatient and baked them immediately after rolling. They spread way too much, and the tops looked more like sad, cracked mud than gorgeous snowdrifts. It was a disaster! Once I let the dough chill for at least four hours, the results were totally different. That short time in the fridge firms up the fat, which prevents excessive spreading, locking in the fudgy center. You can find great inspiration over at Brownie Crinkle Cookies, but remember that chilling step!
Baking Time and Cooling for Soft Chocolate Cookies
When you pull these from the oven, your instinct might be to rush them to the rack, but hold your horses! You need to recognize when they are *just* done. Look for edges that look set and dry, but the very center should still look slightly soft, maybe even a little underdone. That soft center is your guarantee for that soft and chewy interior later.
The most crucial cooling period is the first five minutes right there on the hot baking sheet. As they sit, they are actually finishing their bake, and that’s when those beautiful powdered sugar cracks really snap into place. If you try to move them too soon, you risk squishing that beautiful crackled top!
Storage and Reheating Instructions for Chewy Dessert Treat
Making a huge batch of these fudgy cookies is almost mandatory, right? The good news is that these treats keep beautifully, which is perfect for festive winter baking because you can make them ahead! The key to keeping them soft and chewy is to keep the air OUT.
Store them in a truly airtight container at room temperature. They should stay wonderfully fresh—soft centers and all—for about four or five days. If they start to feel just a tiny bit less soft around day five, don’t panic! You can gently revive them.
To bring back that fresh-baked softness, just pop one or two cookies onto a microwave-safe plate and give them about 8 to 10 seconds on low power. You just want to warm them through slightly; too long and you’ll lose that wonderful chewiness. Also, don’t forget they freeze like a dream! Pop them into a freezer-safe bag—I like to wrap them tightly first—and they’ll be good for up to three months. You can thaw them right on the counter later! For more helpful tips on keeping cookies fresh, check out the advice over at Bake and Savor. I always make sure to review the privacy guidelines before saving any great ideas, like checking out the privacy policy!
Serving Suggestions for Festive Winter Baking
These decadent treats are truly showstoppers on their own, but pairing them right makes the experience even better. Since they are so rich, I always serve them with something simple to cut through that deep chocolate flavor!
Of course, a tall, cold glass of milk is non-negotiable. But if you’re looking to impress at a gathering, these are fantastic served alongside a high-quality, piping hot black coffee. The bitterness wakes up all those fudgy notes! They are also perfect for your Holiday Cookie Exchange Favorites lineup. For the prettiest look in your Christmas Cookie Box Fillers, I sometimes add a tiny dollop of tart raspberry jam on the side of the plate, or even on top after the sugar sets, if you want an extra burst of color!
You can find some great inspiration for festive pairings over at Let’s Fly Tasty!
Variations on Crinkle Cookies
While I absolutely adore the deep, rich intensity of a good chocolate crinkle cookie, sometimes you need a little palette cleanser, especially when you’re baking a huge batch for a cookie swap! Luckily, this basic structure for our crinkle cookies is super adaptable.
The biggest change you can make is simply switching out the rich cocoa powder for plain all-purpose flour, turning this into a vanilla or almond-flavored base. This allows the powdered sugar coat to really shine through visually!
If you decide to go the non-chocolate route, be sure you chill that dough even longer because the flour dough won’t be quite as sturdy! For a fantastic flavor profile, you could check out the Lemon Crinkle Cookies inspiration over at Herbs & Flour—they look stunning with that bright yellow contrasting the white sugar.
Another easy trick for festive batches is using colored powdered sugar for the rolling stage. You can mix a tiny bit of gel food coloring into the sugar before rolling. For Christmas, a light blue or even a soft pink sugar coating looks absolutely magical against the dark chocolate cookie peeking through. Just make sure you roll it thoroughly so the color adheres evenly!
Frequently Asked Questions About Crinkle Cookies
Baking should be fun, not frustrating! I get tons of questions about these gorgeous cookies, mainly because everyone wants that perfect balance of fudgy inside and crackly outside. Here are a few things I hear a lot:
Why aren’t my cookies cracking?
This is usually down to two things! First, did you roll the dough balls completely, totally, thoroughly in that powdered sugar? Don’t leave any chocolate bits showing, or that part won’t crackle! Second, did you chill the dough? The contrast between the cold dough and the hot oven is what forces those beautiful cracks. Skip the chill, and you often end up with just soft chocolate cookies, which is still good, but not the classic look!
Can I make these without chilling the dough?
You technically can, especially if you’re in a huge rush and need a Simple Cookie Recipe right now. I know everyone wants No Chill Crinkle Cookies sometimes! But I have to be honest: chilling gives you the best result—that deep fudgy texture and the best crackle. If you absolutely must skip chilling, keep the balls a little smaller, and watch them carefully so they don’t spread too thin.
How do I get a gooier center?
To make them the ultimate Gooey Center Cookies, you need to slightly underbake them. Pull them out exactly when the edges look set, but the very center still looks soft and slightly wet. They finish setting up during those 5 minutes on the hot pan. Also, using slightly less flour in the base recipe helps keep that interior soft!
Can I use cake flour instead of all-purpose?
You can experiment! Cake flour has less protein, which generally results in a more tender crumb. If you swapped, you might end up with an even softer, more melt-in-your-mouth texture, but you’ll definitely need to chill the dough really well, as the structure might be weaker. I stick to all-purpose for consistency, but feel free to let me know how it goes if you try it! If you need more help or have other baking questions, feel free to reach out via my Contact Page!
Estimated Nutritional Information for These Crinkle Cookies
I know that when we are baking for fun or for the holidays, we aren’t usually logging every macronutrient, but it’s good to have a general idea of what you’re enjoying! Since I base my recipes on real-world, wholesome ingredients, these cookies aren’t overly complicated, but they are definitely a decadent treat.
Here is the estimated nutritional breakdown for one cookie, based on the recipe yields and standard ingredient measures. Remember, this is just an estimate, and the actual numbers can change slightly depending on your exact ingredients—especially the brand of cocoa powder you choose! For full transparency on how we handle data on MayaPlate, you can always review our Terms of Use.
- Serving Size: 1 cookie
- Calories: 180
- Sugar: 18g
- Sodium: 85mg
- Fat: 10g
- Saturated Fat: 6g
- Unsaturated Fat: 4g
- Trans Fat: 0g
- Carbohydrates: 23g
- Fiber: 1g
- Protein: 2g
- Cholesterol: 30mg
See? Not too bad for a cookie that tastes like it came straight from a professional bakery! They are rich in flavor, which means one is usually plenty satisfying when that sweet craving hits.
PrintFudgy Chocolate Crinkle Cookies: Soft, Chewy, and Bakery-Style
Make rich, fudgy chocolate crinkle cookies that taste like brownies. These cookies have a soft, chewy interior and a signature crackled powdered sugar top. They are simple to prepare for holiday baking or satisfying serious chocolate cravings.
- Prep Time: 20 min
- Cook Time: 12 min
- Total Time: 32 min
- Yield: 24 cookies 1x
- Category: Dessert
- Method: Baking
- Cuisine: American
- Diet: Vegetarian
Ingredients
- 1 cup unsalted butter, softened
- 1 3/4 cups granulated sugar
- 2 large eggs
- 1 teaspoon vanilla extract
- 1 cup all-purpose flour
- 3/4 cup unsweetened cocoa powder
- 1 1/2 teaspoons baking powder
- 1/4 teaspoon salt
- 1 cup powdered sugar, for rolling
Instructions
- In a large bowl, cream together the softened butter and granulated sugar until light and fluffy.
- Beat in the eggs one at a time, mixing well after each addition. Stir in the vanilla extract.
- In a separate bowl, whisk together the flour, cocoa powder, baking powder, and salt.
- Gradually add the dry ingredients to the wet ingredients, mixing on low speed until just combined. Do not overmix the dough.
- Place the powdered sugar for rolling in a shallow dish.
- Scoop the dough into balls, about 1.5 tablespoons each. Roll each ball thoroughly in the powdered sugar until completely coated.
- Place the coated dough balls on baking sheets lined with parchment paper, spacing them about 2 inches apart.
- Bake in a preheated oven at 350 degrees F (175 degrees C) for 10 to 12 minutes. The edges should look set, but the center will still look soft.
- Let the cookies cool on the baking sheet for 5 minutes before transferring them to a wire rack to cool completely. The crackles will set as they cool.
Notes
- For the best fudgy texture and maximum crackle, chill the dough for at least 30 minutes before rolling and baking.
- If you want an extra rich, brownie cookie texture, use high-quality cocoa powder.
- Roll the dough balls generously in powdered sugar; this creates the distinct crinkle effect when the cookies spread during baking.
Nutrition
- Serving Size: 1 cookie
- Calories: 180
- Sugar: 18g
- Sodium: 85mg
- Fat: 10g
- Saturated Fat: 6g
- Unsaturated Fat: 4g
- Trans Fat: 0g
- Carbohydrates: 23g
- Fiber: 1g
- Protein: 2g
- Cholesterol: 30mg