
Don’t you just love when a dessert instantly transports you back to simpler times? For me, that’s the magic of classic candy. When the holidays roll around, I crave those luxurious, slightly messy chocolate covered cherries that taste like pure indulgence. Trying to find time to make them always felt impossible until I cracked the code! I realized that even with my busy consulting days, I could create these gorgeous, decadent treats right in my kitchen. This recipe is my answer—it uses simple techniques to give you that signature creamy fondant center that perfectly melts into that gooey, liquid center we all dream about. If you’re looking for more comforting sweets, you must check out my collection of delicious dessert recipes. Trust me, treating yourself to homemade cherry cordials is worth the little bit of time you invest!
- Why You Will Love This Homemade Chocolate Covered Cherries Recipe
- Ingredients Needed for Perfect Chocolate Covered Cherries
- Mastering the Fondant: Preparing the Chocolate Covered Cherries Base
- Expert Chocolate Dipping Techniques for Gourmet Homemade Chocolates
- The Secret to Liquid Center Chocolate Cherries
- Tips for Perfect Chocolate Covered Cherries Every Time
- Storage and Gifting Your Homemade Candy Recipes
- Frequently Asked Questions About Chocolate Covered Cherries
- Share Your Decadent Cherry Sweets
Why You Will Love This Homemade Chocolate Covered Cherries Recipe
Honestly, these are the best for a reason! They are so much easier than they look. You’ll be thrilled with:
- The amazing sweet and tart flavor contrast.
- That classic, gooey liquid center that forms over a few days.
- They look absolutely stunning and make perfect Holiday Gift Candy Ideas.
- It’s a simple, satisfying no-bake candy project.
Ingredients Needed for Perfect Chocolate Covered Cherries
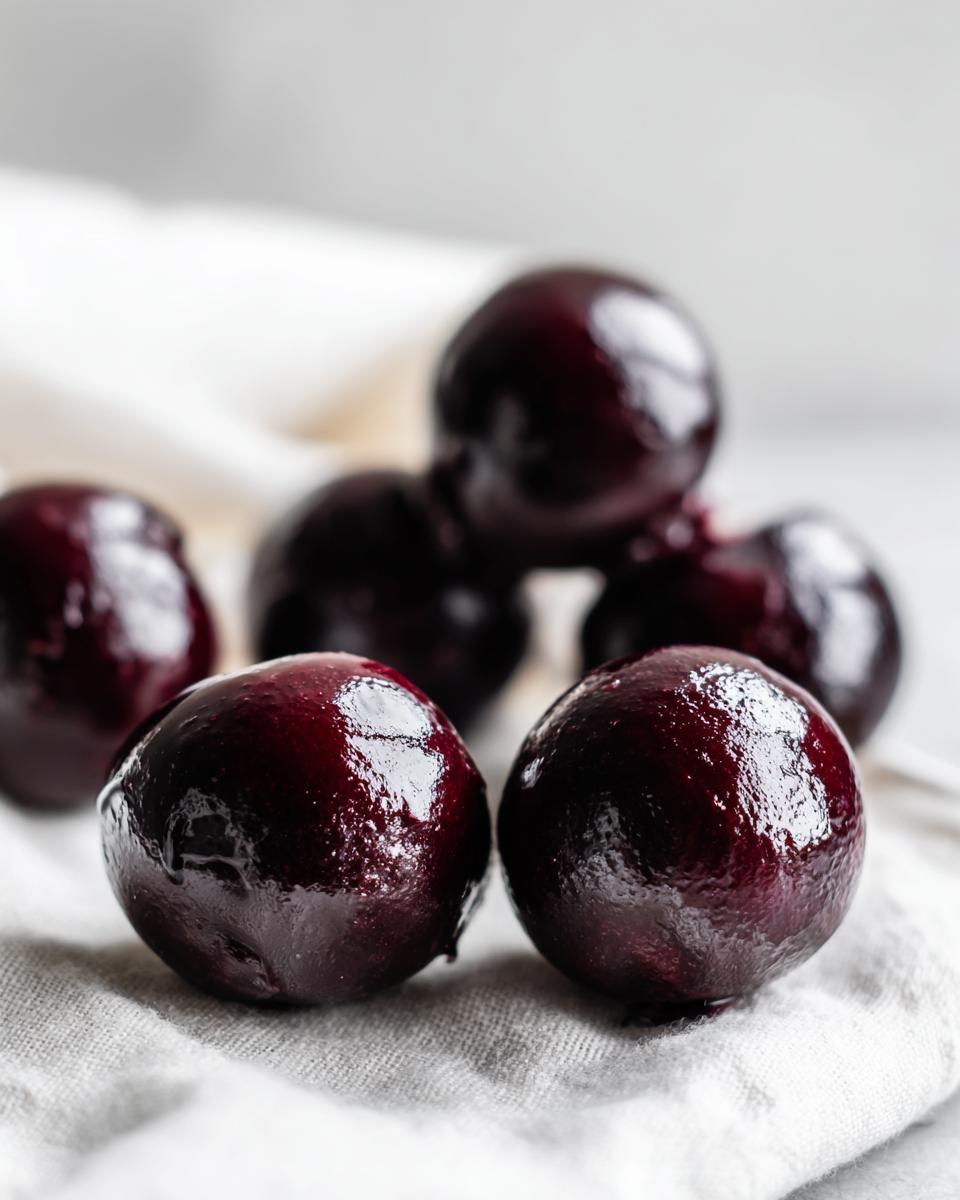
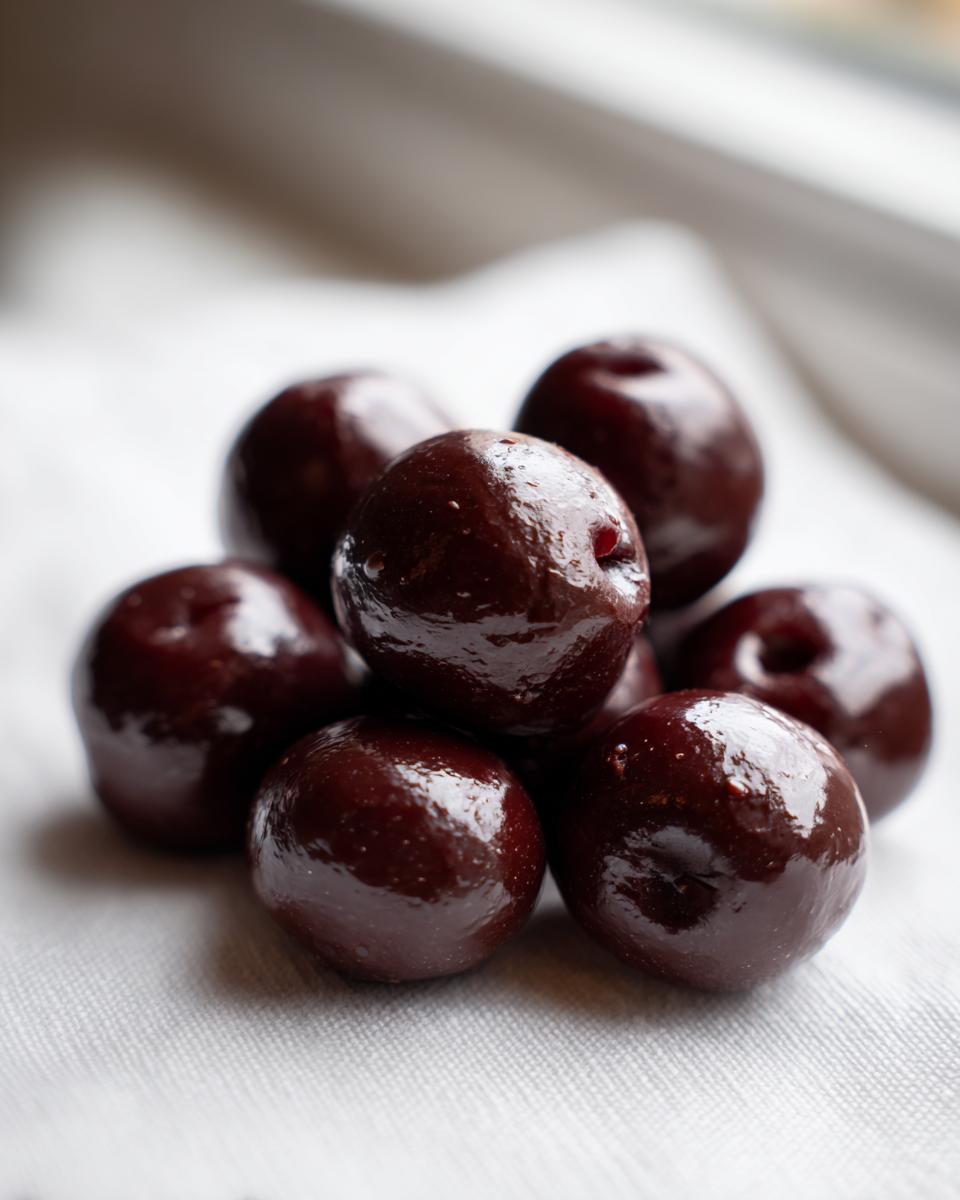
Okay, gathering your ingredients is step one, and you’ll see we’re keeping this minimal because that’s the MayaPlate way! We rely on simple, quality components to create something decadent. I know you’re eager to dive in, but please listen to me on this one point—it’s crucial for success: you absolutely must dry your maraschino cherries until they feel almost powdery. Any extra liquid will sabotage your fondant shell, causing it to slip right off. Treat those cherries well!
The magic that makes these chocolate covered cherries so special involves two distinct parts: the creamy filling that wraps the fruit, and the glossy chocolate shell we coat it in later.
For the Fondant Covered Cherries Center
- 1 cup maraschino cherries, drained very, very well
- 1/4 cup butter, softened
- 2 cups powdered sugar, sifted (no lumps allowed!)
- 1 teaspoon vanilla extract
- 1/4 cup water
For the Rich Chocolate Coating
- 12 ounces dark chocolate, chopped (or use good quality melting wafers if you’re short on time)
- 1 tablespoon shortening (this is optional, but I find it helps thin the chocolate just right for a smoother coat)
Mastering the Fondant: Preparing the Chocolate Covered Cherries Base
Alright, here is where we build the foundation for those dreamy, decadent treats. Remember what I said about drying those cherries? That’s step zero, so make sure they are patted down until they feel dry to the touch. If they are damp, the fondant won’t stick, and we can’t have slippery cherries! If you want to see how others tackle these classics, check out this great resource on chocolate covered cherries.
Now, let’s make the actual filling. It’s just like making a simple, thick dough. Don’t worry about needing a stand mixer for this part; your trusty hand mixer or even a strong spoon works perfectly well. If you want more inspiration on simple, no-bake projects, you should definitely take a peek at my guide on easy no-bake recipes!
Drying Cherries and Making the Pliable Fondant
First, cream that softened butter with your vanilla extract—you want it light and fluffy. Then, you gently introduce the sifted powdered sugar. Add it slowly, or it’ll puff up everywhere! Once it looks like a thick, crumbly mess, add the water, just a tablespoon at a time, until you have something that feels like soft playdough. It should hold its shape easily.
Take a small spoonful of that sweet fondant dough, flatten it out in your palm, place one super-dry cherry right in the middle, and completely wrap the dough around it. Seal it up tight! Pop all these little wrapped beauties onto a parchment-lined baking sheet. They absolutely must chill for at least two hours. This chilling time is non-negotiable because those cold, firm centers are what keep everything together when we dunk them in warm chocolate later. Trust me, you don’t want to skip that chill time!
Expert Chocolate Dipping Techniques for Gourmet Homemade Chocolates
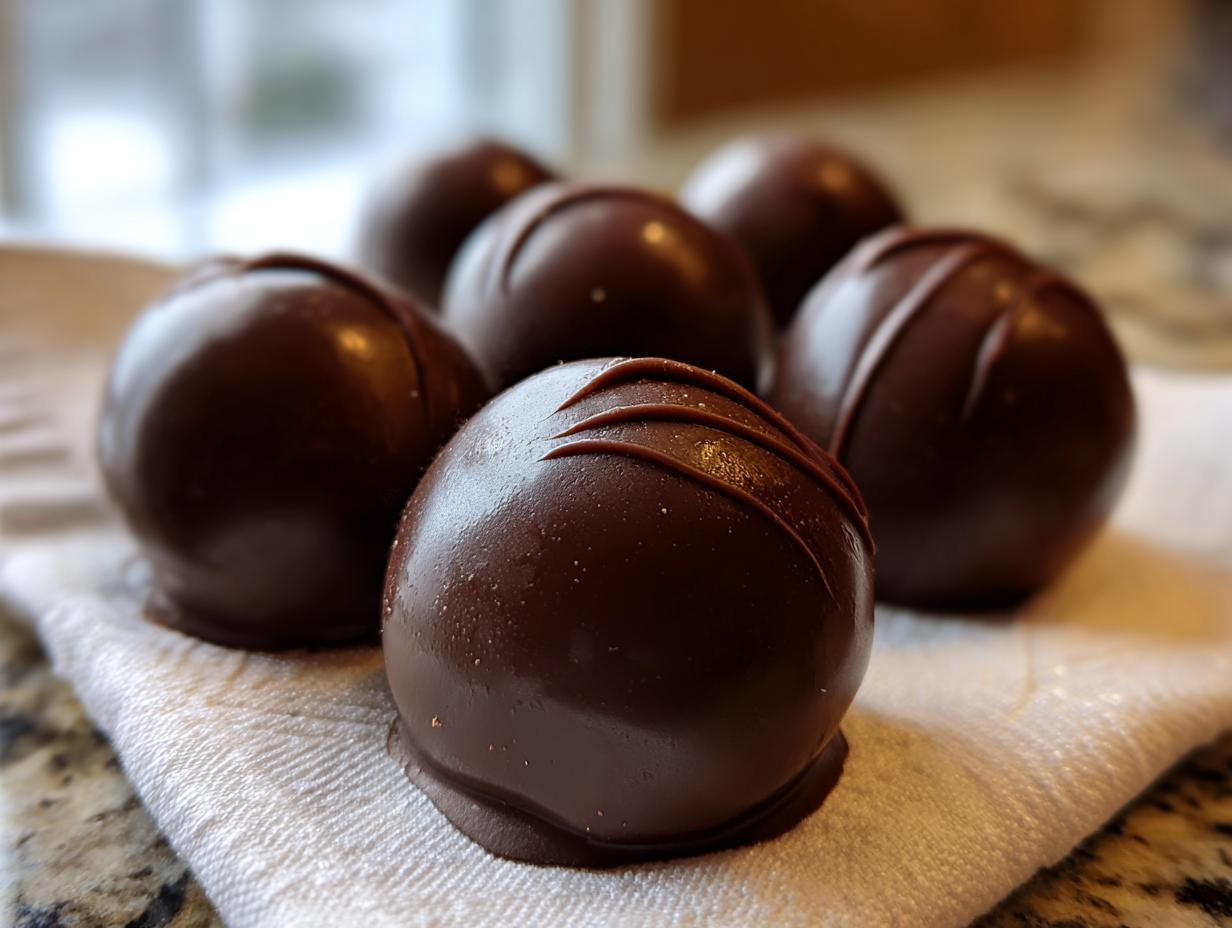
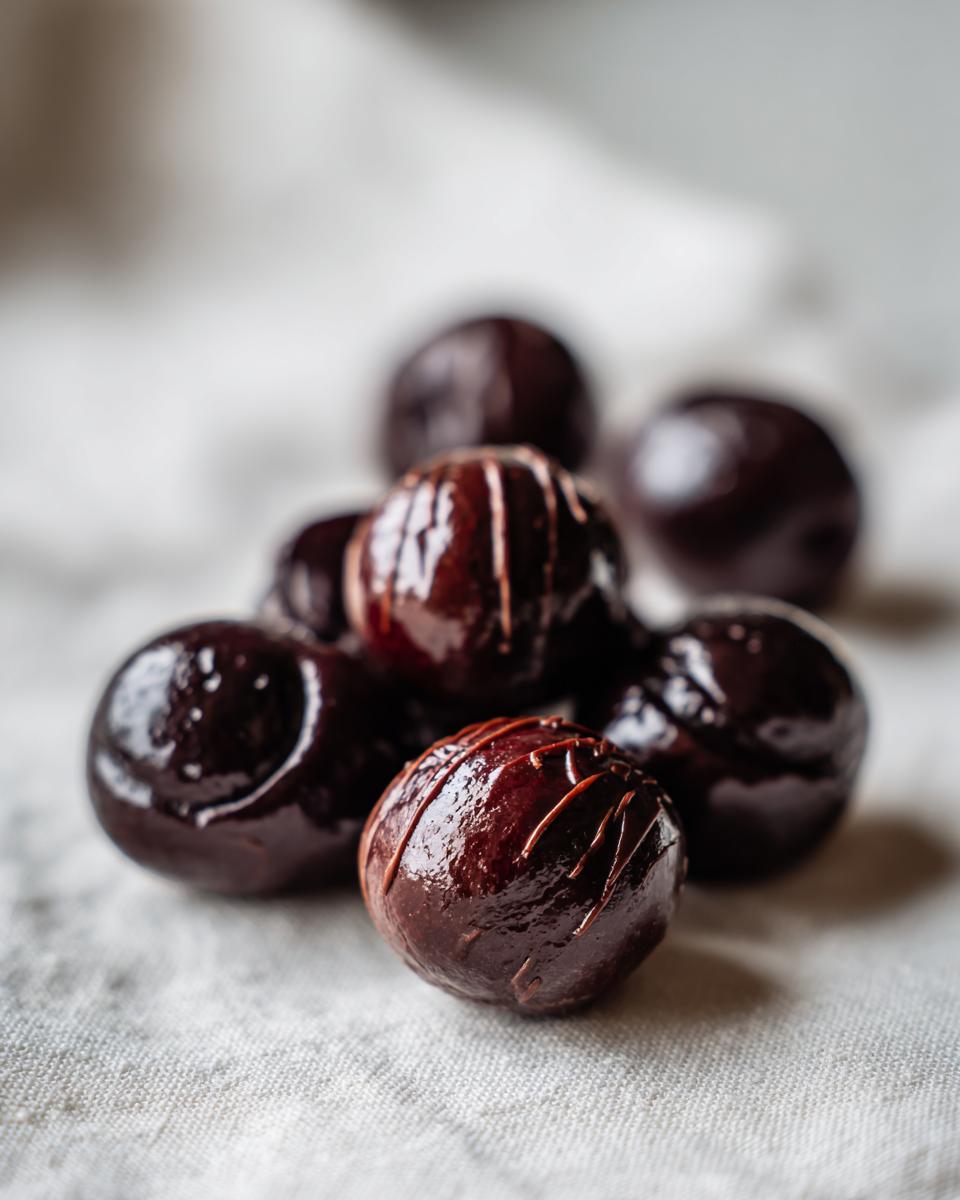
Now for the fun part—making these look like true Gourmet Homemade Chocolates! Once your cherry centers are rock hard from the fridge, it’s time to melt that coating. If you’re using regular chocolate chips, I highly recommend melting them with that tablespoon of shortening I mentioned. It keeps the chocolate from seizing up and helps give you such a beautifully smooth, glossy finish. Don’t try to rush this part! Pop your chocolate and shortening mix into the microwave for 30 seconds at a time, stirring well between each blast until everything is silky smooth. This controlled melting prevents scorching.
Have your chilled cherries ready on the parchment paper when the chocolate is perfect. You want to gently drop one frozen ball into the warm chocolate. Totally submerge it! Use a dipping fork or even just a regular two-tined fork to lift it out. The trick to getting that professional look is tapping the fork very lightly against the side of the bowl. Tap, tap, tap—let that extra chocolate drip back in. This leaves you with a thin, even shell. If you want an extra decadent look, let that first layer set up completely, then dip them again for a thicker coat!
Melting Chocolate and Achieving a Perfect Shell
Always use short bursts in the microwave—30 seconds is the max before you stir it. If you burn your chocolate by leaving it in too long, there’s no coming back from that bitterness, trust me! Once it’s melted, work quickly because as the chocolate cools, it gets too thick to coat properly. If you notice it stiffening up, just give it 10 seconds more heat. To keep my dipping process efficient, I always have my chill area ready, just like the experts suggest in this great article on chocolate dipping techniques. If you’re feeling extra ambitious, you might want to check out my tips for peanut butter fudge while you’re in your candy-making zone!
The Secret to Liquid Center Chocolate Cherries
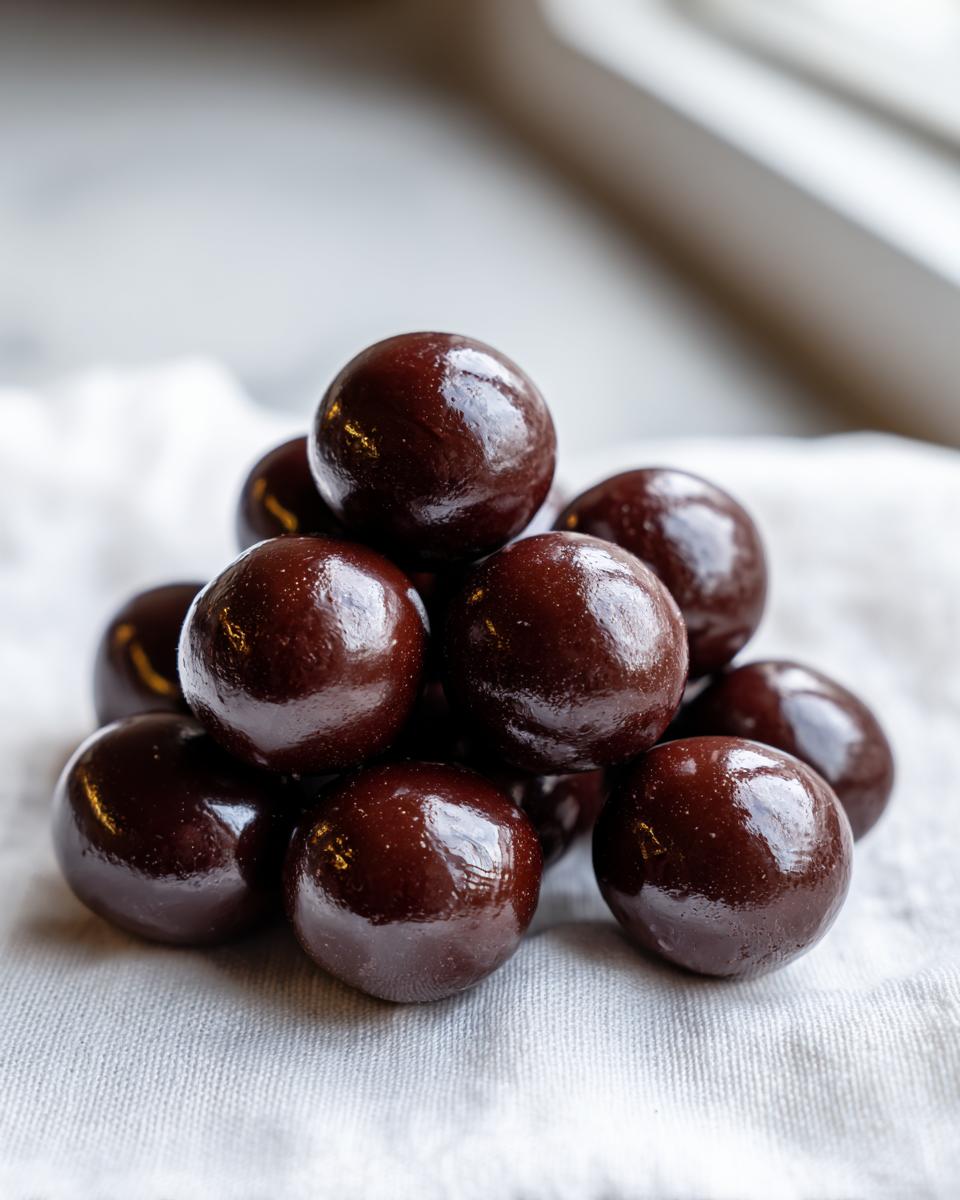
Every great chocolate covered cherries recipe promises that moment: the crack of the chocolate shell, followed by that perfectly sweet, syrupy cherry juice flooding your mouth. It feels like magic, right? But I promise you, it’s just science meeting patience. The gooey center isn’t something you add in; it develops right there after you’ve finished dipping!
See, the fondant we wrap around the cherry is mostly sugar, and the maraschino cherry is full of liquid. Over time, a little bit of osmosis happens. The sugar coating draws some of the moisture out of the center of the cherry, basically dissolving the firmer fondant right around the fruit. That’s what creates that beautiful, rich syrup.
This is the part where we have to practice patience—and I know that’s hard when you’ve just made something absolutely perfect! You cannot rush this transformation. If you cut into them the second they set, you’ll still have a firm, sweet fondant ball. For that true, authentic cordial experience, you need to let them sit. I suggest letting them rest at room temperature for at least two full days, maybe even three if you used very firm cherries.
The final reward comes after waiting. When they are ready, the chocolate holds up beautifully, but the inside is pure, sweet, tart liquid. It’s worth every second of waiting, I promise! If you want to see how others handle that waiting game for their chocolate covered cherry cordial recipe, take a peek at this resource. Just remember, room temperature resting is the key. Don’t stick them in the fridge, or you might slow down that glorious liquefaction process!
Tips for Perfect Chocolate Covered Cherries Every Time
Making truly perfect chocolate covered cherries comes down to catching a few little details before they become big problems. My biggest piece of advice, which I’ve mentioned before but it bears repeating, is moisture control. If your cherries aren’t bone-dry before they hit the fondant, your coating will shrink and crack away later—it’s inevitable!
Another pro tip involves that chilling time. You really need those wrapped centers to be fridge-cold and firm before you dip them. Think of it like trying to dip a gummy bear versus a frozen hard candy; the frozen one holds its shape against the hot chocolate so much better. If you’re working in a warm kitchen, you might need to pop them back in the fridge halfway through dipping your batch.
Also, don’t fuss too much about tempering the chocolate if you’re just starting out with homemade candy recipes. Using the shortening or wafers I mentioned earlier gives you a fantastic, shiny shell without needing a candy thermometer. If you want a little more flavor variation in your sweets, you might enjoy my easy aioli recipe—sometimes a little tang is exactly what you need!
Finally, always check out community tips if you run into issues. I always look at other trusted sources, like the guide on chocolate covered cherries, if I notice my chocolate behaving strangely. A quick check stops me from ruining a whole batch!
Storage and Gifting Your Homemade Candy Recipes
Now that you’ve made these stunning chocolate covered cherries, you’re probably wondering how to keep them perfect until you share them—or eat them all yourself! Since we want that luscious liquid center to form, room temperature is actually your best friend here. Aim to store them in a cool, dry spot out of direct sunlight. If your kitchen gets super warm, you can keep them in the fridge, but try to take them out about an hour before serving to let that chocolate soften up a little.
If you’re planning on giving these gorgeous Homemade Candy Recipes as gifts, consider how you package them. Because they are essentially sitting in liquid after a few days, you don’t want them touching too much. I love using those little individual candy cups—you know, the fluted paper ones—and arranging them in a nice tin or a clear gift box. They look like little treasures! It makes them the perfect centerpiece for any platter of Holiday Gift Candy Ideas.
Don’t stress about keeping them pristine for months. These are best enjoyed within a week or two, especially after the center has fully liquefied. But honestly, I doubt they’ll last that long once people realize what you’ve baked up!
Frequently Asked Questions About Chocolate Covered Cherries
I know when you tackle a classic confection like this, questions pop up! It’s totally normal, especially when you’re aiming for that perfect result. I’ve gathered a few things people ask me most often about making these beauties. If you’re looking for a way to get in touch with me about your candy successes, you can always head over to the contact page!
Can I substitute the maraschino cherries in this chocolate covered cherries recipe?
That’s a great question! For this specific recipe that aims for that classic cordial experience, you really need those bright red, preserved maraschino cherries. They are already soaked in sugar syrup, which is the secret ingredient that helps create that beautiful, gooey, liquid center chocolate cherries effect later on. Fresh cherries have too much natural water, and it will simply dissolve your fondant instead of turning syrupy the way we want it to.
What is the best chocolate for dipping treats?
I personally love using high-quality dark chocolate because that slight bitterness really balances the intense sweetness of the cherry and fondant. But honestly, the easiest route for smooth dipping—and a great way to make easy chocolate dipped treats—is using good quality melting wafers. They often contain stabilizers that help them look glossy and set up perfectly without any special tempering tricks. If you use regular chips, remember my shortening tip to keep things nice and fluid!
How long does it take for the center to liquefy?
This is the big secret! If you cut into them the next day, you’ll still have a firm, sweet fondant filling. That liquid center forms over time as the sugar interacts with the cherry’s moisture. You need at least two to three days resting on the counter for full liquefaction. Patience is key for these homemade candy recipes!
Share Your Decadent Cherry Sweets
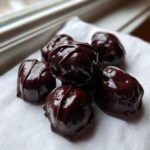
That’s it! You have officially made one of the most nostalgic, impressive candies out there. I truly hope you enjoyed creating these beautiful Decadent Cherry Sweets. When you take that first bite—especially after letting them rest for a couple of days—it’s just pure joy, isn’t it?
I absolutely love seeing your kitchen creations! If you made these chocolate covered cherries, please come back and leave a rating right below this post so others know how stunning and easy they are. And don’t forget to snap a picture and tag me on social media! I enjoy seeing how you package them up for gifting. If you want to read more about the philosophy behind bringing simple, joyful food back to your everyday table, you can always learn more about us over on the MayaPlate About page. Happy sweet-making!
PrintHomemade Chocolate Covered Cherry Cordials
Make classic chocolate covered cherries with a smooth fondant center that liquefies over time. This recipe uses simple ingredients for an impressive homemade candy perfect for gifting.
- Prep Time: 45 min
- Cook Time: 15 min
- Total Time: 60 min
- Yield: About 24 pieces 1x
- Category: Dessert
- Method: No Bake
- Cuisine: American
- Diet: Vegetarian
Ingredients
- 1 cup maraschino cherries, drained well
- 1/4 cup butter, softened
- 2 cups powdered sugar, sifted
- 1 teaspoon vanilla extract
- 1/4 cup water
- 12 ounces dark chocolate, chopped (or melting wafers)
- 1 tablespoon shortening (optional, for smoother chocolate)
Instructions
- Pat the drained maraschino cherries very dry using paper towels. This step is important for the fondant to stick.
- In a medium bowl, cream together the softened butter and vanilla extract.
- Gradually add the sifted powdered sugar to the butter mixture, mixing until a thick dough forms.
- Add the water, one tablespoon at a time, mixing until the dough is smooth and pliable, similar to playdough.
- Take a small piece of fondant dough (about 1 teaspoon) and flatten it in your palm. Place one dried cherry in the center.
- Wrap the fondant completely around the cherry, sealing it well to form a ball. Place the wrapped cherry on a parchment-lined baking sheet. Repeat with all cherries.
- Chill the fondant-covered cherries in the refrigerator for at least 2 hours, or until firm. This prevents them from falling apart during dipping.
- Melt the chocolate. If using chocolate chips, combine the chocolate and shortening (if using) in a microwave-safe bowl. Microwave in 30-second intervals, stirring well after each, until smooth.
- Dip each chilled cherry into the melted chocolate, ensuring it is fully coated. Use a fork or dipping tool to lift it out.
- Tap the fork gently against the side of the bowl to remove excess chocolate. Place the dipped cherry back onto the parchment-lined sheet.
- Allow the chocolate to set completely at room temperature, or speed up the process by chilling them briefly (about 15 minutes).
- For a richer coating, repeat the dipping process after the first layer has set.
Notes
- The liquid center forms naturally as the sugar in the fondant interacts with the moisture from the cherry over several days.
- For best results and a true cordial experience, let the finished candies sit at room temperature for 2 to 3 days before serving or gifting.
- Use high-quality dark chocolate for the best flavor contrast with the sweet cherry.
Nutrition
- Serving Size: 1 piece
- Calories: 150
- Sugar: 20g
- Sodium: 15mg
- Fat: 8g
- Saturated Fat: 5g
- Unsaturated Fat: 3g
- Trans Fat: 0g
- Carbohydrates: 20g
- Fiber: 1g
- Protein: 2g
- Cholesterol: 10mg