
When life gets hectic, nothing brings instant comfort quite like warm, savory bread straight from the oven, right? That’s exactly why I insist on having this recipe in my back pocket. This isn’t just bread; it’s the Ultimate Cheesy Garlic Pull-Apart Bread, and honestly, it’s the fastest way to transform a Tuesday night into a celebration. Forget complicated baking; this cheese bread recipe embodies everything MayaPlate stands for: incredibly delicious, wonderfully practical, and absolutely simple enough for those days when you just need satisfaction fast. In fact, when I developed this recipe, I thought about how much I wanted to bring back that feeling of warmth from my grandmother’s kitchen, even when I was swamped consulting—that’s the heart of what we do here at MayaPlate. Trust me, this gooey, buttery creation will earn its spot on your permanent rotation as the best party appetizer bread you’ve ever made.
- Why This Ultimate Cheesy Garlic Pull-Apart Bread is Your New Favorite
- Ingredients for Perfect Buttery Cheese Bread
- Step-by-Step Instructions for Savory Bread Recipe
- Tips for Success Making Homemade Cheesy Bread
- Ingredient Notes and Cheese Bread Substitutions
- Serving Suggestions for Your Cheesy Side Dish
- Storage and Reheating Instructions for Leftover Cheese Bread
- Frequently Asked Questions About Making Cheese Bread
- Share Your Ultimate Cheesy Garlic Cheese Bread Experience
Why This Ultimate Cheesy Garlic Pull-Apart Bread is Your New Favorite
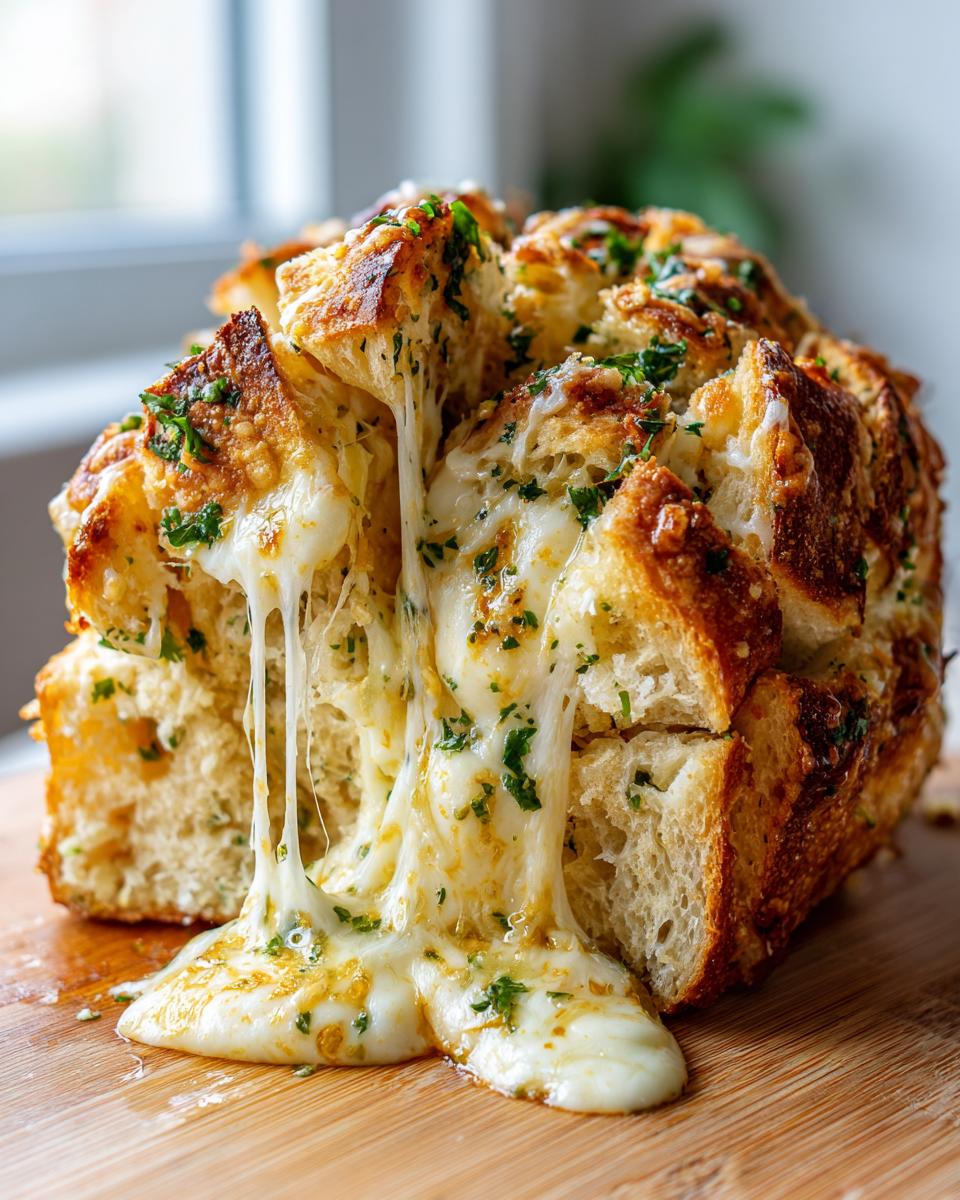
I made this specifically for those moments when you need a showstopper without dedicating an hour to the oven. Honestly, the sheer satisfaction of tearing off a piece dripping with butter and cheese is unmatched. It’s just pure comfort food magic, perfect for last-minute guests or just surviving a busy week. You deserve this level of simple deliciousness!
- This is the ultimate party appetizer bread because everyone flocks to it before dinner even starts.
- It requires almost no stirring or kneading—just slicing and stuffing!
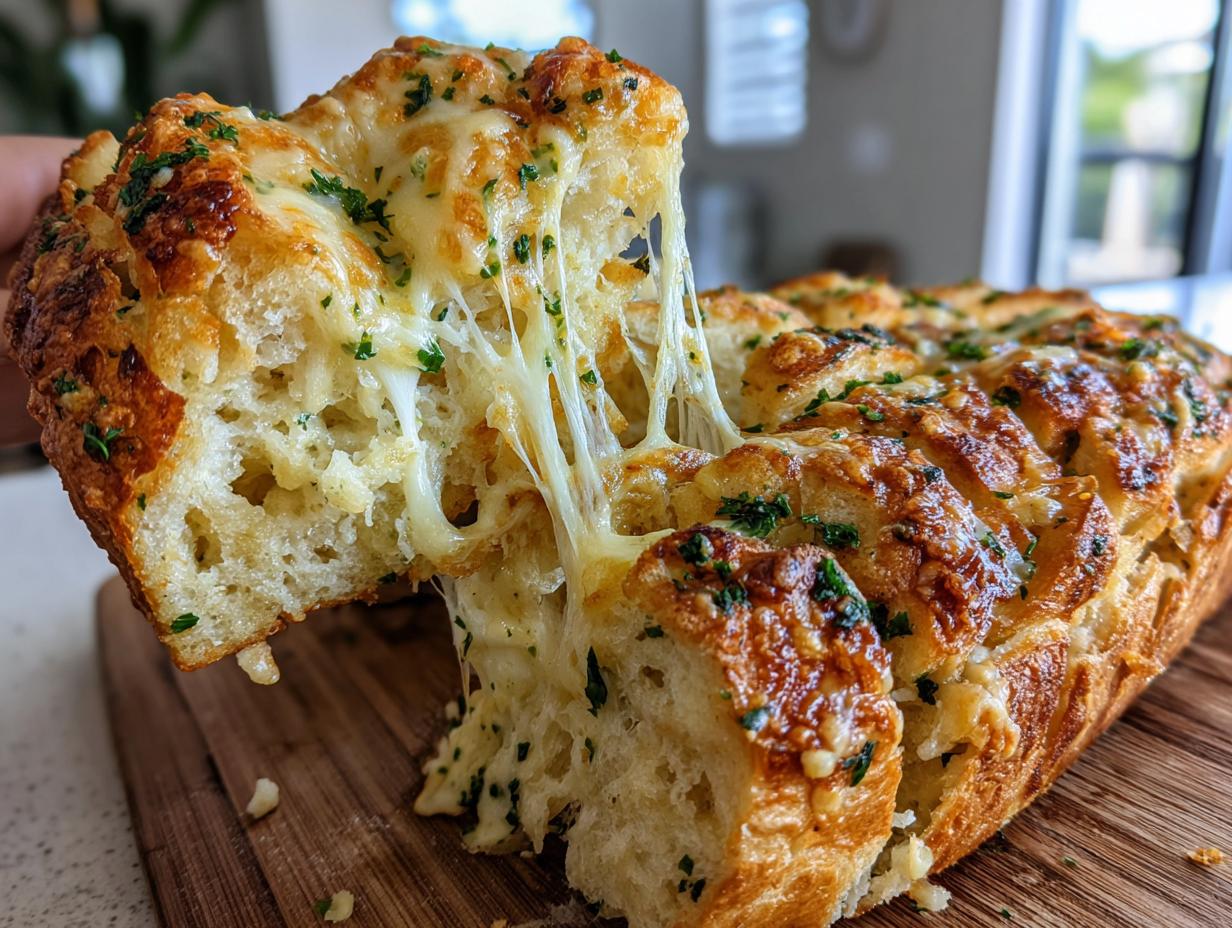
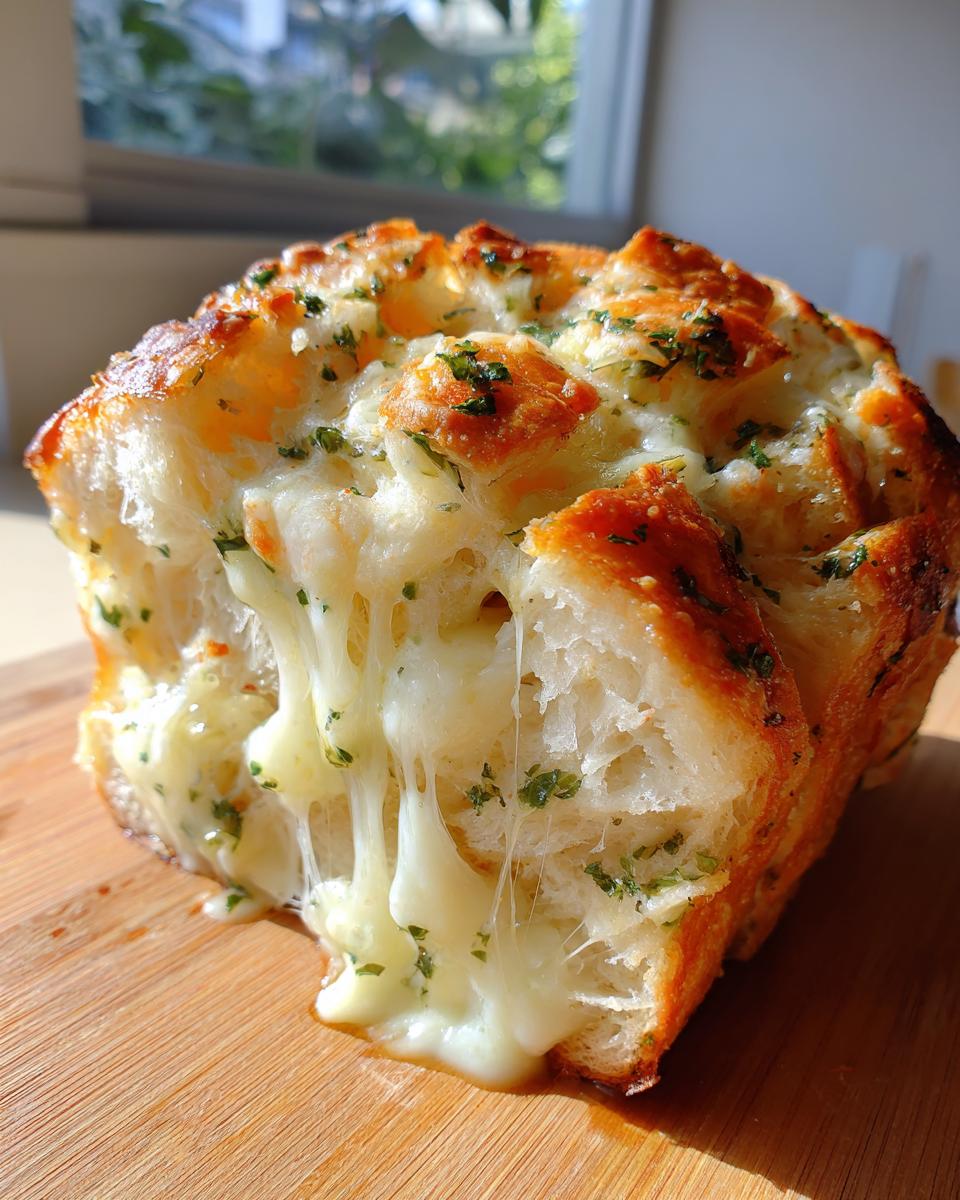
- The result is pure, edible gold: the famous look of gooey melted cheese bread.
Quick Preparation for Easy Cheese Bread Recipe
You won’t believe this, but prep time is only about 10 minutes! Seriously, I mix the butter while the oven warms up, and before you know it, the bread is already wrapped and going in. It’s hands-down the easiest cheese bread recipe I’ve ever tested for the blog. That’s cooking smartly, which is what we focus on here at MayaPlate!
Achieving Gooey Melted Cheese Bread Texture
The secret isn’t just the cheese blend, though that helps! It’s how we cut it—all those little pockets we create are designed to capture the garlic butter and let the cheese flow deep inside. When you pull it apart, that saturation means every single bite is perfectly soft and cheesy, never dry on the inside. It makes for a fantastic side dish alongside soup, too!
Ingredients for Perfect Buttery Cheese Bread
Okay, let’s talk about what goes into making this showstopper. The list is simple, which is exactly what I love! We are relying on rich dairy, fresh aromatics, and quality bread here. Everything is laid out below. Don’t even think about skimping on the butter—this is where the richness comes from! You can find inspiration for pairing this with other appetizers like my stuffed dates if you need more party planning help.
- 1 loaf (about 16 ounces) crusty bread (sourdough or French bread works well)
- 1 cup (2 sticks) unsalted butter, softened
- 4 cloves garlic, minced
- 1 teaspoon dried Italian seasoning
- 1/2 teaspoon salt
- 1/4 teaspoon black pepper
- 1 1/2 cups shredded mozzarella cheese
- 1 cup shredded sharp cheddar cheese
- 1/4 cup chopped fresh parsley, for garnish
Selecting the Right Bread for Your Cheese Bread
Listen closely here, because the bread choice is crucial for the structural integrity of this cheese bread. You absolutely want a sturdy loaf. I find that a day-old sourdough or a hearty French bread works best. If it’s too soft, it smushes when you try to slice it, and you end up with mush instead of distinct pockets for the cheese. A nice crust helps it hold up to all that buttery stuffing, ensuring you get that satisfying pull apart!
Step-by-Step Instructions for Savory Bread Recipe
This is the part where we bring everything together, and I promise it’s so much fun! Seeing the bread transform from a simple loaf into this cheesy masterpiece is genuinely rewarding. We’re aiming for full flavor saturation before hitting it with the heat. You’ll want to get your oven to 350°F (175°C) and line a baking sheet with parchment paper before you even touch the loaf—I learned the hard way that waiting on the oven means waiting on your delicious Garlic Cheese Bread! It’s moments like these when having a few basic sauce recipes on hand helps, like my guide for the easy 5-minute garlic aioli recipe, even though we are focusing on butter here.
Making the Flavorful Garlic Butter Mixture
Grab a small bowl for this. You need that cup of butter to be truly softened, not melted, folks. Mix in your minced garlic—don’t be shy with the amount; that’s where the punch comes from—along with the Italian seasoning, salt, and pepper. Whisk it until it’s perfectly smooth and fragrant. The seasoning really elevates this from regular garlic bread to *gourmet* cheesy bread, in my opinion.
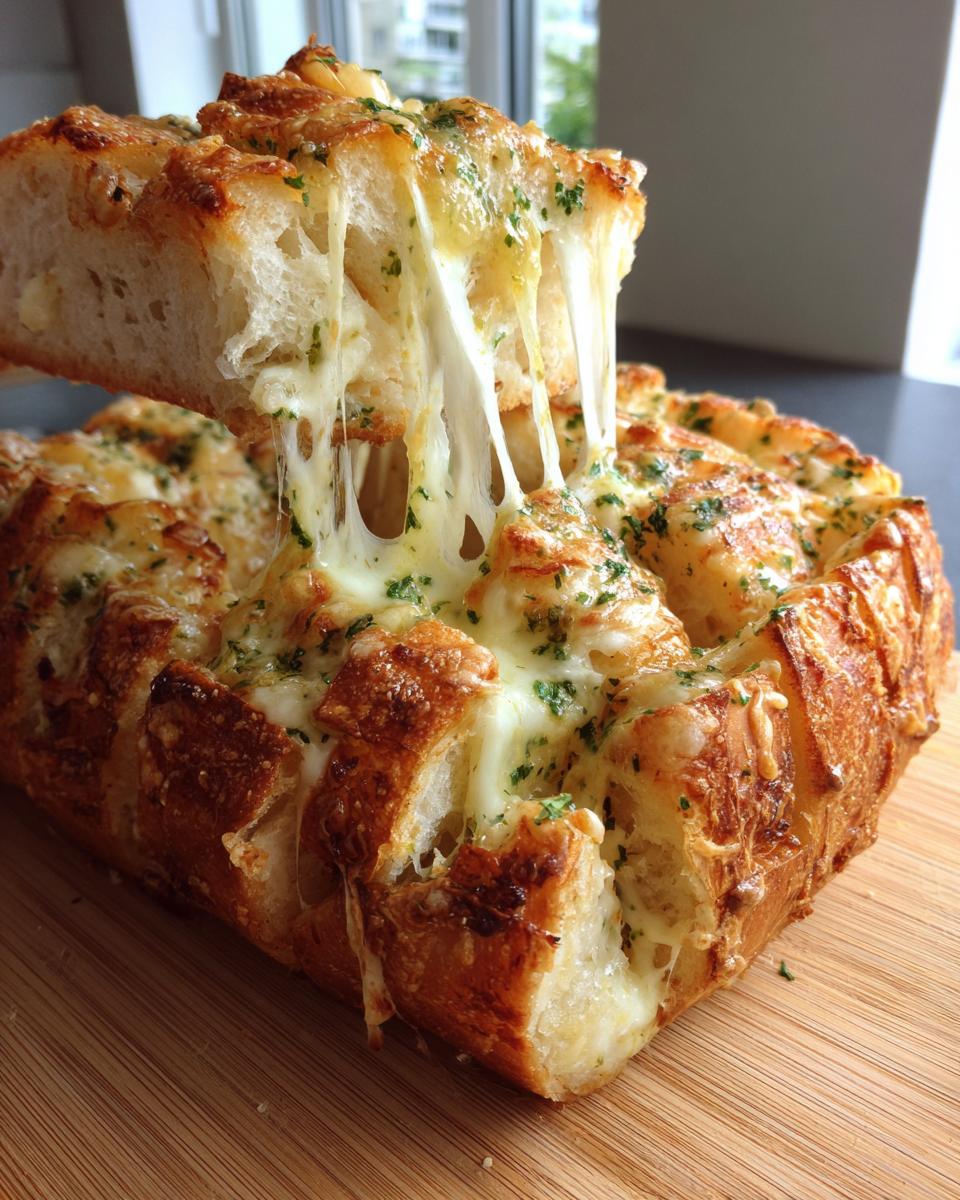
The Crisscross Cut Technique for Pull Apart Bread Appetizer
This slicing step is non-negotiable! Place your loaf on a cutting board and cut deep, even slices across it, stopping just shy of cutting through the bottom crust. Then, turn the loaf 90 degrees and cut again to make those diamonds. When I first made this years ago, I accidentally cut all the way through, and the whole thing just fell apart in the foil! You need those bottom anchors to hold everything together. This crosshatch lets the butter and cheese seep into every crack.
Baking Stages: Covered vs. Uncovered for the Best Cheese Bread
Once you’ve stuffed all that gorgeous cheese into the crevices, wrap the whole thing tightly in foil and pop it onto your sheet pan. Bake it covered for about 20 minutes. This steams everything gently, melting the cheese perfectly without burning the topping. After 20 minutes, carefully unwrap it—watch out for steam!—and put it back in for 5 to 10 minutes uncovered. That final blast of heat gives you those bubbly, golden-brown spots on top. Perfection!
Tips for Success Making Homemade Cheesy Bread
Even though this is an incredibly simple recipe, a couple of little tricks can take it from good to legendary status. I’ve tested this dozens of times, and these small details make all the difference in achieving that perfect, non-soggy interior and that heavenly melt. You want that pull-apart texture without any sloppy center, right?
- Make sure your butter is truly softened but not oil slick melted! If the butter is too warm, it just runs straight out the bottom of the loaf instead of coating the inside cuts evenly.
- Don’t rush the cheese stuffing! Take the time to push the cheese down into those diamond crevices you cut. It seems redundant, but it ensures you get that beautiful stretch in every single piece.
- If you find your bread is getting too brown too fast during the uncovered stage, just throw a loose piece of foil over it for the last few minutes. You can find more tips on building structure in my guide for no-knead bread.
Ingredient Notes and Cheese Bread Substitutions
I always get asked if you can swap out the cheese or the spices, and honestly, you absolutely can experiment here! While my recipe works perfectly as written, this is about making food that fits your life, right? Don’t be afraid to personalize it a little bit. It’s a very forgiving recipe, which is a huge win for busy cooks.
For me, the mozzarella gives the stretch and the cheddar gives the sharp flavor, but if you want to bump up the savory depth, try swapping half a cup of the cheddar for some freshly grated Parmesan cheese. Parmesan adds a fantastic salty kick that really complements the herbs.
When it comes to herbs, the dried Italian mix is just so easy, but if you have fresh herbs lying around, definitely use them! A tablespoon of finely chopped fresh rosemary or dried thyme works beautifully instead of the Italian seasoning. Just remember that fresh herbs are often stronger, so you might want to use them sparingly at first. If you are adding other elements to your meals, you might also enjoy the flavors in my bacon cheddar broccoli salad!
Serving Suggestions for Your Cheesy Side Dish
This irresistible loaf of cheese bread is so versatile, which is why I love it! It’s way more than just something to serve with spaghetti, though it’s fantastic paired with pasta, of course. Because it’s so rich and savory, it needs something bright or brothy to cut through that buttery goodness. It feels like the ultimate comfort food bread, so naturally, it pairs best with other foods that offer that same cozy vibe.
When I make this cheesy masterpiece, I usually plan a meal around it. My go-to pairing lately has been a big bowl of soup. Since we designed this recipe to be so quick, it’s perfect to serve alongside my easy vegetable beef soup. The soft interior of the bread soaks up the broth beautifully while the crust stays crisp!
If you’re serving it as a true appetizer before a bigger meal, you’ll want to keep the main course lighter. A crisp, tart salad that contrasts with the richness of the cheddar and mozzarella is perfect. Think something with a bright vinaigrette—maybe even one that includes nuts or apples for texture.
Honestly, if you’re serving this up for a game day or a casual get-together, you don’t need a main course at all! Just serve the loaf with a few different dips. Maybe some marinara, maybe even a robust salsa if you’re feeling adventurous. And if you want more fun appetizer ideas that share this pull-apart style, you should absolutely check out the ideas over at Berry Borough for more inspiration on fun ways to serve bread!
Either way you serve it, remember that this cheesy side dish is meant to be enjoyed immediately. Get it on the table hot so everyone can tear into it while the cheese is still perfectly melted!
Storage and Reheating Instructions for Leftover Cheese Bread
Oh, leftovers! If—and I mean *if*—you have any of this glorious cheesy bread left over, we need to treat it right so it doesn’t just turn into a sad slab of cold cheese.
The second it cools down even a little, wrap it up tightly! Use aluminum foil, just like we did for the first part of the baking process. That foil is your best friend for keeping moisture in. My method for safely storing things like butter is detailed over on my pear butter guide, but the foil trick applies here perfectly.
When you’re ready to eat it again, you must reheat it wrapped in the foil first. Slap it back in a 300°F oven for about 10 to 15 minutes. This gently melts the cheese again. Then, unwrap it for the last five minutes just to crisp the edges back up. It comes out tasting almost as good as new!
Frequently Asked Questions About Making Cheese Bread
I know you’re going to love this recipe, but sometimes questions pop up when you’re getting ready to roll! We want to make sure your experience making this Easy Cheese Bread Recipe is fantastic. Here are some things readers ask me most often when they are preparing this cheesy goodness. If you finish baking and still have questions, don’t hesitate to reach out on my contact page!
Can I use pre-shredded cheese for this Easy Cheese Bread Recipe?
You totally can, and I won’t tell anyone if you’re in a rush! However, honestly, pre-shredded cheese has anti-caking agents in it—things like potato starch—which stops it from melting into that smooth, beautiful liquid you see in the pictures. If you have time, always shred your block cheese fresh. The melt quality is just miles better!
What is the best bread type besides French bread for this recipe?
French bread is my go-to because it has a great crust-to-crumb ratio, but sourdough is just divine here! The slight tanginess of sourdough really works well with the sharp cheddar. You could also grab an Italian loaf from your local bakery, as long as it’s sturdy enough to handle the slicing and stuffing. We need that solid base for the Homemade Cheesy Bread!
How can I make this a spicy cheese bread variation?
Oh, I love a little kick! If you want to turn this into a party-ready spicy loaf, it’s so easy. Just whisk about half a teaspoon of red pepper flakes directly into your garlic butter mixture when you make it. If you want the spice to be more noticeable, a light sprinkle of cayenne pepper on top of the cheese before you wrap it up works wonders too. That adds a nice little punch to this otherwise classic savory bread recipe.
Share Your Ultimate Cheesy Garlic Cheese Bread Experience
Now that you’ve got the best cheese bread recipe in the world sitting on your counter, all hot and gooey, I really, truly want to know what you thought!
This is what MayaPlate is all about—connection through simple, delicious food. So, please don’t be shy! If you made this Ultimate Cheesy Garlic Pull-Apart Bread, scroll down and leave me a rating. Did your family fight over the last piece? Did you sneak an extra piece before dinner? Tell me everything in the comments below!
I especially love seeing your creations. If you snapped a picture of that beautiful, melty, pull-apart moment, please share it with me on social media and tag us! It absolutely makes my day to see that my recipes are making their way onto your tables and bringing that practical joy we talk so much about.
We protect your privacy fiercely here, so feel free to share your thoughts openly; you can always review our privacy policy if you have any concerns about sharing your feedback. Happy baking, and I can’t wait to read your reviews!
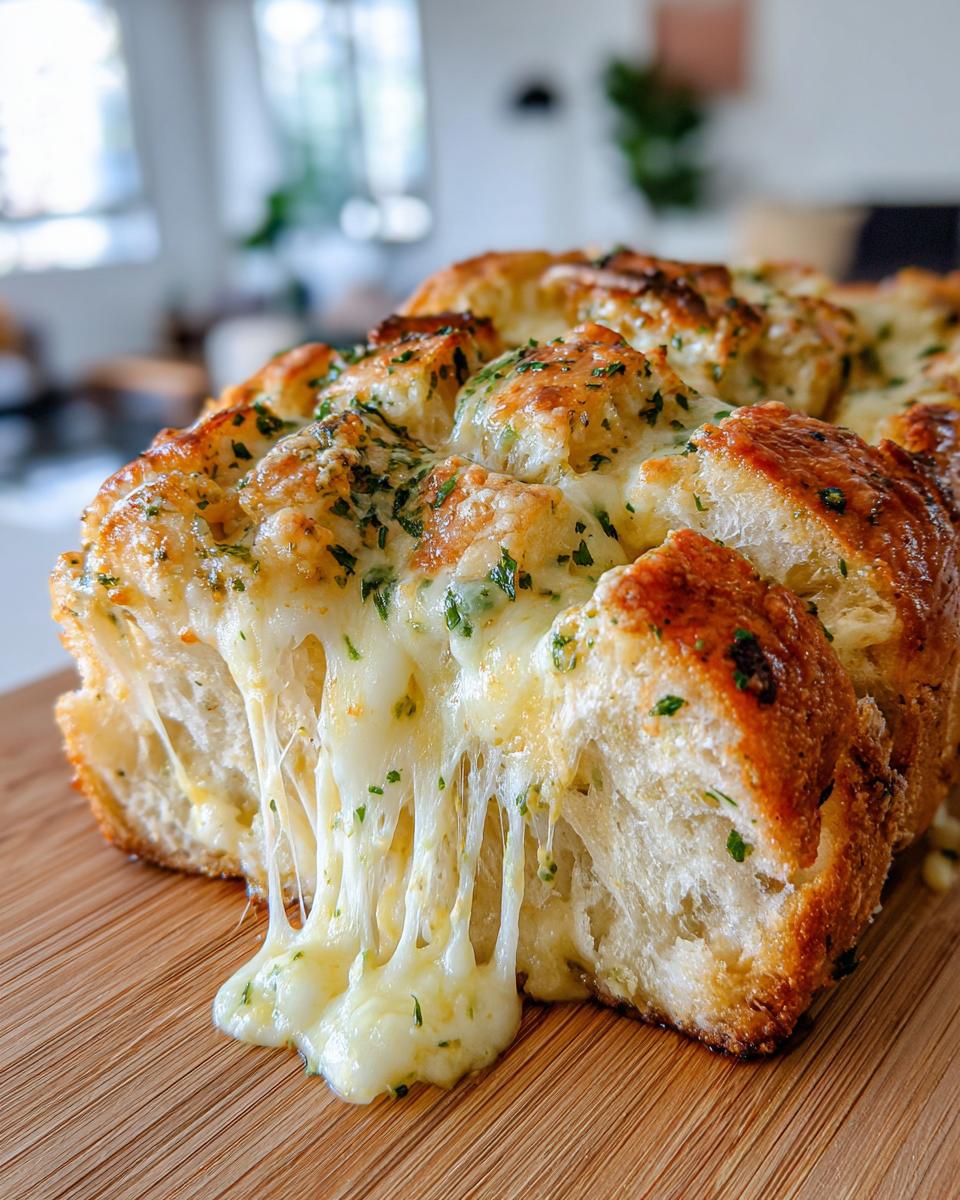
PrintUltimate Cheesy Garlic Pull-Apart Bread
Make this easy, gooey cheese bread appetizer using simple ingredients. This pull-apart bread is buttery, savory, and perfect for parties or as a side dish.
- Prep Time: 10 min
- Cook Time: 30 min
- Total Time: 40 min
- Yield: 8 servings 1x
- Category: Appetizer
- Method: Baking
- Cuisine: American
- Diet: Vegetarian
Ingredients
- 1 loaf (about 16 ounces) crusty bread (sourdough or French bread works well)
- 1 cup (2 sticks) unsalted butter, softened
- 4 cloves garlic, minced
- 1 teaspoon dried Italian seasoning
- 1/2 teaspoon salt
- 1/4 teaspoon black pepper
- 1 1/2 cups shredded mozzarella cheese
- 1 cup shredded sharp cheddar cheese
- 1/4 cup chopped fresh parsley, for garnish
Instructions
- Preheat your oven to 350°F (175°C). Line a baking sheet with parchment paper.
- Prepare the garlic butter: In a small bowl, combine the softened butter, minced garlic, Italian seasoning, salt, and pepper. Mix until fully combined.
- Prepare the bread: Place the loaf of bread on a cutting board. Cut deep, even slices across the loaf, stopping just before cutting all the way through the bottom crust. Make cuts in the opposite direction to create a crisscross or diamond pattern.
- Stuff the bread: Gently pull the cuts apart slightly. Spread the garlic butter mixture generously over all the cut surfaces inside the loaf.
- Add the cheese: Stuff the shredded mozzarella and cheddar cheese into the crevices between the slices. Press the loaf back together gently.
- Wrap and bake: Wrap the entire loaf tightly in aluminum foil. Place the foil-wrapped bread on the prepared baking sheet. Bake for 20 minutes.
- Unwrap and finish: Carefully unwrap the foil, exposing the top of the bread. Return the bread to the oven and bake uncovered for another 5 to 10 minutes, or until the cheese is fully melted and bubbly and the edges are slightly golden.
- Garnish and serve: Remove from the oven, sprinkle with fresh parsley, and serve immediately while hot and gooey.
Notes
- For extra flavor, use a mix of Parmesan cheese along with the mozzarella and cheddar.
- If you prefer a crispier top, skip the foil wrap for the first 15 minutes and bake uncovered the entire time, watching carefully to prevent burning.
- This bread reheats well; wrap leftovers in foil and bake at 300°F (150°C) until warm.
Nutrition
- Serving Size: 1 slice
- Calories: 320
- Sugar: 1
- Sodium: 450
- Fat: 22
- Saturated Fat: 14
- Unsaturated Fat: 8
- Trans Fat: 0.5
- Carbohydrates: 22
- Fiber: 1
- Protein: 10
- Cholesterol: 55