
Oh, listen up, because when those first chilly whispers of fall hit, there is only one thing that truly satisfies that deep craving for comfort, and that’s a bubbling batch of homemade apple crisp! Forget feeling overwhelmed by complicated baking; I developed this apple crisp recipe specifically so you don’t have to choose between wholesome food and needing dinner on the table fast. As someone with a background in nutrition, I believe seriously good food shouldn’t demand hours over the stove.
This recipe embodies the MayaPlate philosophy: simple techniques, stellar flavor, and real-world practicality. It brings back that core feeling of warmth, just like my grandmother used to achieve, but it gets done before most streaming shows even finish an episode. We’re talking tender apples swimming in cinnamon spice under the crunchiest, butteriest shell you’ve ever made. You’re going to love how easy it is to embrace comfort baking again. If you want to read more about how we create these kinds of accessible recipes, check out our About Us page.
- Why This is the Best Classic Apple Crisp Recipe Homemade
- Gathering Ingredients for Your Apple Crisp Recipe
- How to Make Apple Crisp From Scratch: Step-by-Step Instructions
- Tips for Success with Your Apple Crisp Recipe
- Serving Suggestions for Your Apple Dessert with Vanilla Ice Cream
- Storage and Reheating Instructions for Leftover Apple Crisp Recipe
- Frequently Asked Questions About This Apple Crisp Recipe
- Estimated Nutritional Data for This Quick Apple Dessert Recipe
- Share Your Cozy Evening Treats Dessert Experience
Why This is the Best Classic Apple Crisp Recipe Homemade
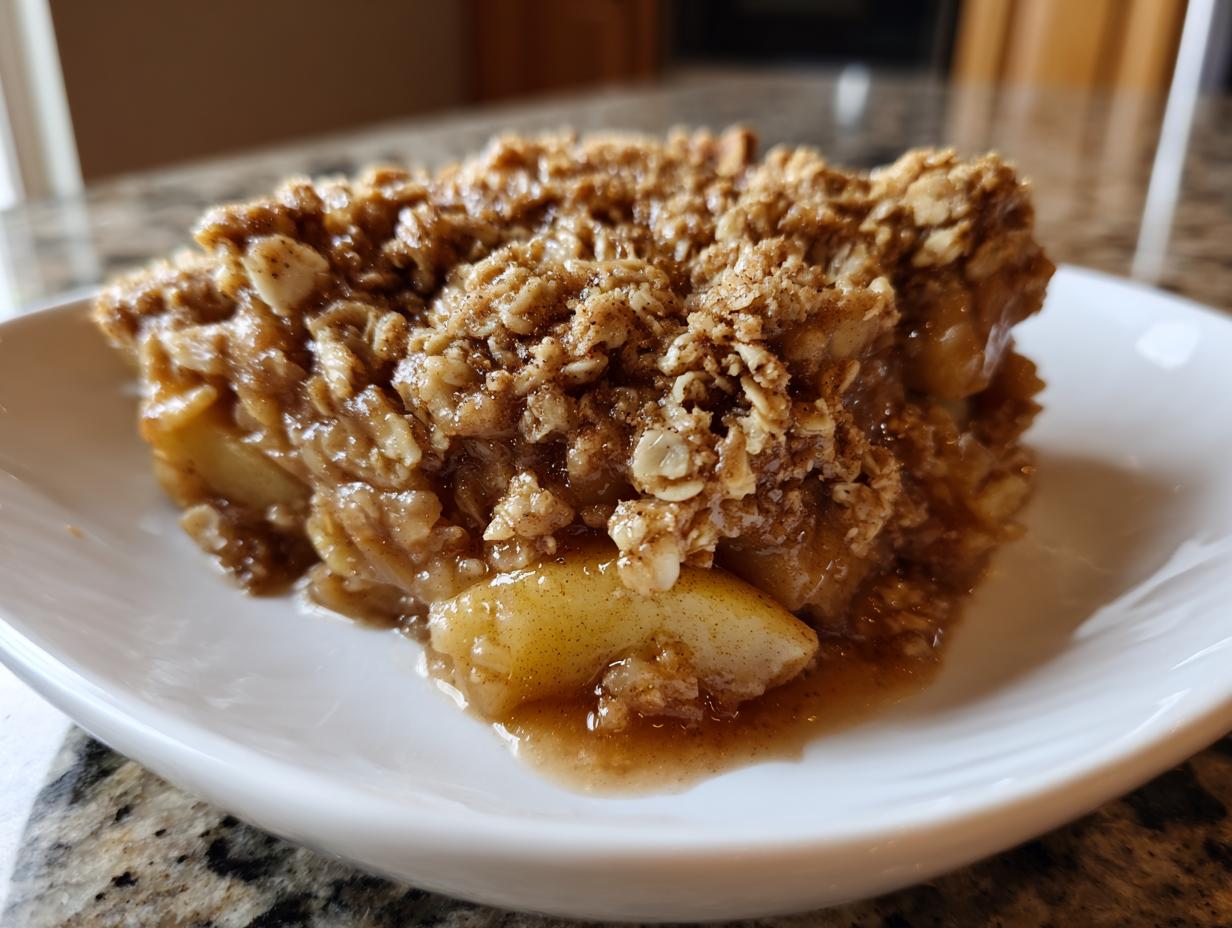
Seriously, if you’re looking for the absolute Best Apple Crisp Recipe Homemade, stop scrolling. This isn’t some overly fussy bake; it’s genuinely an Old Fashioned Apple Crisp that trusts simple ingredients to do the heavy lifting. We nail that perfect contrast every single time: the filling is juicy and soft, and the topping? Oh my gosh, the topping is pure, buttery crunch. I developed this version after trying dozens of versions, trying to capture that feeling of my grandmother’s kitchen—that blanket of warmth and safety a good dessert provides—but I needed it to be quick enough for a Tuesday night.
This recipe cuts out all the unnecessary steps. It’s fast, it’s traditional, and it delivers that deep fall flavor with cinnamon and brown sugar doing the heavy work. It’s the kind of baking that clears your head in under an hour.
Key Features of Our Easy Apple Crisp Dessert
- Prep time is under 20 minutes, perfect for a Quick Apple Dessert Recipe.
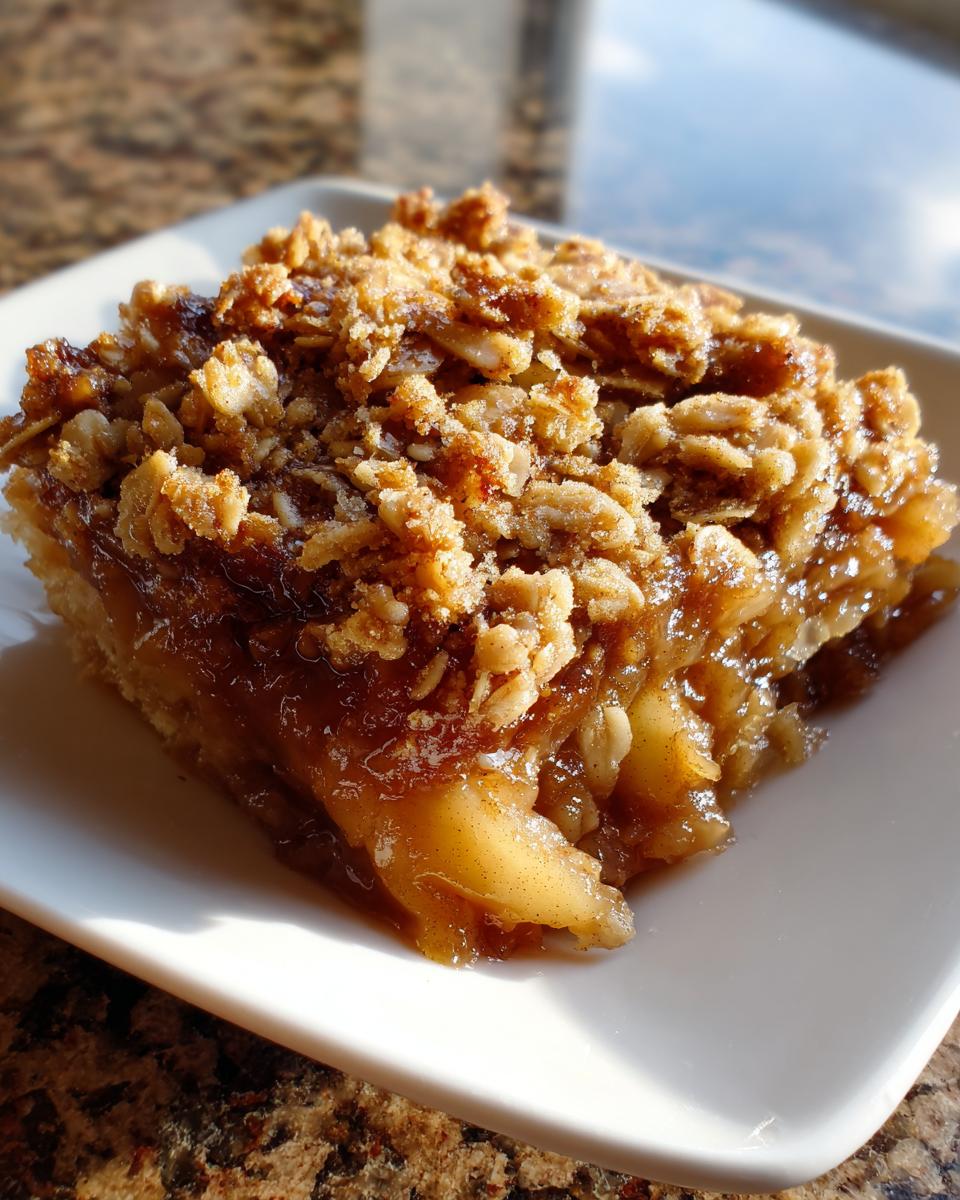
- The topping uses simple oats and butter to guarantee that satisfying, Buttery Crumble Topping texture that never gets soggy on the bottom.
- It features that classic, warm flavor profile we crave during Autumn Apple Desserts. You won’t need complicated additions here!
- It’s absolutely foolproof; the measurements ensure you get that required tender apple texture every time.
Gathering Ingredients for Your Apple Crisp Recipe
Okay, let’s get straight to what you need! This simple recipe keeps the ingredient list short so you can make this apple crisp recipe without a trip to three different stores. We need the apples (obviously!), plus the foundational spices like cinnamon and brown sugar that scream autumn. For the topping, we use rolled oats, flour, and butter—that’s it for that amazing crunch.
Don’t just grab any apples, though! For the Perfect Baked Apple Filling, you want a mix. I almost always use some tart Granny Smiths because they hold their shape, paired with a sweeter apple like Honeycrisp so you get great flavor without needing tons of extra sugar. Ready? Here’s what you need to put together.
Ingredient Notes and Apple Substitutions
Listen to me about the butter for the topping: it has to be cold, and I mean *cold*, cut into little cubes. That’s the secret weapon for that glorious, jagged, Buttery Crumble Topping texture—warm butter just makes a paste, and we don’t want paste! If you happen to be out of oats, you could probably use an almond flour/general flour blend just to bind it, but honestly, that oat texture is what makes this a classic crisp, not a crumble.
Also, don’t skip the lemon juice! It keeps the apples looking bright after you slice them, and it cuts through the sweetness just a touch. It’s those little classic tricks that make the biggest difference in any Simple Fruit Crisp Recipe.
How to Make Apple Crisp From Scratch: Step-by-Step Instructions
This is where the magic happens! Making this apple crisp recipe truly from scratch is surprisingly fast. First thing’s first: crank that oven up to 375°F (190°C) and make sure your 8×8 inch baking dish is lightly greased. We want everything ready to go because once these apples are spiced, they need to get into that heat ASAP!
Preparing the Perfect Baked Apple Filling
Grab your big mixing bowl. Toss those beautiful sliced apples with the granulated sugar, that small bit of flour, one teaspoon of cinnamon, and the lemon juice. Don’t get violent here! You want to gently toss everything—I mean, use a rubber spatula and fold carefully—so you coat every piece without bruising those lovely slices. Once they are perfectly coated, spread them out flat in that prepared dish. Make sure they are in a nice, even layer so they bake evenly. That’s it for the apples!
Achieving the Warm Apple Crisp with Oat Topping
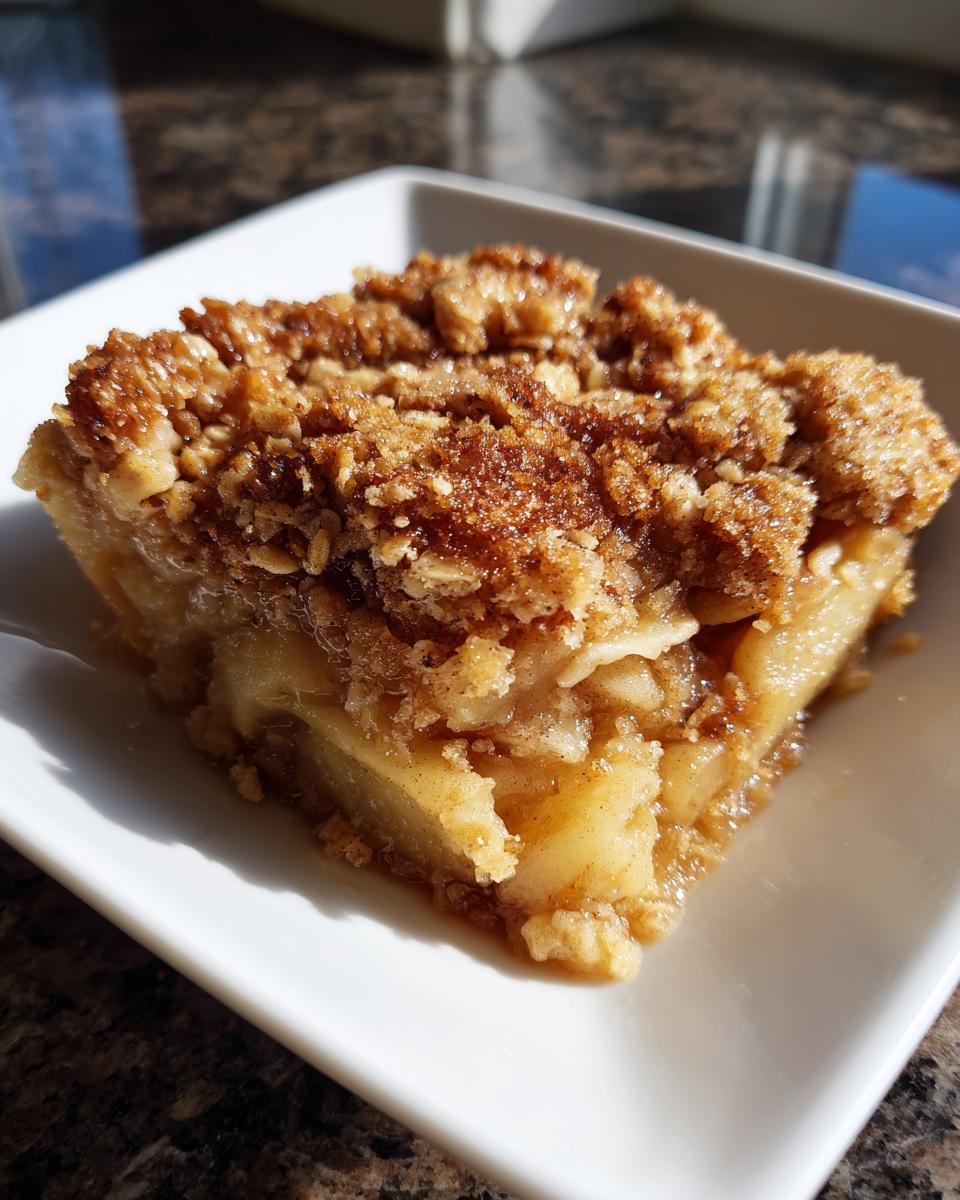
Now for my favorite part, the topping! In a separate bowl, mix all your dry topping ingredients: the remaining flour, the oats, brown sugar, that last dash of cinnamon, and the salt. Take your cold butter pieces and start cutting that in. You can use a pastry blender, but honestly, just using your fingertips works best for me. Pinch and rub that butter into the mix until it looks like coarse, uneven crumbs. You need those distinct, buttery pieces because that’s what gives you that unbelievable crunch! Don’t mix until it’s smooth; we want texture. Sprinkle this glorious mixture right over the apples and press down just a *tiny* bit. Pop it in the oven for about 35 to 45 minutes. You’ll know it’s done when the topping is golden brown and you see the apple filling fiercely bubbling around the edges. If you want to see a visual walkthrough of this process, this helpful guide shows just how satisfying the mixing can be!
Tips for Success with Your Apple Crisp Recipe
Even with a simple apple crisp recipe, sometimes you run into little hiccups, right? I’ve learned a few tricks over the years to make sure you get that perfect crunch every time. First, and please trust me on this one, if you notice your topping browning up too quickly—like, halfway through baking—just grab a piece of foil and gently tent it over the dish. It protects the oats while letting the apples bubble away happily underneath. This prevents that burnt flavor!
If you are using a glass baking dish, sometimes the bottom gets a little slow to cook, leading to that dreaded soft bottom. To combat that, try placing your glass dish right on top of a preheated cookie sheet in the oven. That direct heat transfer helps firm up the apple filling faster. It’s a small move that makes a huge difference for an Old Fashioned Apple Crisp!
Finally, remember that 15-minute rest period after it comes out? Do not skip it! That time allows the filling to set up and thicken. If you dive in immediately, it’ll just be apple soup. For a visual on how some pros nail that perfect topping texture, check out this great video guide. It shows off what that golden, crunchy layer should look like!
Serving Suggestions for Your Apple Dessert with Vanilla Ice Cream
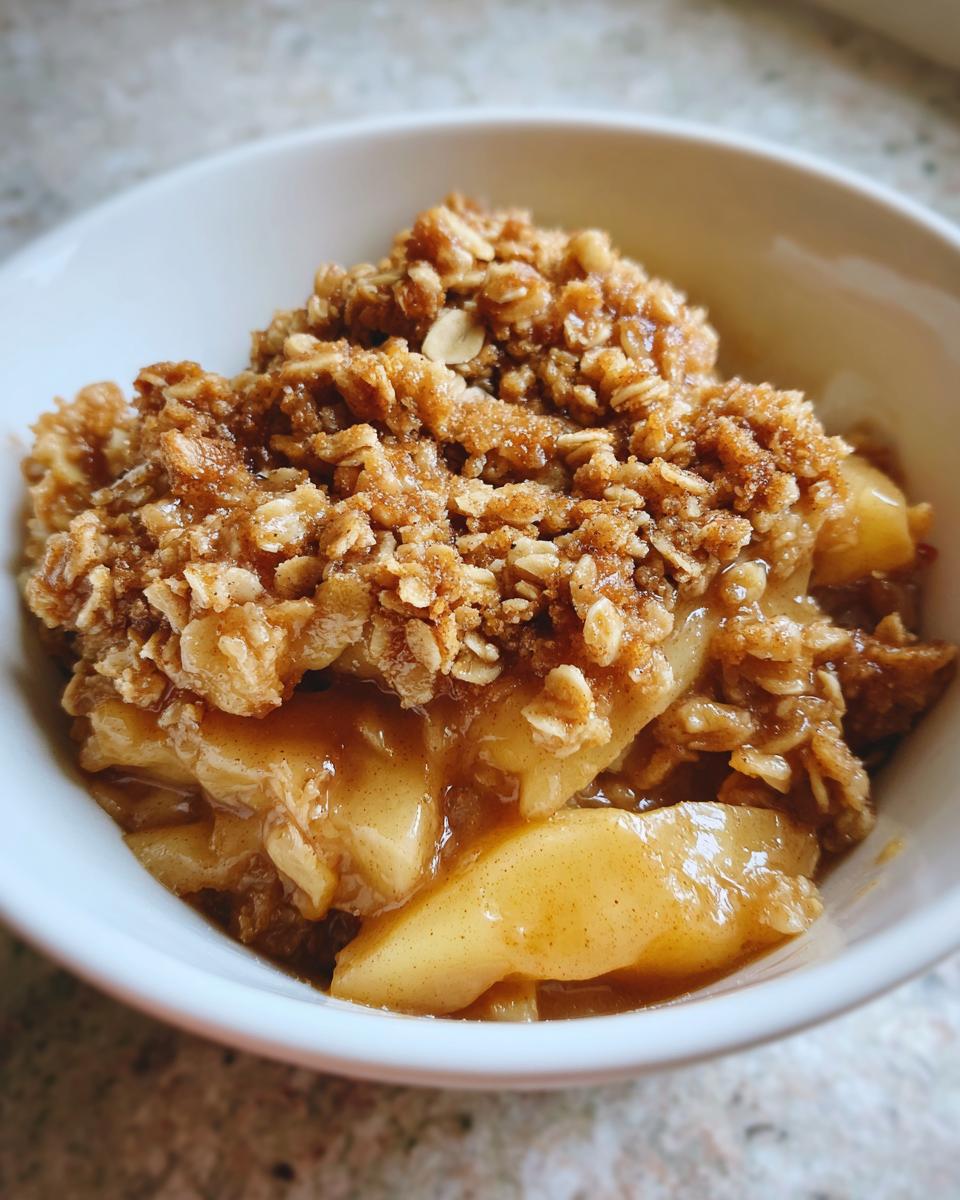
Listen, the time you’ve waited for has finally arrived, but don’t serve this masterpiece lukewarm! The entire point of this perfect apple crisp recipe is enjoying that glorious contrast between hot and cold. I am obsessed with topping mine with a huge, slightly melting scoop of good vanilla bean ice cream. That cold creaminess against the hot, spiced apples? Absolute heaven.
If vanilla isn’t your speed, don’t fret! A dollop of freshly whipped cream works beautifully, perhaps sprinkled with a tiny bit of extra cinnamon. For those of you who like things extra decadent, drizzle a little homemade caramel sauce right over the top. It makes everything feel special and fancy, even though we know how easy this dessert actually was to make. For inspiration on making that topping extra special, take a peek over at The Meal Journal.
Storage and Reheating Instructions for Leftover Apple Crisp Recipe
So, if you manage to have any leftovers—which, honestly, is a feat in my house—you’ll want to make sure the second serving is almost as good as the first. That’s the tricky part with any crisp: keeping the topping crunchy! For short-term storage, like overnight, you can leave your apple crisp recipe right on the counter, covered loosely with foil or plastic wrap, as long as your kitchen isn’t too warm.
If you need it to last longer, definitely pop it in the fridge. Make sure whatever you cover it with isn’t touching the topping, or you’ll seal in moisture and it’ll get soft fast. Keep it airtight for up to three days, though I find day two is peak flavor!
Reheating is where you want to be smart, especially if you’re aiming for that Buttery Crumble Topping to snap back. Please, resist the urge to microwave the whole thing! The microwave heats the apples perfectly but turns the top into lukewarm mush. For a truly great leftover experience, reheat individual portions on a baking sheet in the oven at about 350°F (175°C) for about 8 to 10 minutes. That little bit of dry heat brings the crunch right back. If you’re in a rush, a quick 45 seconds in the microwave is fine, but you have to expect a softer top for your Quick Apple Dessert Recipe fix!
Frequently Asked Questions About This Apple Crisp Recipe
I know when you find a new recipe, you always have a few little things you need to double-check before you commit oven time, so let’s run through the common ones for this apple crisp recipe!
Can I use different fruits in this apple crisp recipe?
Absolutely! While I adore the texture of apples, especially the tart ones, this is such a forgiving Simple Fruit Crisp Recipe at heart. You can definitely use pears, or a mix of berries paired with apples. Just know that softer fruits release more liquid, so you might want to increase that tablespoon of flour in the filling slightly, or your filling might end up a little runnier than that perfect apple bake.
How do I prevent the oat topping from burning before the apples are done?
This is a super common worry, especially if you like your apples extra soft! If you notice the crust—that beautiful, crunchy part that makes this more than just a Cinnamon Apple Crumble—is turning dark brown but you can still hear the apples being stubborn underneath, just take a sheet of aluminum foil and loosely drape it over the dish. It’s like giving the topping a little sun hat! That shields it from direct heat while letting the filling cook down. It works like a charm every time.
We want to make sure you feel totally confident baking this, so if you have any privacy concerns about submitting reviews or photos, feel free to check out our Privacy Policy before sharing anything!
Estimated Nutritional Data for This Quick Apple Dessert Recipe
Because part of my philosophy here at MayaPlate is about making sure you feel supported in what you eat—even when you’re indulging in a cozy treat—I wanted to give you a rough idea of what’s in a serving of this delicious apple crisp recipe.
Remember, these numbers are estimates based on standard ingredient amounts listed above, and they can shift a little depending on the exact type of apple or how much butter you managed to sneak into the topping (don’t worry, I won’t tell!). This is just here to give you a baseline as you enjoy this amazing Comfort Food Baking dish.
Here is a general breakdown for one serving:
- Calories: Approximately 350
- Total Fat: About 18g
- Carbohydrates: Around 48g
- Protein: Roughly 4g
- Sugar Content: About 30g
See? Not bad at all for something that tastes this incredible! It’s the perfect way to enjoy a sweet treat without feeling like you’ve completely derailed your healthy eating goals. If you ever want to reach out with specific questions about ingredients or customizing this recipe, please don’t hesitate to use our Contact page. We love hearing from you!
Share Your Cozy Evening Treats Dessert Experience
Now that you have the secrets to the apple crisp recipe, I really, truly want to know how it turned out for you! Did you serve it piping hot with that melting scoop of vanilla ice cream? Please take a picture and share your beautiful Cozy Evening Treats Dessert with us!
Tag us online so we can see your perfect crunchy topping. I always get such a boost seeing how you’ve brought MayaPlate comfort into your own busy lives. If you need a little more quick inspiration for next time, check out what others are baking at this spot. Happy baking!
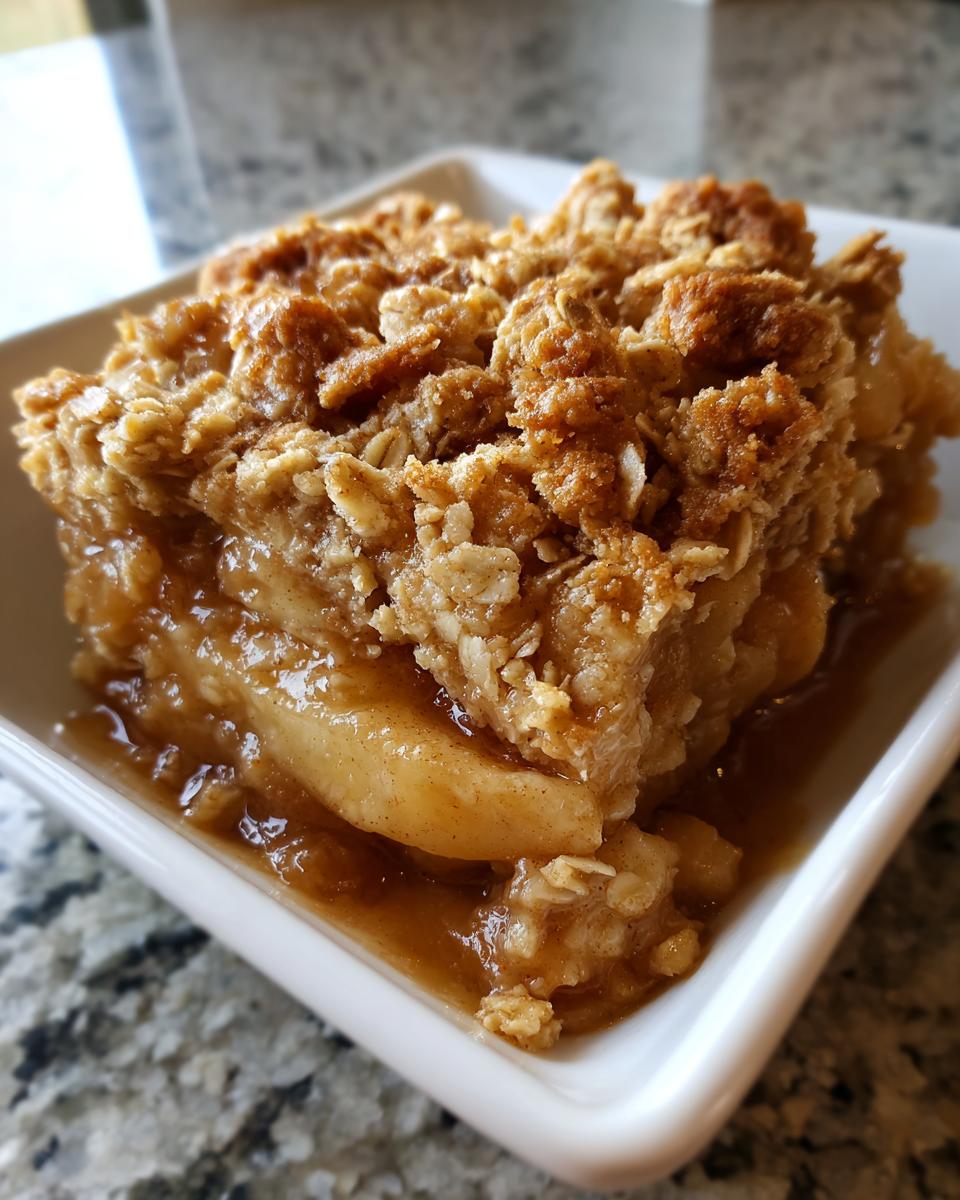
PrintThe Best Classic Apple Crisp Recipe with Buttery Oat Topping

Make this easy apple crisp recipe for a warm, comforting dessert featuring tender, juicy apples and a crunchy, buttery oat topping. It is perfect for cozy evenings.
- Prep Time: 15 min
- Cook Time: 40 min
- Total Time: 55 min
- Yield: 6 servings 1x
- Category: Dessert
- Method: Baking
- Cuisine: American
- Diet: Vegetarian
Ingredients
- 6 medium apples (like Granny Smith or Honeycrisp), peeled, cored, and sliced
- 1/4 cup granulated sugar
- 1 tablespoon all-purpose flour
- 1 teaspoon ground cinnamon
- 1 tablespoon lemon juice
- 1/2 cup all-purpose flour (for topping)
- 1/2 cup old-fashioned rolled oats
- 1/2 cup packed brown sugar
- 1/4 teaspoon ground cinnamon (for topping)
- 1/4 teaspoon salt
- 1/2 cup (1 stick) cold unsalted butter, cut into small pieces
Instructions
- Preheat your oven to 375°F (190°C). Lightly grease an 8×8 inch baking dish.
- In a large bowl, combine the sliced apples, granulated sugar, 1 tablespoon flour, 1 teaspoon cinnamon, and lemon juice. Toss gently to coat the apples evenly.
- Spread the apple mixture into the prepared baking dish in an even layer.
- In a separate medium bowl, prepare the topping. Combine the 1/2 cup flour, oats, brown sugar, 1/4 teaspoon cinnamon, and salt. Mix these dry ingredients together.
- Cut in the cold butter using a pastry blender or your fingertips until the mixture resembles coarse crumbs. Do not overmix; you want distinct buttery pieces for crunch.
- Sprinkle the oat topping evenly over the apples in the baking dish. Press down lightly.
- Bake for 35 to 45 minutes, or until the topping is golden brown and the apple filling is bubbly and tender when pierced with a fork.
- Remove from the oven and let it cool for at least 15 minutes before serving warm with vanilla ice cream.
Notes
- For the best texture, use a mix of tart and sweet apples.
- If you prefer a richer flavor, substitute half the granulated sugar in the filling with maple syrup.
- To achieve the perfect crunch, make sure your butter is very cold when making the topping.
Nutrition
- Serving Size: 1 serving
- Calories: 350
- Sugar: 30g
- Sodium: 150mg
- Fat: 18g
- Saturated Fat: 11g
- Unsaturated Fat: 7g
- Trans Fat: 0g
- Carbohydrates: 48g
- Fiber: 4g
- Protein: 4g
- Cholesterol: 45mg