
We all have those nights, right? You’ve got crispy oven fries or some beautiful grilled chicken waiting, and you realize the store-bought dipping sauces just aren’t going to cut it. You want that punchy, rich, restaurant-style flair, but you definitely don’t have time to stand over an egg yolk and oil for twenty minutes trying to whip up a classic emulsion. Honestly, that’s exactly how MayaPlate started—by finding real-world solutions for real life! I promise you, this ultra-fast, mayo-based garlic aioli recipe is my secret weapon. It comes together in five minutes flat, bringing that gourmet, deeply flavorful texture to your table whenever you need it. It’s practical, it’s incredibly delicious, and it means you never have to settle for boring dips again.
- Why This 5-Minute Garlic Aioli Recipe Delivers Restaurant Style Flavor
- Ingredients for Your Easy Homemade Sauce
- Step-by-Step How to Make Aioli (The 5-Minute Garlic Aioli Recipe)
- Expert Tips for the Best Homemade Aioli
- Serving Suggestions: What to Pair with Your Garlic Aioli Recipe
- Storage and Reheating Instructions for Your Creamy Aioli Recipe
- Frequently Asked Questions About This No Egg Aioli
- Nutritional Estimates for the Garlic Aioli Recipe
- Share Your Homemade Garlic Aioli Recipe Creations
Why This 5-Minute Garlic Aioli Recipe Delivers Restaurant Style Flavor
You might think you need hours and egg yolks to get that silky restaurant-style result, but trust me, you don’t! Our strategy focuses on maximizing flavor and texture using everyday quality ingredients. This is how we manage to whip up a sauce that tastes like it took all afternoon. It’s all about smart shortcuts that don’t sacrifice quality. This is the easy homemade sauce everyone asks me to bring to parties.
Achieving a Velvety Garlic Dipping Sauce Texture
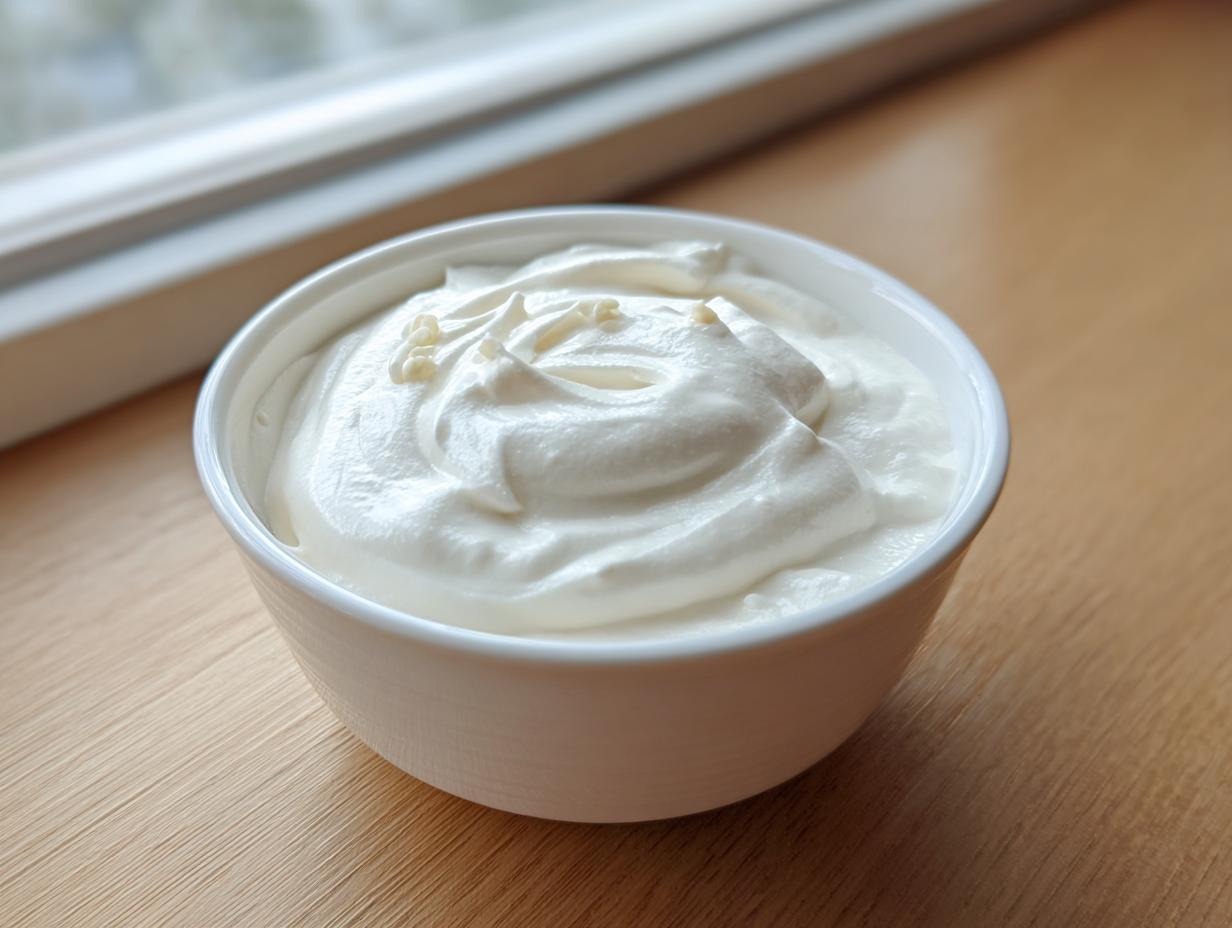
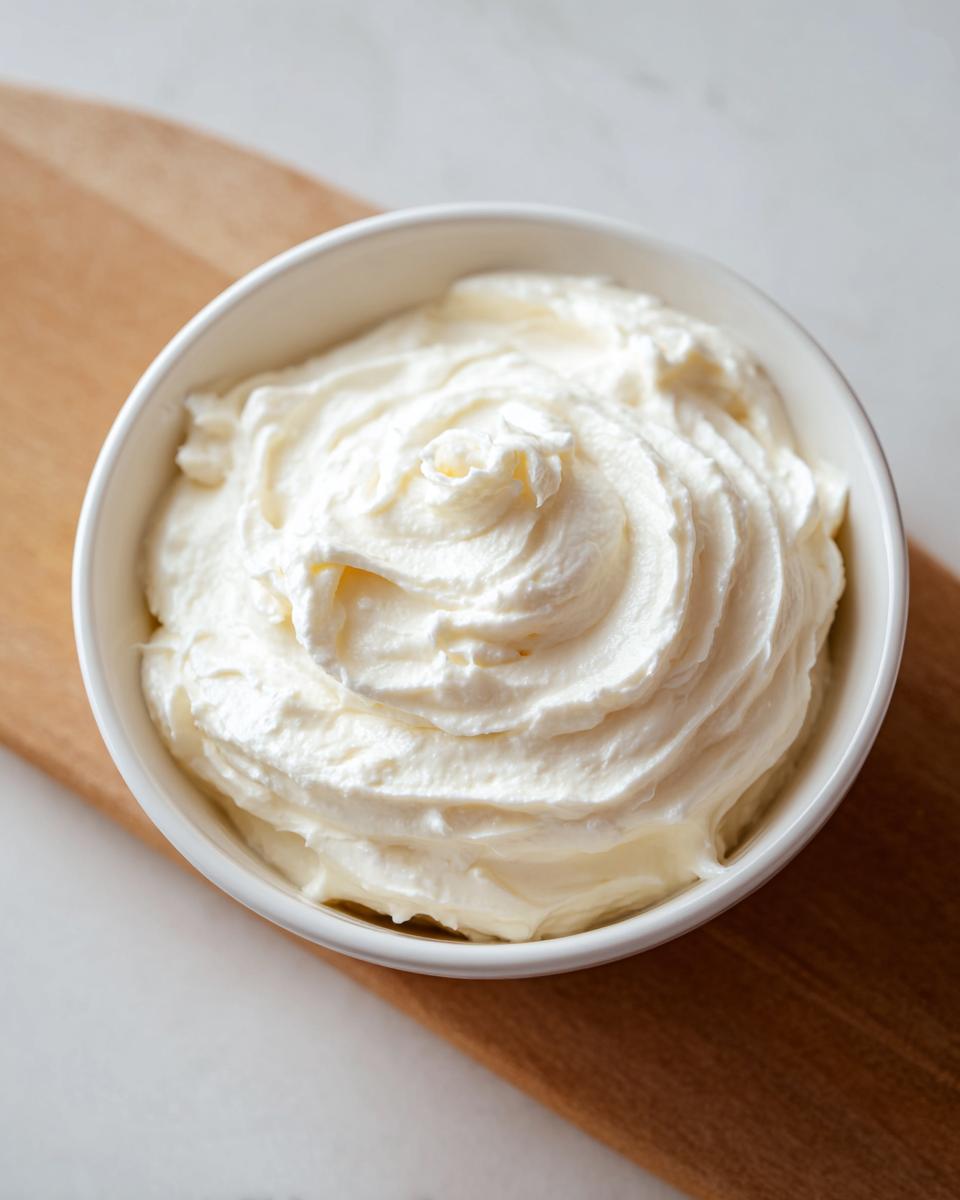
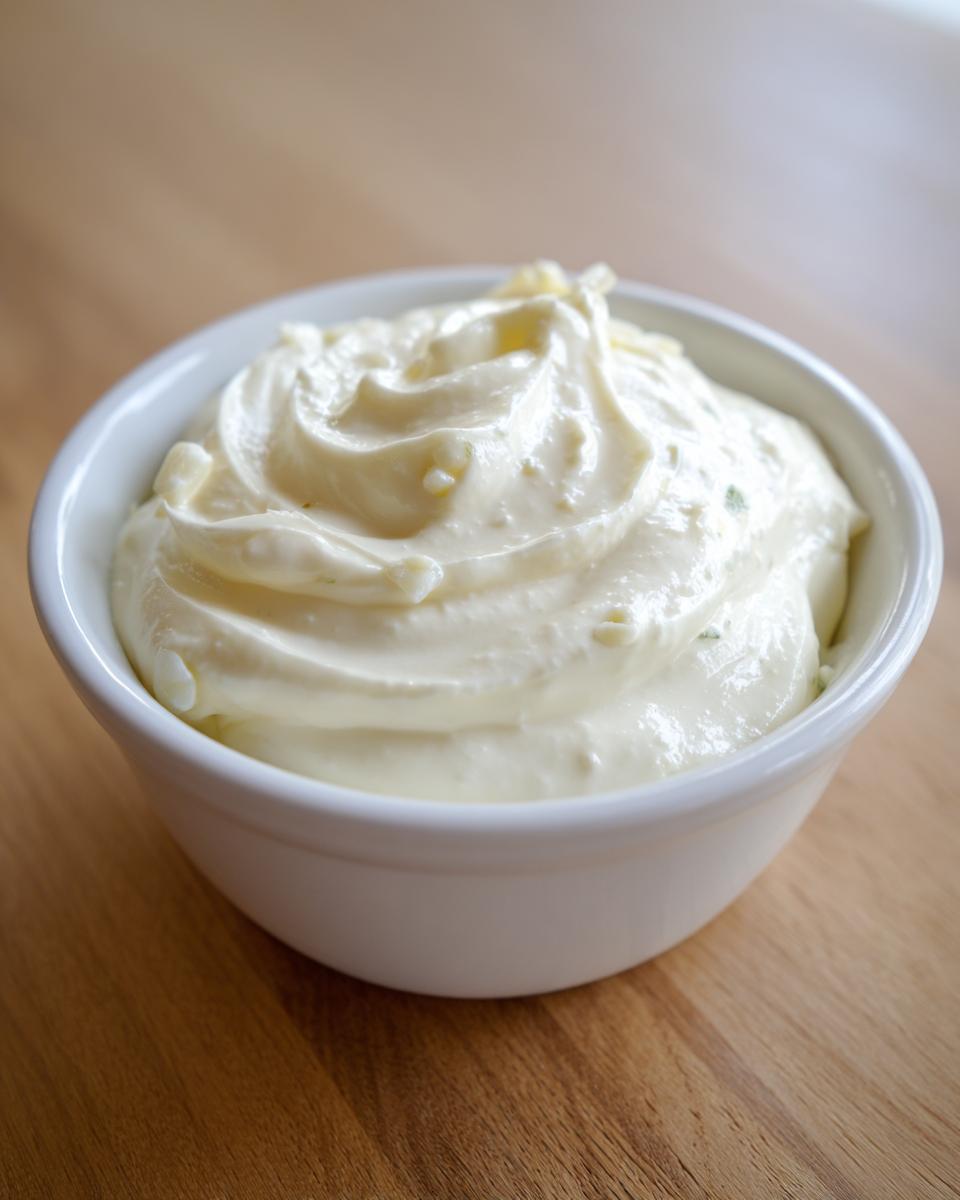
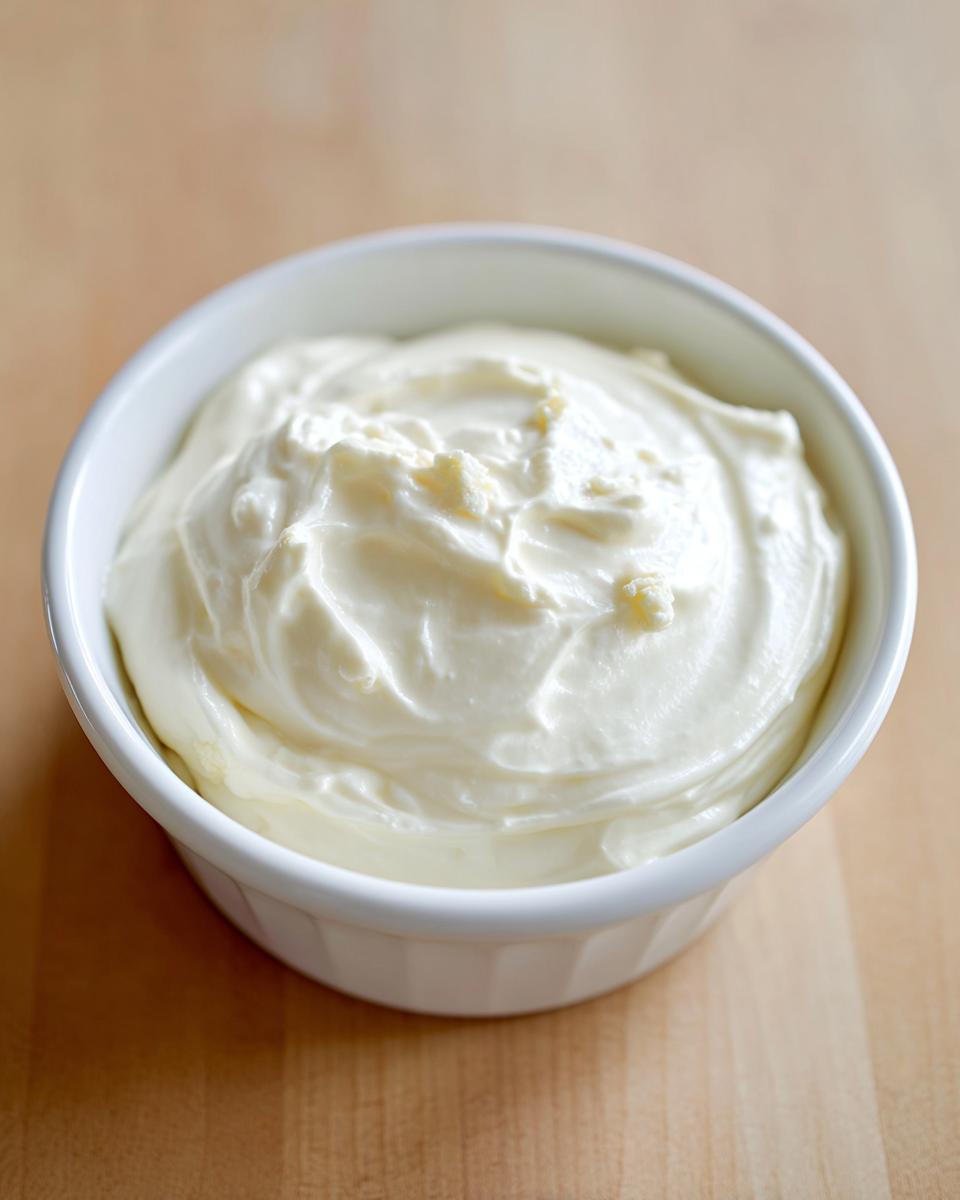
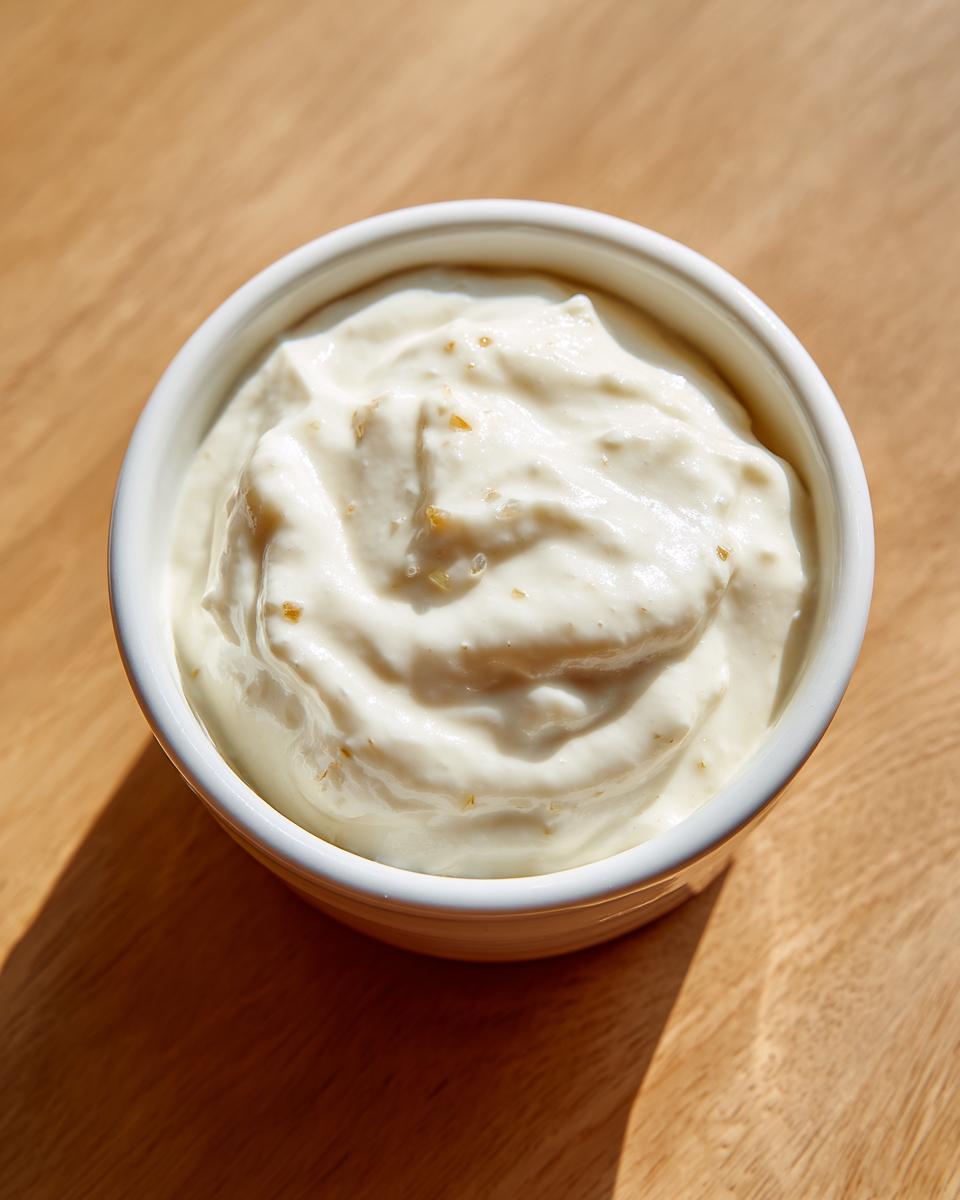
The secret weapon here is using really good quality mayonnaise. Since we aren’t making a traditional emulsion, the mayo provides that rich, stable base for our creamy aioli recipe without the fuss or the risk of scrambling raw eggs. When you mince your garlic super fine—like almost a paste—it melts right into the base, ensuring every scoop of this **garlic dipping sauce** is flawlessly smooth and not chunky.
The Role of Acid in This Quick Condiment Recipe
What separates this from just plain garlic mayo is the brightness from the lemon. That fresh acid is crucial! It cuts through the richness of the mayonnaise beautifully, giving the sauce that addictive, zesty finish that signals gourmet. This perfect balance of richness and tang is absolutely necessary if you want it to taste like a true **restaurant style aioli**.
Ingredients for Your Easy Homemade Sauce
When you’re whipping this up, remember the MayaPlate philosophy: simple ingredients, maximum flavor! Because this **quick condiment recipe** really just relies on assembling a few core items, using the best quality you can find really makes a difference. Don’t stress if you don’t have everything—it’s very forgiving—but aim for fresh garlic, always!
This recipe makes about 1 full cup of delicious sauce, which is perfect for dipping a big batch of fries, or keeping in the fridge for weekly sandwich upgrades. Here’s exactly what you need for this amazing easy homemade sauce:
- 1 cup good quality mayonnaise (This is the backbone!)
- 3 cloves fresh garlic, minced very finely or pressed (Don’t cheat on fresh here!)
- 1 tablespoon fresh lemon juice (The zestier, the better!)
- 1 tablespoon olive oil (I prefer extra virgin for that extra little flavor note)
- 1/4 teaspoon salt (Start here, you can always add more later)
- 1/8 teaspoon black pepper (Freshly cracked is always best!)
Step-by-Step How to Make Aioli (The 5-Minute Garlic Aioli Recipe)
Okay, buckle up! This is where the magic happens, and honestly, it’s barely longer than brewing a cup of tea. I’ve broken down the process into three simple stages, but the most important thing you need to know right now is that we give the garlic a little head start. Seriously, don’t skip that first minute or two—it changes everything for your final garlic aioli recipe.
Prep the Garlic: The Flavor Foundation
First things first, get that garlic ready. You need to mince your three cloves as finely as humanly possible, or just use a garlic press—whatever gets it almost into a liquid state. Here’s my trick: put that minced garlic right into your mixing bowl and just let it sit there for two minutes before you add anything else. It sounds funny, but letting it rest lets those potent flavor compounds wake up and mellow just slightly before they meet the mayo. It’s a tiny step, but it gives you cleaner, deeper garlic flavor, which is what we want in a great homemade aioli.
Whisking to a Velvety Garlic Sauce
After the garlic has had its little moment, toss in the rest of the goods: your mayonnaise, lemon juice, olive oil, salt, and pepper. Now, you grab your whisk and go to town! You need to whisk everything together really well—I mean vigorously—until you see absolutely no streaks of oil or clumps of garlic. Keep whisking until the mixture transforms into that beautiful, thick, **velvety garlic sauce** you’re looking for. This usually takes less than a minute if the garlic is prepped right.
The Critical Chilling Step for the Garlic Aioli Recipe
Once it looks perfectly combined and creamy, give it a quick taste. Does it need more salt? Maybe a tiny squeeze more lemon for zing? Adjust it now! But, and listen closely, this is non-negotiable for maximum impact: cover that bowl and pop it into the fridge for at least 15 minutes. This chilling time is essential for this **garlic mayo sauce** because it lets the fresh garlic fully infuse itself all through that creamy base. After 15 minutes, you’ve got a powerhouse **garlic aioli recipe** ready to go!
Expert Tips for the Best Homemade Aioli
Now that you know the how-to, let’s talk about making this truly *yours*. Even though this is a super quick easy homemade sauce, paying attention to a couple of details is how you elevate it from good to absolutely unforgettable. I always keep notes on what works best when I’m experimenting, and I want to pass those little secrets on to you so your sauce is perfect every single time you make this **garlic aioli recipe**.
Ingredient Notes and Substitutions for Your Garlic Aioli Recipe
If you don’t have fresh garlic on hand, you can absolutely swap it out! For a deeper, almost caramelized flavor, use about 1 teaspoon of store-bought roasted garlic paste instead of the three fresh cloves. It changes the whole vibe! Also, remember that the mayo is the star here; using a brand you genuinely love the taste of makes a huge difference since it’s our primary component for that rich texture.
Creating Flavorful Aioli Variations
Once you nail the base, it’s time to play! This is my favorite part of any **garlic aioli recipe**. If you have a few fresh herbs lying around, throw in a tablespoon of finely chopped chives or parsley—it adds such a lovely color and freshness. Want a little warmth? A tiny pinch of smoked paprika mixed in adds a lovely depth that works wonders if you’re using this as an **aioli for fries**!
Serving Suggestions: What to Pair with Your Garlic Aioli Recipe
Honestly, that’s the best part about having this fantastic sauce ready! It turns everything into an event, even if it’s just leftovers. Because this garlic aioli recipe is so wonderfully versatile, you’ll find yourself drizzling it everywhere. Of course, it’s divine as an aioli for fries—we all know that! But don’t stop there.
It doubles perfectly as a **simple sandwich spread**; skip the boring mustard and slather this on your next turkey wrap. I also love serving a dollop alongside flaky white fish or grilled shrimp. Even simple roasted asparagus tastes like it came from a fancy restaurant when you give it a good swirl of this creamy dip! Use it as a **garlic dipping sauce** for everything! For the absolute best experience, try it on a crispy chicken burger, using the sauce as the main event spread—check out my guide on the perfect simple sandwich spread for more ideas!
Storage and Reheating Instructions for Your Creamy Aioli Recipe
Okay, so the hard part—actually making the sauce—is done! Now we need to talk about keeping this gorgeous, **creamy aioli recipe** tasting as bright and garlicky as possible. Since this is a fresh condiment, storage is pretty straightforward, but there are a couple of key things I always do to keep it perfect.
The best practice is to get this sauce into an airtight container the second it comes out of that chill period. I use one of those little glass jars with the clamp lid. If you seal it up tight, this homemade aioli will stay incredibly fresh in the refrigerator for about a week. Taste-wise, it’s usually best within the first three to four days, but it definitely lasts.
Now, here’s the thing about reheating sauces like this—it’s just not necessary, and frankly, I wouldn’t recommend it! Because this **garlic mayo sauce** relies on the stable structure of the mayonnaise, heating it up can sometimes cause separation, and you lose that lovely fresh vibrancy from the lemon juice. If you notice it looks a little stiff after being in the fridge for a few days, just let it sit on the counter for about 10 minutes before using it. That little bit of time lets it soften up perfectly, so you don’t mess with the texture. Remember, the flavor actually gets a tiny bit better overnight, so plan to make it just ahead of time if you can!
Frequently Asked Questions About This No Egg Aioli
I get so many questions about this **garlic aioli recipe** because people are so used to the classic version! Since we built this one on speed and convenience, there are a few things folks ask about, especially around the base ingredients. Trust me, once you try this easy hack, you won’t stress about the traditional methods anymore. It’s all about making sure you get that velvety texture every time you want a quick dipping sauce.
Can I make this garlic aioli recipe without mayonnaise?
That’s a really good question, and here’s the honest truth: For this specific no egg aioli recipe, no, I really wouldn’t recommend skipping the mayonnaise! The mayo is what gives us that instant, super stable, creamy base. Traditional aioli requires you to slowly drizzle oil into raw egg yolks while whisking constantly—it’s an emulsion, and it takes time and patience. Since we are aiming for a **quick condiment recipe**, the pre-made consistency of good mayo lets us skip all that careful emulsifying work. It’s what makes this sauce safe and ready in five minutes!
How do I fix a runny garlic mayo sauce?
Oh boy, sometimes a sauce can be a little too thin! This usually happens if your mayonnaise was a bit looser than usual, or maybe you added a hair too much lemon juice. If your **garlic mayo sauce** seems a bit runny, don’t panic! The easiest fix is to grab just one more tiny spoonful of mayo and whisk it in vigorously. If you don’t have extra mayo, just put a lid on the whole thing and stick it back in the fridge for about 20 minutes. Seriously, chilling often thickens things up just enough as the ingredients settle and combine fully. That refrigeration step is truly a magic fixer!
Nutritional Estimates for the Garlic Aioli Recipe
I always get asked about the nutrition when people see how rich and delicious this garlic aioli recipe is! Since this is a homemade sauce loaded with good quality mayonnaise, it definitely clocks in as a treat, but I wanted to be totally transparent about what you’re working with nutritionally.
We want you to feel great about what you’re eating here at MayaPlate, and that means knowing the facts. Please remember these numbers are estimates based on the standard ingredients listed above and can change depending on the specific brand of mayo you use. These figures focus on a standard 2-tablespoon serving size—which, warning, is way too easy to eat on its own!
- Serving Size: 2 tablespoons
- Calories: 190
- Fat: 20 grams
- Saturated Fat: 3.5 grams
- Trans Fat: 0 grams
- Carbohydrates: 0.5 grams
- Sugar: 0.2 grams
- Protein: 0.3 grams
- Sodium: 180 mg
See? It’s high in fat because, well, it’s mayonnaise, honey! But look how low the sugar and carbs are—that’s why this becomes our go-to when we’re feeling like we need a tasty dip without loading up on hidden sugars. Enjoy this rich, flavorful condiment knowing exactly what’s in it!
Share Your Homemade Garlic Aioli Recipe Creations
Well, that’s it! You now have the blueprint for the fastest, creamiest, most flavorful **garlic aioli recipe** on the block. Since we’ve cut the work down to about five minutes, I genuinely can’t wait to hear what you think! Did you dunk your fries in it immediately? Did you sneak some onto a sandwich before anyone else noticed? These are the important details!
Making something simple shine is what the MayaPlate kitchen is all about, and hearing about your successes really fuels me to keep testing and sharing these practical recipes. Did you try adding fresh parsley? Did you find an amazing new pairing for this **garlic dipping sauce**?
Please, don’t be a stranger! I absolutely love seeing your creations. Drop a rating below—tell me how quickly you mixed it up and what you served it with. If you have any lingering questions about making this **easy homemade sauce** or want to share a substitution idea, head over to my contact page, or just shout it out in the comments. Happy dipping, everyone!
Print5-Minute Creamy Garlic Aioli: Restaurant Style Sauce
Make this easy homemade garlic aioli in just five minutes. This creamy, flavorful sauce uses simple ingredients to deliver a restaurant-style taste perfect for dipping fries or spreading on sandwiches.
- Prep Time: 5 min
- Cook Time: 0 min
- Total Time: 5 min
- Yield: About 1 cup 1x
- Category: Condiment
- Method: No Cook
- Cuisine: American
- Diet: Vegetarian
Ingredients
- 1 cup good quality mayonnaise
- 3 cloves fresh garlic, minced very finely or pressed
- 1 tablespoon fresh lemon juice
- 1 tablespoon olive oil (extra virgin preferred)
- 1/4 teaspoon salt
- 1/8 teaspoon black pepper
Instructions
- Place the minced or pressed garlic into a small bowl. Let it sit for about 2 minutes to allow the flavor to mellow slightly before mixing.
- Add the mayonnaise, fresh lemon juice, olive oil, salt, and pepper to the bowl with the garlic.
- Whisk all ingredients together vigorously until the mixture is completely smooth and creamy.
- Taste the aioli and adjust salt, pepper, or lemon juice as needed for your preference.
- For the best flavor, cover the aioli and chill it in the refrigerator for at least 15 minutes before serving. This allows the garlic flavor to fully infuse the sauce.
Notes
- For a richer, deeper flavor, substitute the fresh garlic with 1 teaspoon of roasted garlic paste.
- If you prefer a thinner sauce, add a few drops of water while whisking until you reach your desired consistency.
- Store this homemade aioli in an airtight container in the refrigerator for up to one week.
Nutrition
- Serving Size: 2 tablespoons
- Calories: 190
- Sugar: 0.2
- Sodium: 180
- Fat: 20
- Saturated Fat: 3.5
- Unsaturated Fat: 16.5
- Trans Fat: 0
- Carbohydrates: 0.5
- Fiber: 0.1
- Protein: 0.3
- Cholesterol: 10