
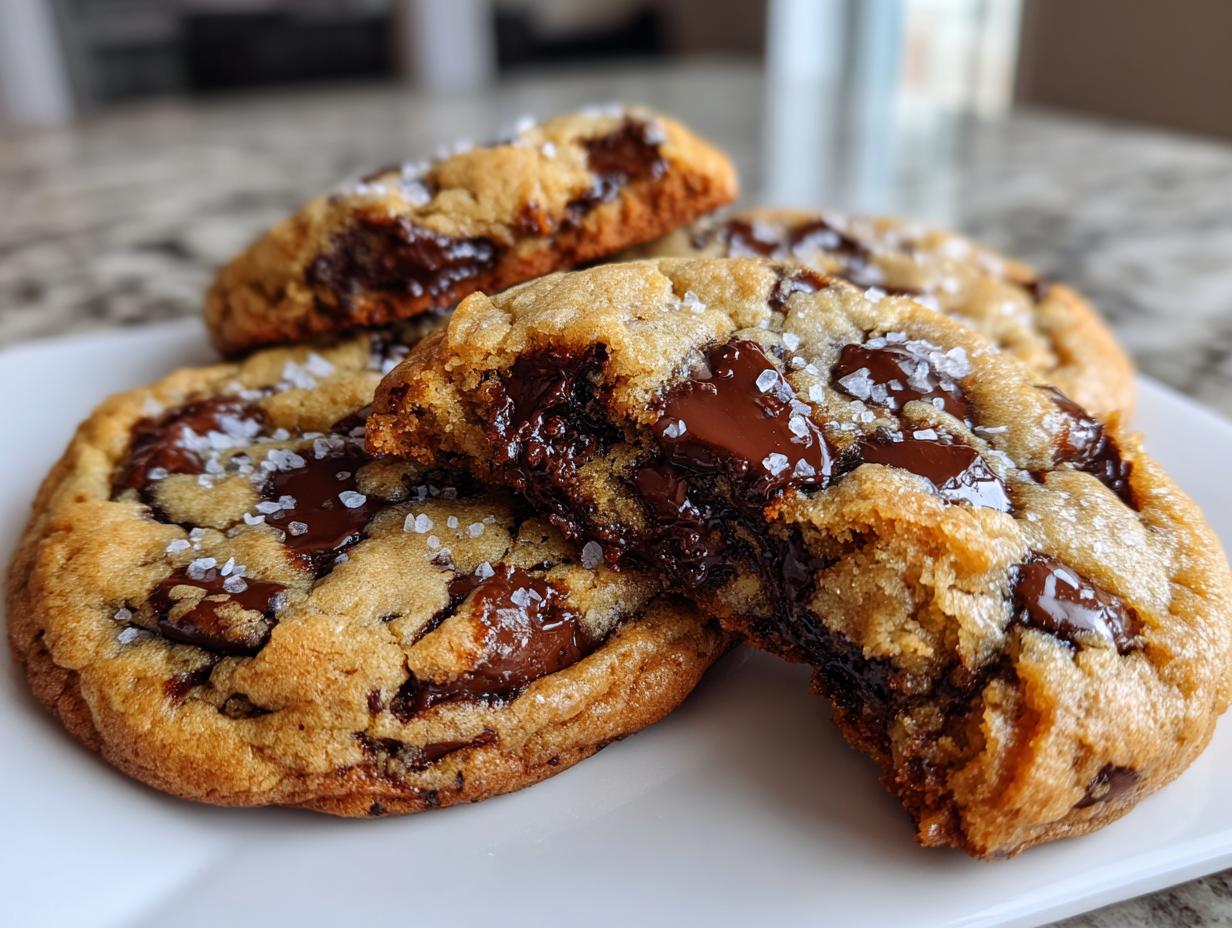
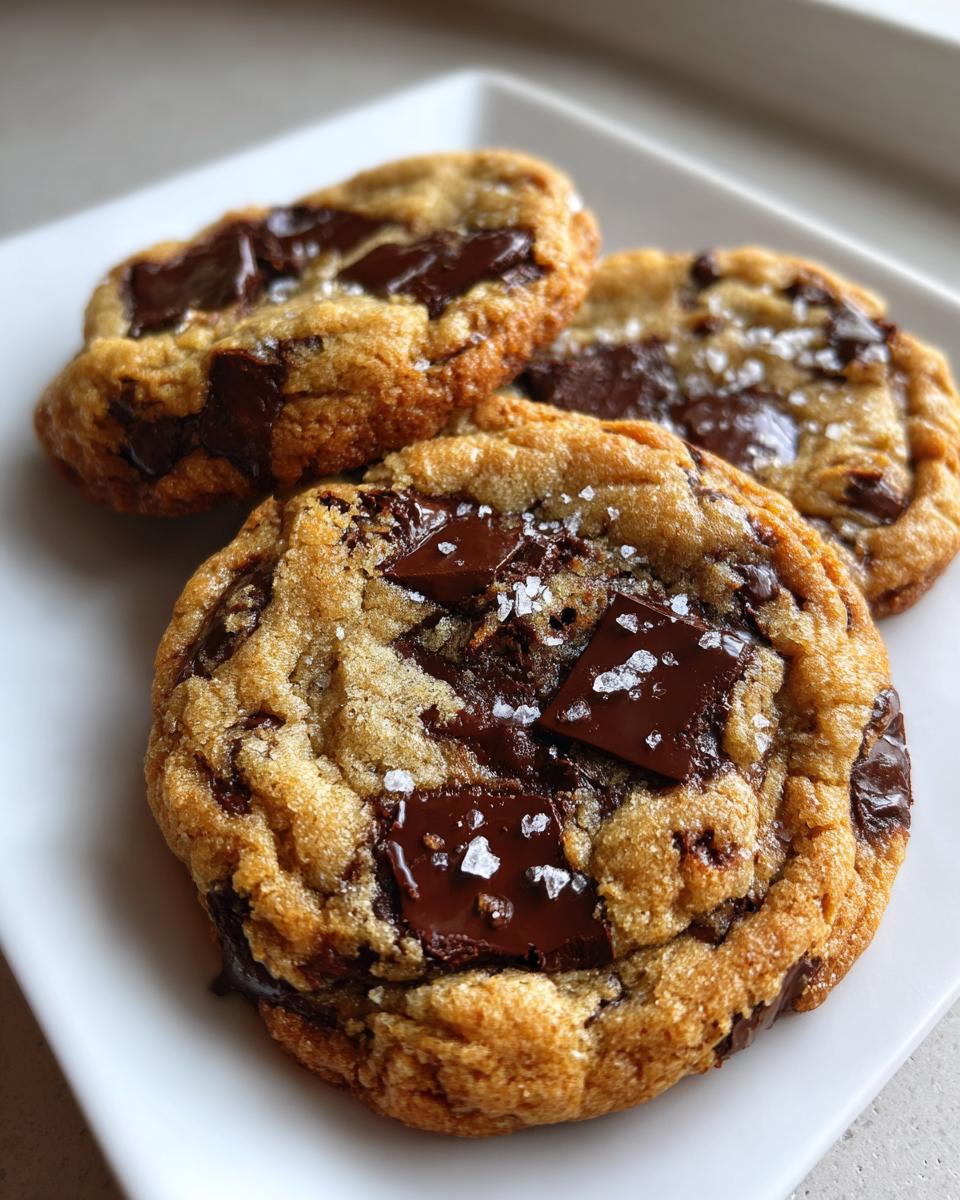
We all love a classic chocolate chip cookie, right? It’s the baseline comfort food! But honestly, sometimes that standard recipe just feels a little… flat. We want that moment of pause, that gourmet experience, but without adding hours to our day, which is why I developed this version of brown butter chocolate chip cookies. Trust me, browning the butter—that simple act of toasting the milk solids—is the absolute easiest way to elevate your favorite dough into something richly decadent. It adds this incredible, toasty, nutty depth that frankly, regular butter just can’t compete with. If you want to see how different perfectly executed classics can taste, check out my guide on soft, chewy, thick chocolate chip cookies too! We nail that technique perfectly here so you get bakery-style results every single time.
It’s all about applying smart steps to simple ingredients. If you want that superior flavor but need a reliable method, stick with me, because this recipe is foolproof and delivers pure, comforting joy.
- Why This Brown Butter Chocolate Chip Cookies Recipe is Superior (E-E-A-T Focus)
- Gathering Ingredients for Decadent Brown Butter Chocolate Chip Cookies
- How to Brown Butter for Cookies: The Key Technique
- Step-by-Step Instructions for Perfect Brown Butter Chocolate Chip Cookies
- Tips for Success with Brown Butter Chocolate Chip Cookies
- Storage and Reheating Brown Butter Cookies
- Variations on Your Brown Butter Chocolate Chip Cookies
- Frequently Asked Questions About Browned Butter Chocolate Chip Cookies Recipe
- Nutritional Snapshot for These Decadent Cookies
Why This Brown Butter Chocolate Chip Cookies Recipe is Superior (E-E-A-T Focus)
When you switch from plain old melted butter to brown butter, you aren’t just making a cookie; you’re unlocking a whole new dimension of flavor! This technique is what separates a good cookie from one that people demand the recipe for. That slight toasting of the butter solids creates a rich, almost caramel-like foundation that results in truly nutty chocolate chip cookies. It’s the heart of what makes these brown butter chocolate chip cookies so addictive.
I’ve tested countless batches so you don’t have to. The goal here is maximum reward for minimal extra effort. If you’re tired of cookies that taste okay but don’t wow anyone, this recipe is your secret weapon for delivering that unmistakable deep flavor chocolate cookies experience every time you bake. You can get inspired by some amazing thick cookies when you look at my guide to Levain-style cookies, but remember, the brown butter is the star here!
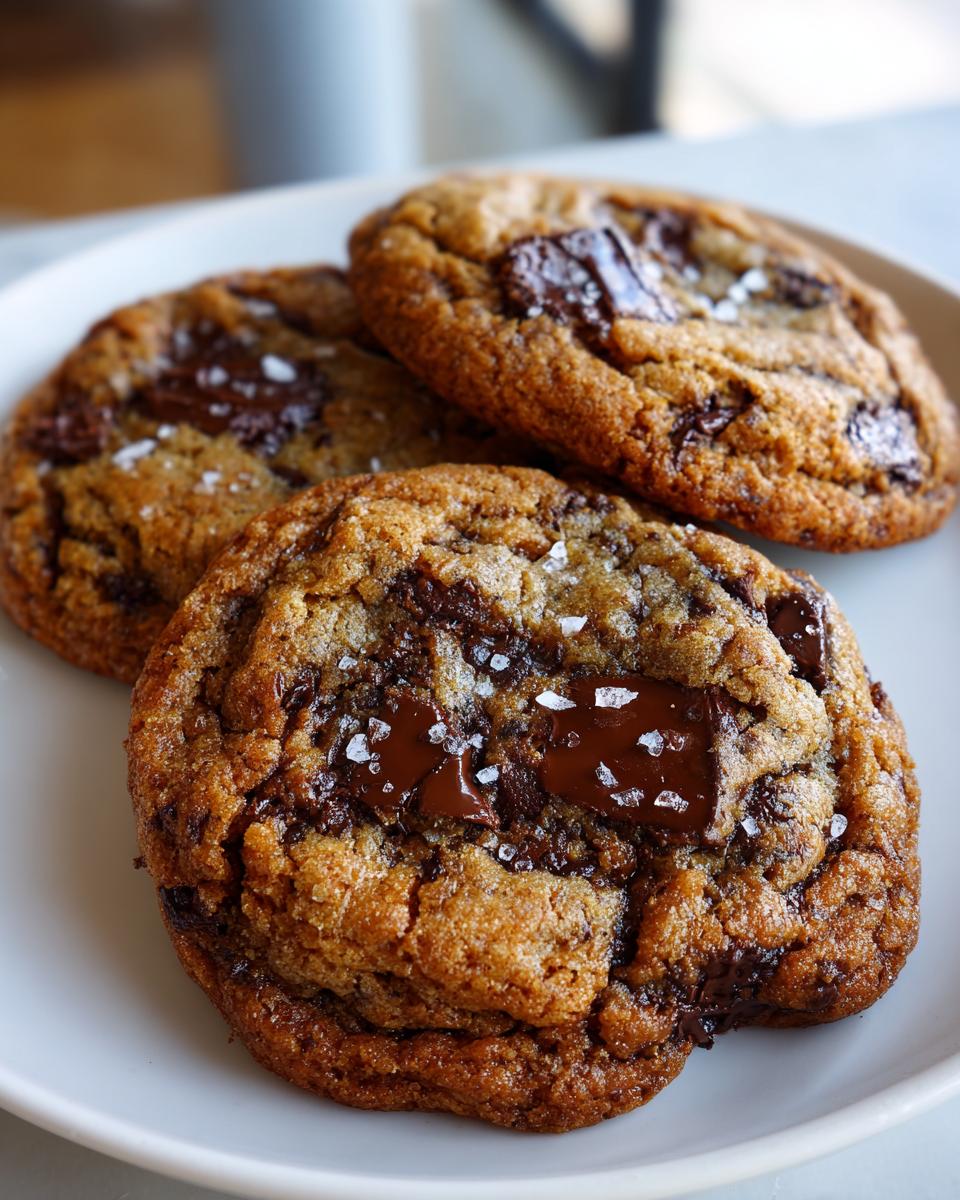
Achieving Crispy Edge Soft Center Cookies Texture
The brown butter step does wonders for flavor, but the cooling and chilling process is what locks in that perfect texture. Because the butter solids are slightly different after browning, they help the edges set up crisp faster in the oven. Plus, chilling the dough lets those flavors marry beautifully. That means you get those highly sought-after crispy edge soft center cookies without any fuss!
Gathering Ingredients for Decadent Brown Butter Chocolate Chip Cookies
Okay, now that we know the magic ingredient is the butter, let’s line up everything else we need for these gourmet chocolate chip cookies. Remember, when you’re aiming for that deep flavor, the quality and temperature of your components really matter. Don’t worry; this isn’t some huge grocery run! It’s mostly standard pantry staples, but we are going to be precise with our amounts because this is where the science of baking meets the joy of eating.
Having everything ready—what we pros call mise en place—makes the process so much smoother once that butter starts browning. You won’t be scrambling around at all! Here is exactly what you need for about 18 perfect cookies:
- 1 cup (226g) unsalted butter (this is what we’ll turn into gold!)
- 1 cup (200g) packed light brown sugar
- 1/2 cup (100g) granulated sugar
- 2 large eggs, room temperature
- 1 tablespoon vanilla extract
- 2 1/4 cups (270g) all-purpose flour
- 1 teaspoon baking soda
- 1 teaspoon kosher salt
- 1 1/2 cups (255g) semi-sweet chocolate chips or chopped chocolate
- Flaky sea salt, for sprinkling (seriously, don’t skip this little finishing touch!)
How to Brown Butter for Cookies: The Key Technique
This step right here is what creates the magic in our **brown butter chocolate chip cookies**. I know browning butter sounds intimidating, but it’s really just cooking down the water content until the milk solids toast up, giving you that incredible nutty aroma. This is the absolute best answer to how to brown butter for cookies without making a mess!
Start by melting all your butter in a light-colored saucepan over medium heat. I always grab my light pan because it lets me see the color change instantly—you need to watch those little milk solids sink and turn from white to gorgeous amber. When the butter stops foaming, subsides, and smells deeply nutty—that’s your signal! It usually takes about five to eight minutes total. Immediately pour that beautiful, toasted liquid into a separate bowl, including all those lovely brown bits; we cannot let it keep cooking in the hot pan, or it turns bitter fast. If you want to see this technique applied to a different recipe, check out my guide on brown butter sugar cookies too!
For accurate color checking, you must use a light pan. If you use a dark pan, you won’t see those crucial milk solids turn golden brown until it’s probably too late and you’ve burned them! Trust me on this one; seeing the color is half the battle.
Cooling the Browned Butter Properly
Once that butter is perfectly toasted, you absolutely must let it cool down a bit before you mix in your sugars and eggs. If you add the sugar while the butter is blistering hot, you risk scrambling those eggs later. We want it just slightly warm to the touch—not hot enough to burn your finger, but definitely still liquid.
Step-by-Step Instructions for Perfect Brown Butter Chocolate Chip Cookies
Now we put that beautiful, nutty brown butter to work! Following these instructions means you’re securing one of the absolute **best chocolate chip cookie recipe** outcomes possible. We’re moving past basic and aiming straight for gourmet. The steps look straightforward, but trust me, the chilling part is non-negotiable if you want that deep flavor to totally bloom. This recipe for **brown butter chocolate chip cookies** works because we respect the chilling time! You can find more general tips on getting great texture in my guide to chewy chocolate chip cookies.
First, take that cooled brown butter—it should be slightly warm, remember—and whisk it vigorously with the brown sugar and granulated sugar until they are totally incorporated. Then beat in your room-temperature eggs one by one. Don’t rush this; mix well after each egg goes in, followed by the vanilla extract. You’re creating that foundational texture right now.
In a separate little bowl, quickly whisk your dry stuff together: the flour, baking soda, and kosher salt. Then we mix everything together, which leads us to the next important part…
Mixing Wet and Dry Components for Brown Butter Cookies
This is where amateur bakers go wrong! You need to add the dry ingredients to the wet mixture gradually. Don’t just dump it all in! Slowly introducing the flour mixture prevents gluten from developing too quickly, keeping our cookies tender. Mix only until you see just a few flour streaks remaining. Seriously, stop the mixer once you see that—this is the secret to easy brown butter baking that doesn’t turn tough.
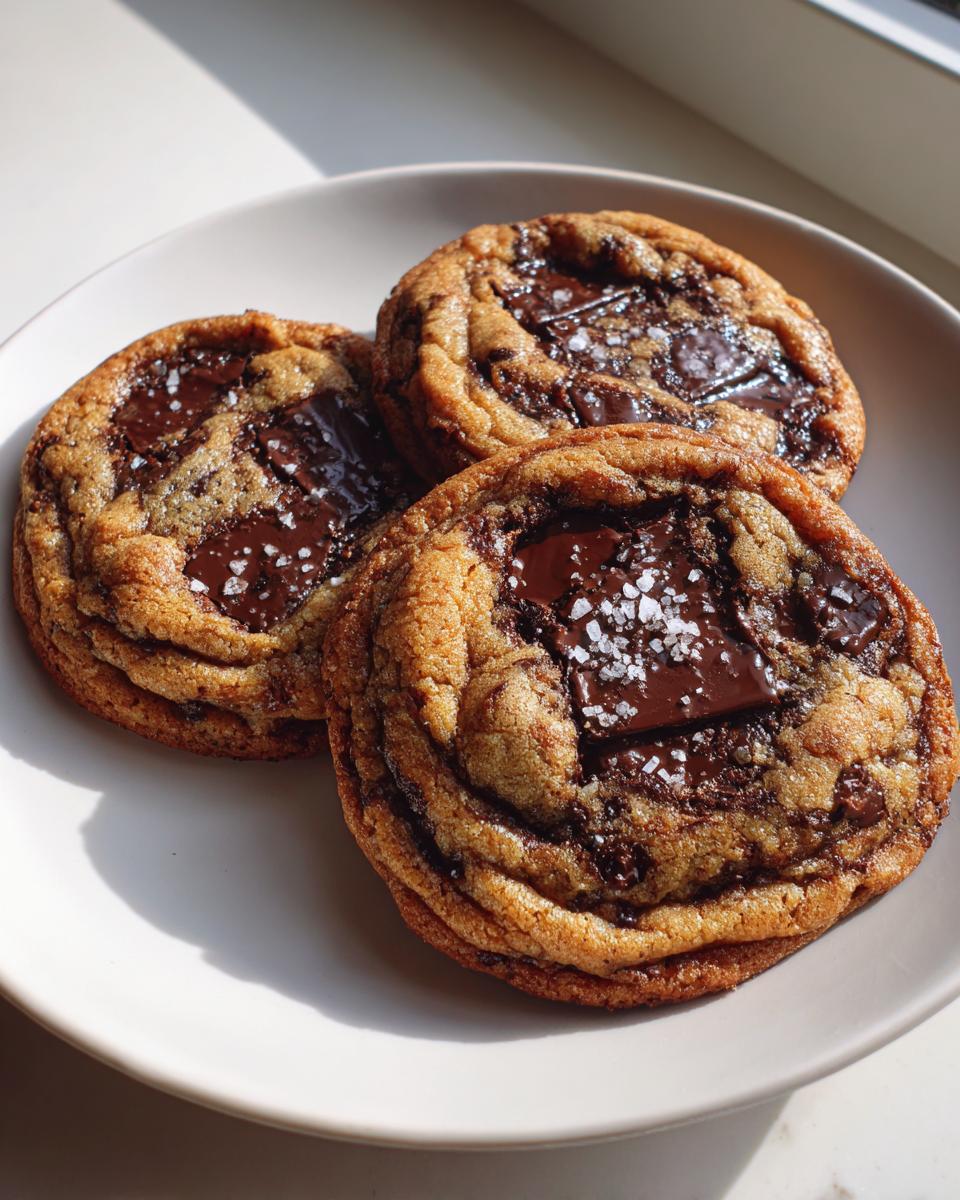
Baking Time and Visual Cues for Bakery Style Cookies at Home
Once the dough is gently mixed with the chocolate, cover it up and get it into the fridge! I insist on at least two hours, but overnight is even better. When you are ready, preheat your oven to 375°F (190°C). Scoop your chilled dough balls onto parchment-lined sheets, sprinkle with flaky salt, and bake for just 10 to 13 minutes. The visual cue is everything for achieving those **bakery style cookies at home**: the edges should look set and golden brown, but the middle should still look puffy and slightly underdone. They stiffen up as they cool, guaranteeing you that perfect texture.
Don’t forget to check out this great resource for guaranteed chewy results! Chewy Brown Butter Chocolate Chip Cookies explains the science behind the texture even further.
Tips for Success with Brown Butter Chocolate Chip Cookies
I want you all to have the absolute best experience making these cookies, so please let me share the little rules I follow every single time to ensure success. Browning butter is the flavor hero, yes, but two other things seal the deal for superior brown butter chocolate chip cookies: temperature control and patience!
First, always use room-temperature eggs. Cold eggs shock the creamed butter mixture, which can cause it to seize up a little, leading to a denser, less uniform cookie structure later on. Take them out about 30 minutes before you start mixing!
Second, and this is the one people always want to skip—don’t. Chilling the dough is absolutely vital. While it helps achieve those lovely edges, it also allows the complex, nutty flavor we worked hard to create from the brown butter to fully infuse the sugar and flour. The longer it chills (up to three days is fantastic!), the deeper and more sophisticated your final cookie tastes. If you want that next-level baked good, check out my guide on achieving that perfect texture in my fudgy cookies!
Also, a little trick for bakery-style thickness: right before they go into the oven, gently press the dough balls down just a hair with the palm of your hand. It encourages them to spread just a bit more horizontally rather than puffing up too much vertically. Happy baking!
Storage and Reheating Brown Butter Cookies
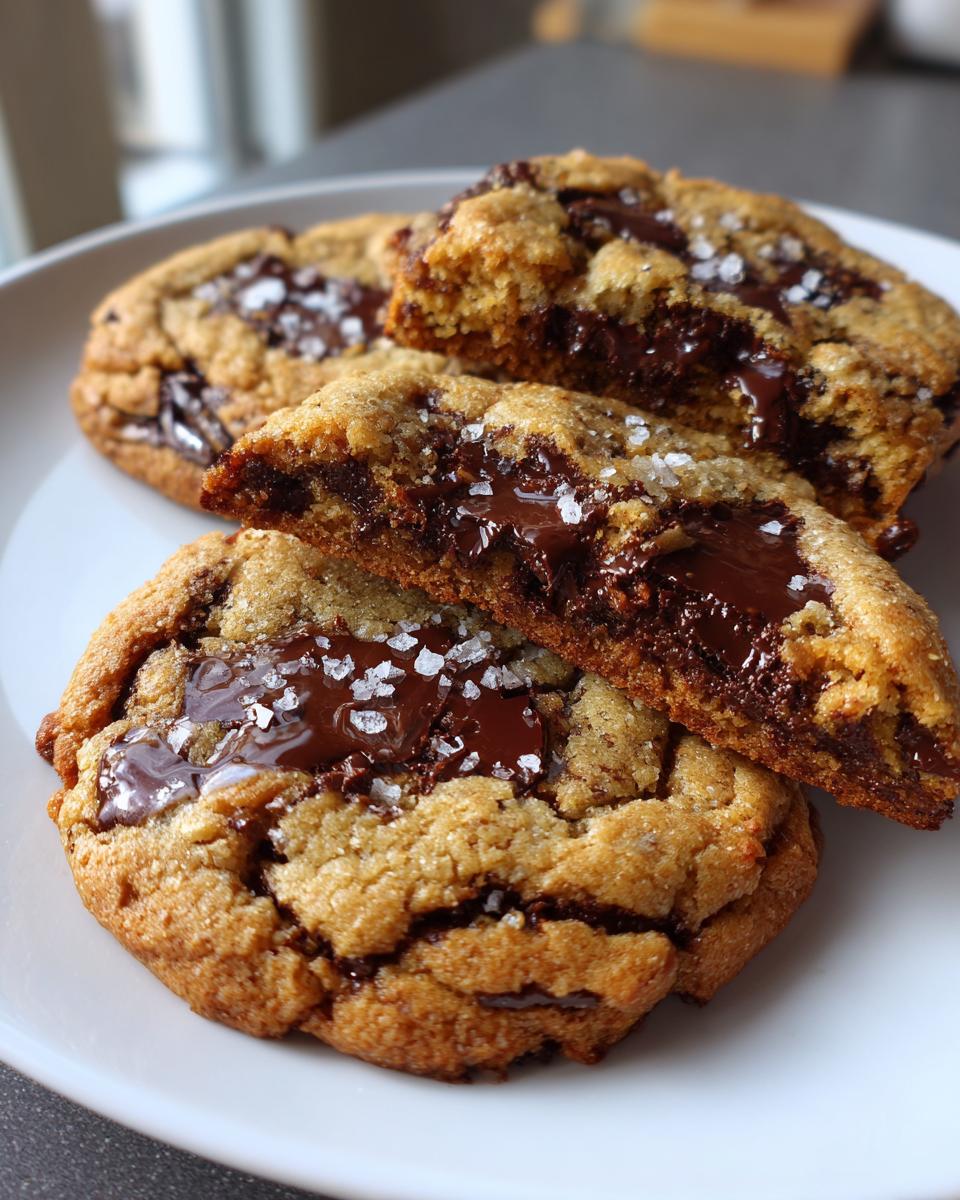
We want these amazing cookies to taste fresh the next day, but since they are so rich, they can sometimes get a little firm overnight. If you have leftovers—which I doubt you will, honestly!—keep them stored in an airtight container at room temperature. Don’t put them in the fridge! Cold just makes these cookies tough.
When you just can’t wait for a second one, here’s my trick for getting that soft, gooey center back: zap it in the microwave for about 8 to 10 seconds. It warms the chocolate chips just enough so they melt slightly again, making them taste like they just came out of the oven moments ago. Pure indulgence, no cleanup required!
Variations on Your Brown Butter Chocolate Chip Cookies
While this recipe for brown butter chocolate chip cookies is perfect as written, I always encourage you to play around once you’ve mastered the core technique! That nutty base is a fantastic starting point for all kinds of upgrades to make them truly gourmet chocolate chip cookies.
If semi-sweet isn’t your jam, swap half the chips for white chocolate chunks or good quality milk chocolate. You can also add toasted pecans or walnuts! For a real flavor boost, try adding half a teaspoon of espresso powder with your dry ingredients, or a tiny pinch of cayenne pepper if you like a little surprising warmth. If you want to see how nutty flavors work in a different format, try my pistachio coffee cake!
Frequently Asked Questions About Browned Butter Chocolate Chip Cookies Recipe
I get so many questions when people first try making these! It’s understandable; anything involving browning butter feels a bit cheffy, but I promise it’s easy once you know the trick. These FAQs should cover everything you need to make your first batch of these amazing brown butter chocolate chip cookies perfect. If you’re looking for something quick for breakfast instead, I have a great easy breakfast cookie recipe too!
Can I skip browning the butter?
Technically, yes, you can use regular melted butter, but then they aren’t really brown butter cookies anymore, are they? You lose the entire point! Browning the butter adds that deep, toasty, nutty complexity that makes people go ‘wow’ when they take a bite. Regular melted butter just tastes… buttery. Browned butter adds layers of caramel flavor that you just can’t replicate any other way.
How long must the dough chill?
I always suggest a minimum of two hours for chilling. This time lets the flour fully hydrate and allows all that gorgeous brown butter flavor to really infuse the fats and sugars. If you can manage it, chilling the dough overnight, or up to 72 hours, is ideal! The longer it rests, the deeper the flavor permeates the dough, leading to a more complex and, frankly, better cookie.
Nutritional Snapshot for These Decadent Cookies
Now, let’s talk fuel! Because these brown butter chocolate chip cookies are so rich and satisfying, it’s good to know what you’re diving into. Remember, since we are adding that extra fat from the butter and plenty of delicious chocolate chips, these definitely fall into the “treat” category, not the everyday snack category. I developed this recipe for indulgence, not for counting every single calorie, but it’s helpful to have a general idea.
These values are my best estimates based on the ingredients listed above and assume the recipe yields exactly 18 cookies. They can vary slightly depending on the exact brand of chocolate chips or butter you use, so consider this a guiding snapshot for these seriously decadent chocolate chip cookies.
- Serving Size: 1 cookie
- Calories: 240
- Sugar: 18g
- Sodium: 180mg
- Fat: 13g
- Saturated Fat: 8g
- Unsaturated Fat: 5g
- Trans Fat: 0g
- Carbohydrates: 30g
- Fiber: 1g
- Protein: 3g
- Cholesterol: 45mg
See? Perfect balance for a little moment of joy—a little bit of everything good! Enjoy them guilt-free because you put in the work to brown that butter!
PrintThe Ultimate Chewy Brown Butter Chocolate Chip Cookies
Make decadent, bakery-style chocolate chip cookies with a deep, nutty flavor by using the simple technique of browning the butter. This recipe guarantees chewy centers and crisp edges.
- Prep Time: 20 min
- Cook Time: 15 min
- Total Time: 2 hours 35 min
- Yield: 18 cookies 1x
- Category: Dessert
- Method: Baking
- Cuisine: American
- Diet: Vegetarian
Ingredients
- 1 cup (226g) unsalted butter
- 1 cup (200g) packed light brown sugar
- 1/2 cup (100g) granulated sugar
- 2 large eggs, room temperature
- 1 tablespoon vanilla extract
- 2 1/4 cups (270g) all-purpose flour
- 1 teaspoon baking soda
- 1 teaspoon kosher salt
- 1 1/2 cups (255g) semi-sweet chocolate chips or chopped chocolate
- Flaky sea salt, for sprinkling
Instructions
- Place the butter in a light-colored saucepan over medium heat. Melt the butter completely, then continue cooking, stirring occasionally. The butter will foam, then subside. Watch closely as milk solids sink and turn golden brown, releasing a nutty aroma. This takes about 5 to 8 minutes.
- Once the milk solids are deep brown and the butter smells toasted, immediately remove the pan from the heat. Pour the browned butter, including the browned bits, into a heatproof bowl. Let it cool for 15 minutes until it is slightly warm, not hot.
- In a large bowl, whisk the cooled brown butter with the brown sugar and granulated sugar until fully combined.
- Beat in the eggs one at a time, mixing well after each addition. Stir in the vanilla extract.
- In a separate bowl, whisk together the flour, baking soda, and kosher salt.
- Gradually add the dry ingredients to the wet ingredients, mixing on low speed until just combined. Do not overmix.
- Fold in the chocolate chips.
- Cover the dough and chill in the refrigerator for at least 2 hours, or up to 72 hours, for the best flavor and texture.
- Preheat your oven to 375°F (190°C). Line baking sheets with parchment paper.
- Scoop the chilled dough into balls, about 2 tablespoons each, and place them 2 inches apart on the prepared sheets. Sprinkle the tops lightly with flaky sea salt.
- Bake for 10 to 13 minutes. The edges should be golden brown, but the centers should still look slightly soft and underbaked.
- Let the cookies cool on the baking sheet for 5 minutes before transferring them to a wire rack to cool completely.
Notes
- Browning butter is key: Do not rush this step. The color change from pale yellow to deep amber signals the nutty flavor development.
- Chilling the dough develops the deep flavor from the brown butter and prevents the cookies from spreading too thin while baking.
- For bakery-style cookies, press the dough balls down slightly before baking to encourage a flatter, chewier cookie.
Nutrition
- Serving Size: 1 cookie
- Calories: 240
- Sugar: 18g
- Sodium: 180mg
- Fat: 13g
- Saturated Fat: 8g
- Unsaturated Fat: 5g
- Trans Fat: 0g
- Carbohydrates: 30g
- Fiber: 1g
- Protein: 3g
- Cholesterol: 45mg