
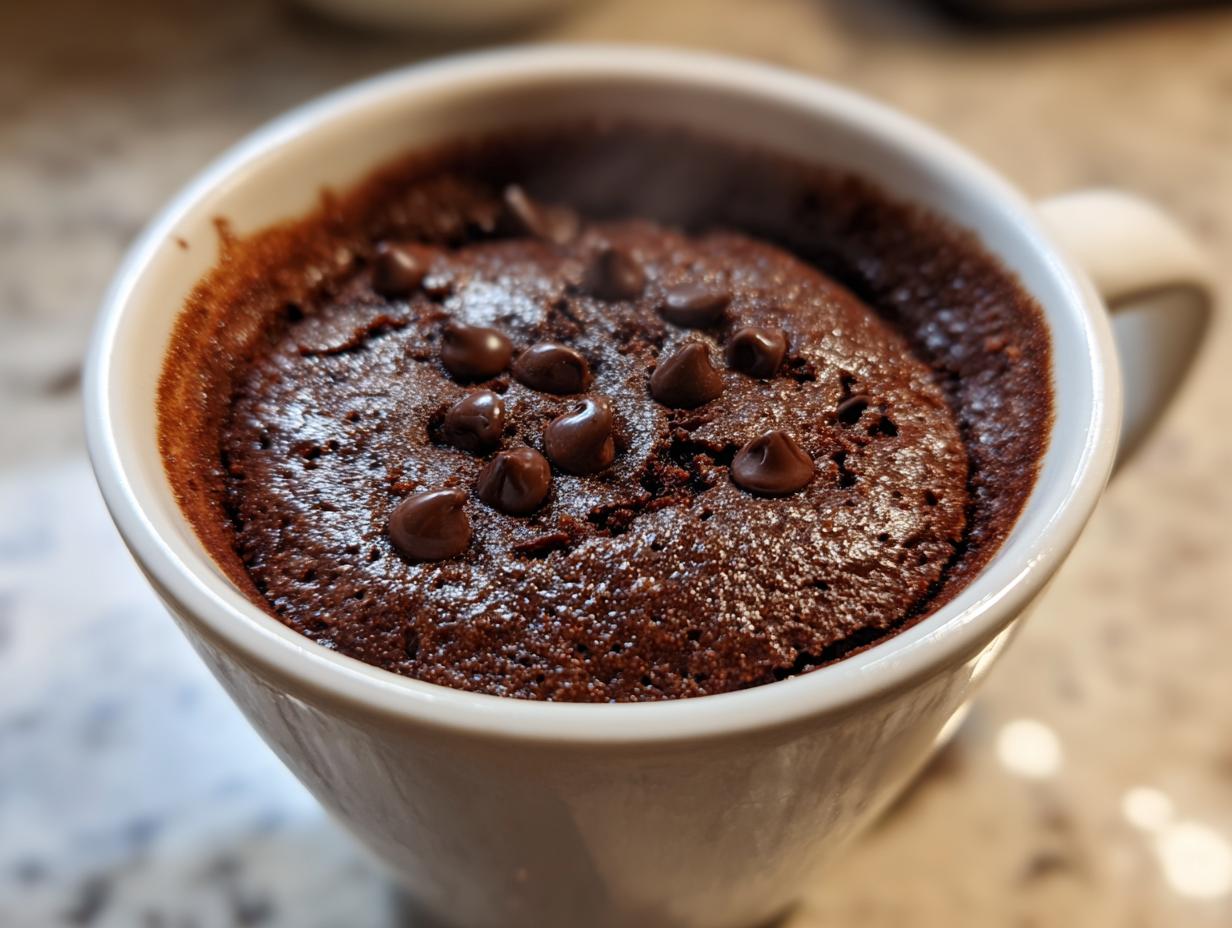
We all have those moments, right? You’re craving something deeply chocolatey and comforting, but the thought of pulling out mixing bowls and waiting for an oven to heat up feels like a marathon. That’s where the magic of the mug cake comes in! Here at MayaPlate, we believe good food should fit your life, not overhaul it. That’s why I developed this specific recipe—it’s my go-to for an Instant Dessert Recipe. Forget that rubbery, spongy texture you always get with microwave recipes. This chocolate mug cake is genuinely moist and rich, proving that quick doesn’t have to mean compromise. It’s built on the practical philosophy I live by!
- Why This Chocolate Mug Cake is the Ultimate Quick Microwave Dessert (Experience & Expertise)
- Ingredients for the Moistest Chocolate Mug Cake
- How to Prepare Your Chocolate Mug Cake Step-by-Step
- Tips for Success When Making a Single Serving Cake
- Variations: Beyond the Chocolate Mug Cake
- Serving Suggestions for Your Dessert For One
- Storage & Reheating Instructions for Leftover Mug Cake
- Frequently Asked Questions About Microwave Baking
- Nutritional Information Estimates for This Simple Cake Recipe
- Share Your Quick Microwave Dessert Experience
Why This Chocolate Mug Cake is the Ultimate Quick Microwave Dessert (Experience & Expertise)
When I was first trying to streamline my weeknight routine after focusing so much on nutrition consulting, I nearly gave up on quick desserts. Everything tasted like chalky sponge cake! But this recipe was the breakthrough moment. I remember the first time I pulled this one out—it smelled intensely chocolatey, and the center was perfectly gooey, not hardened. That’s the difference proper ratios make. This isn’t just fast; it’s seriously delicious and satisfies that deep craving instantly. If you need a Quick Microwave Dessert that actually tastes homemade, this is it. Honestly, if you clock your prep time, it’s practically a Two Minute Dessert!
Details for Your Instant Dessert Recipe
You’ll hardly believe how fast this comes together. For something that tastes this good, the timing is ridiculous:
- Prep Time: 2 min
- Cook Time: 1.5 min
- Total Time: 3.5 min
- Yield: 1 serving
Ingredients for the Moistest Chocolate Mug Cake
Getting the ratios right is absolutely everything when you’re baking in a tiny space like a mug. Trust me, I’ve made the gummy mess that comes from eyeballing the cocoa powder! Since this is a single serving, everything goes right into your chosen vessel. Clarity here builds major trust because we are aiming for that perfect, non-spongy texture everyone wants from a Chocolate Mug Cake.
Here’s exactly what you need for this perfect batch:
- 4 Tablespoons all-purpose flour
- 4 Tablespoons granulated sugar
- 2 Tablespoons unsweetened cocoa powder
- 1/4 teaspoon baking powder (this is your lift, don’t skip it!)
- Pinch of salt (it brings the chocolate flavor forward!)
- 3 Tablespoons milk (use whatever you have—dairy or non-dairy works great)
- 1 Tablespoon vegetable oil
- 1/4 teaspoon vanilla extract
- 1 Tablespoon chocolate chips (optional, but honestly, why would you skip this? They make it extra gooey.)
I always make sure my dry ingredients are whisked really well *before* the wet ones go in. If you leave little pockets of baking powder or salt, you get a funky bite, and nobody wants that!
How to Prepare Your Chocolate Mug Cake Step-by-Step
Okay, this is where the magic happens, and it goes fast! First things first, grab yourself a sturdy, microwave-safe mug. And listen, make sure it’s got some size to it—at least 10 to 12 ounces. We need room for the cake to rise without spilling that wonderful chocolate batter everywhere. That’s one of the first lessons I learned in Microwave Baking!
- Start by dumping all your dry stuff in: the flour, sugar, cocoa powder, baking powder, and that tiny pinch of salt. Use a fork and really whisk these together right in the mug until everything looks uniformly dusty brown.
- Next up, pour in your wet stuff: the milk, oil, and vanilla. Give it a gentle stir using that same fork. You want to mix it just until it’s smooth. Seriously, stop stirring the second you don’t see any dry streaks of flour anymore. Overmixing is the enemy of the moist mug cake!
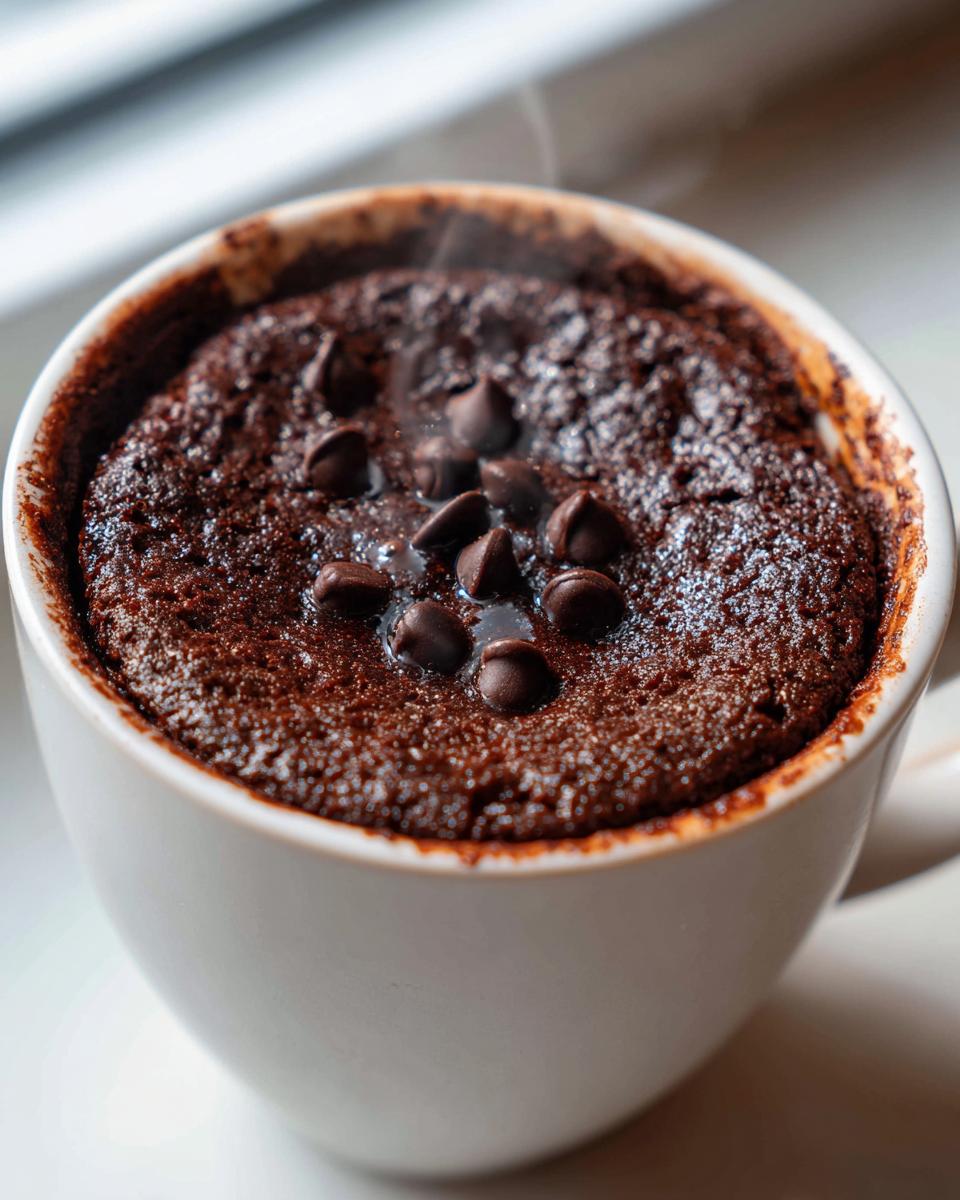
- If you’re feeling extra indulgent (and you should be!), stir in those chocolate chips now, or just press them right onto the top surface of the batter so they melt beautifully.
- Into the microwave it goes! This is the trickiest part because every microwave is different. I usually start at 60 seconds on high power.
Crucial Timing Tips for Perfect Microwave Mug Cake Results
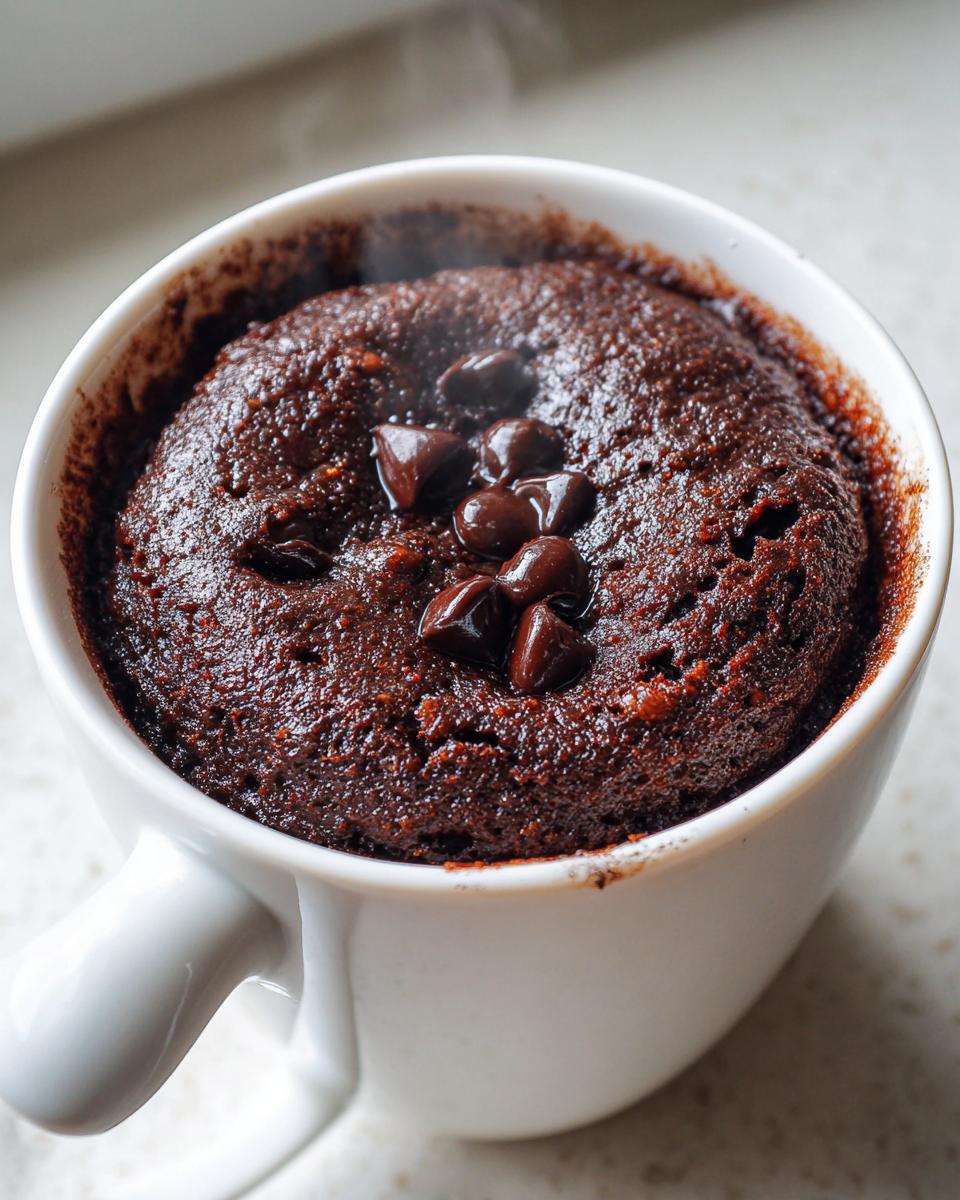
Don’t just walk away when the timer starts counting down! Since we’re aiming for that moist, gooey texture—the whole reason you clicked on this single serving cake recipe—you have to watch it closely. Start checking right around the 60-second mark. Your cake is done when the top looks mostly set, meaning it’s not liquidy anymore, but the very center should still look just a teensy bit soft or moist when you tap it. If you push it past that point to a fully dry top, oops! It will be dry. Remember, undercooked is better than overcooked here.
Once it comes out, let it sit for just a minute or two because that mug is seriously hot. Then dig in!
Tips for Success When Making a Single Serving Cake
We’ve nailed the basic steps for the best mug cake, but since we’re dealing with high heat in the microwave, a couple of extra details can really elevate this from a decent snack to a truly decadent experience.
First off, let’s talk fat. The recipe calls for vegetable oil, which is great because it stays liquid, helping keep things moist. But if you want to kick that chocolate flavor up a notch, try using melted butter instead! Just measure out the tablespoon of butter and melt it gently first. The richness of real butter really makes the cocoa shine through, and it still promotes that soft texture we’re aiming for.
Now, for achieving that specific ‘gooey’ factor that makes a great Gooey Mug Dessert versus just a steamed cupcake. Resist the temptation to dump all your chocolate chips in the middle! If you really want that molten core, I suggest putting half the chips into the batter when you mix, and then, right before you microwave it, physically press the remaining half into the very top center of the batter. It’s a simple trick that maximizes the molten effect when you finally dig in. If you’re trying to find even more ways to make your chocolate mug cake perfect, people always ask me about variations!
Also, microwave wattage matters more here than anywhere else in baking! If your microwave is a beast—say, over 1000 watts—you might find that 60 seconds is already too long. My advice copied straight from my notes is this: If you have a high-powered model, start checking at 50 seconds instead of 60. Better to undercook by 10 seconds and let residual heat do the rest than to end up with a dry brick. You can always give it 5 more seconds, but you can’t undo overcooking!
Variations: Beyond the Chocolate Mug Cake
Now that you’ve mastered the absolute best, non-spongy chocolate version, you might be wondering what else we can whip up in five minutes flat. That’s the beauty of this base recipe! It’s incredibly adaptable, which is why MayaPlate values these kinds of Easy Mug Recipes—they rely on simple swaps to give you endless dessert options without needing a whole new grocery run.
If you’re feeling adventurous, here are a couple of brilliant twists you can try immediately using the base dry ingredients (flour, sugar, baking powder, salt) and swapping out the cocoa powder and milk slightly:
- Peanut Butter Dream: For a creamy Peanut Butter Mug Cake, omit the cocoa powder, and add 1 tablespoon of creamy peanut butter right in with your wet ingredients. If you use non-dairy milk, the texture works beautifully!
- Funfetti Finish: Want to celebrate something right now? This works best if you use milk instead of water for the liquid. After mixing your batter smooth, fold in about one teaspoon of rainbow sprinkles. We call this the Funfetti Mug Cake, and it makes any Tuesday feel like a party.
- Snickerdoodle Style: To get that warm, cinnamony flavor, skip the cocoa. Add 1/2 teaspoon of cinnamon to your dry ingredients. Drizzle the top with a tiny bit of melted butter before microwaving, and sprinkle with a mix of sugar and cinnamon before serving. It’s basically a Snickerdoodle Mug Cake ready instantly!
Quick Swaps for a Healthier Mug Cake Ideas
Because my background is rooted in nutrition, I always have one eye on keeping things balanced, even when we are indulging! If you’re looking for Healthy Mug Cake Ideas but still want that richness, you can make a few smart shifts. For example, you don’t *have* to use oil. If you replace the 1 tablespoon of vegetable oil with 1 tablespoon of unsweetened applesauce, you cut down on the fat content a bit while maintaining moisture. That’s a great way to aim for a slightly lower-calorie option!
You can also experiment with sweeteners if you are looking for a Low Calorie Mug Cake, though please know that sugar substitutes sometimes behave differently in the microwave, potentially causing the cake to go slightly rubbery or deflate more quickly. If you try a sugar substitute, use just slightly less than the 4 tablespoons of sugar called for in the original recipe, and monitor the cooking time extremely closely so it doesn’t dry out on you!
Serving Suggestions for Your Dessert For One
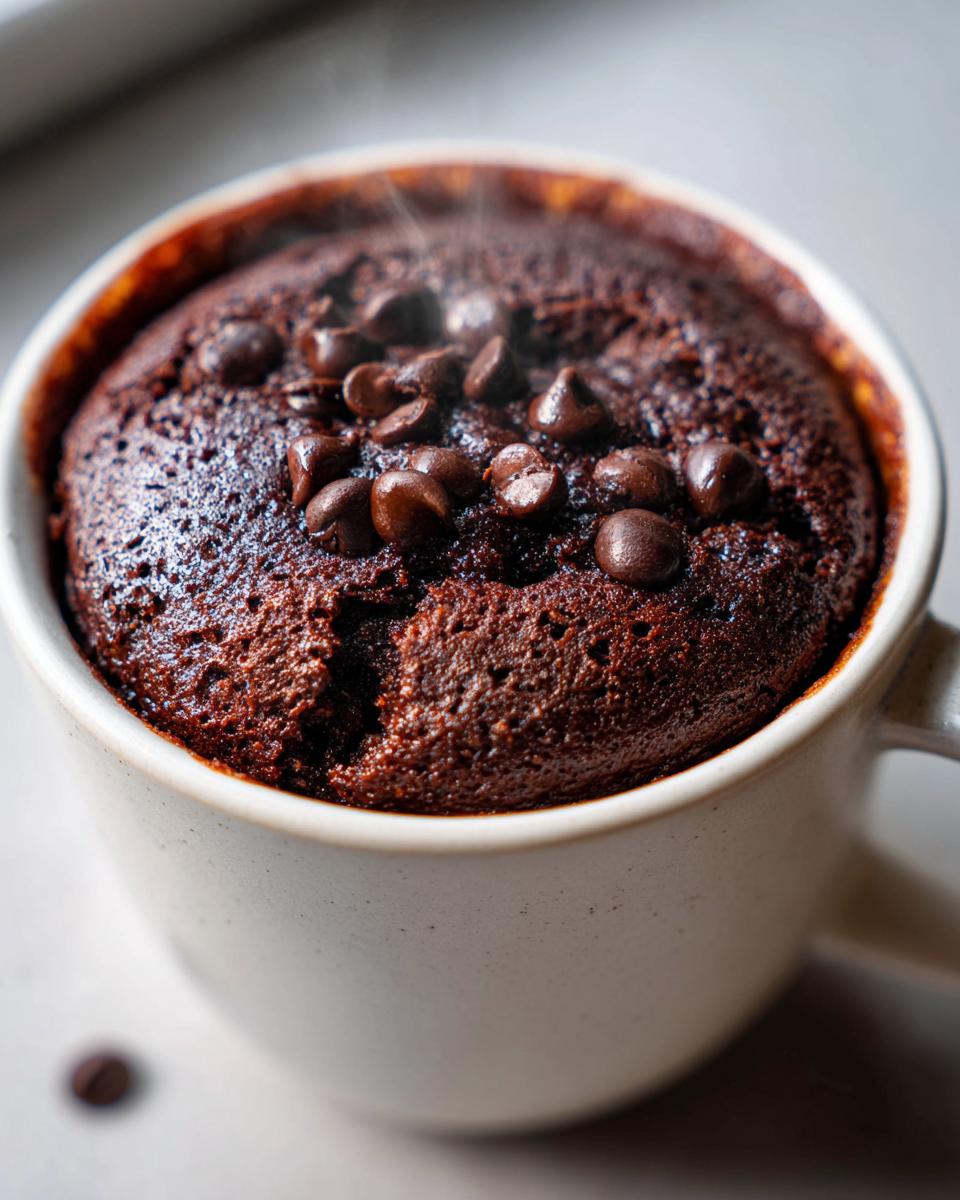
Okay, the microwave just beeped, and your amazing mug cake is ready! This is a classic Dessert For One, but that doesn’t mean we can’t make it feel like a five-star experience. Since this is cooked right in the mug, the presentation is already built-in, which I love because it cuts down on cleanup!
The absolute best way to eat this, in my opinion, is straight out of the mug while it’s still hot. But you know what takes a good, quick chocolate cake and makes it feel majorly indulgent? Toppings!
Perfect Pairings for Your Chocolate Mug Cake
If you have a moment to spare—maybe 30 extra seconds—go for something creamy and cold to contrast that warm, gooey center. It’s pure heaven.
- Classic Scoop: A small scoop of good quality vanilla bean ice cream resting right on top. As the ice cream melts down into the warm cake, it creates its own little sauce. Honestly, that’s unbeatable.
- Whipped Delight: A dollop of freshly whipped cream and maybe a light dusting of powdered sugar makes it look fancy without any effort. It’s light, airy, and complements the deep chocolate flavor perfectly.
- Extra Chocolate Hit: If you didn’t put chips in the batter, try melting a square of milk chocolate right on top immediately after it comes out of the microwave. Let it set for just 30 seconds, and then dive in.
- Nutty Crunch: For some texture, a sprinkle of toasted chopped pecans or walnuts works wonders with this rich chocolate flavor.
The key here is to serve it immediately! This mug cake is at its peak texture right after that one-minute rest. Don’t let it sit too long, or the steam inside will start to firm up the structure. Treat yourself right now; you earned this dessert for one!
Storage & Reheating Instructions for Leftover Mug Cake
Okay, let’s be real. Because this mug cake recipe is designed to be a genuine, five-minute indulgence, it really, truly shines when eaten immediately. The entire point is that warm, gooey moment straight from the microwave, right? If you manage to have any left over—which, honestly, is impressive—it won’t be quite the same the next day because microwave cakes tend to firm up quickly.
But if you must save it, don’t panic! You can absolutely salvage your little chocolate treat. If you have a bit left, the most important thing is to seal in whatever moisture is left. Scoop it out of the mug (because keeping porous ceramic lids on overnight isn’t ideal) and pop the remaining cake into any small, clean, airtight container. Keep that sealed container in the fridge for up to two days. I wouldn’t push it past that, though; that flour base just doesn’t stay springy for long.
Reviving Your Single Serving Cake After Refrigeration
Reheating is essential here if you want to bring back any semblance of that original soft texture. We have to use the microwave again, of course, but we need to be much gentler this time around. Simply place the piece of cake on a microwave-safe plate—don’t eat it straight from the fridge container!
You need a technique that steams it slightly, not blasts it dry. My secret here is adding just a tiny bit of moisture *before* microwaving. Try placing a *very* small, almost negligible splat of water or milk right next to the cake on the plate—maybe a quarter teaspoon—before you cover the whole thing loosely with a paper towel. That bit of steam will help fight off the dryness.
Zap it on medium power for just 10 to 15 seconds. Seriously, start looking at it after 10 seconds! You are just trying to warm it through and soften it up. If it’s still a little stiff, give it five more seconds. It should become soft and almost melty again. If you use high power, you’ll undo all the work of storing it nicely and end up with a rubbery texture. We want soft and fudgy, not tire-rubber!
Frequently Asked Questions About Microwave Baking
I get so many questions about my Easy Mug Recipes! It makes total sense; microwaving baking is new territory for a lot of folks used to traditional ovens. Because the heat source is so different, it can be tricky at first to get that perfect result. Here are the most common worries I hear from readers trying to make the perfect Single Serving Cake for the first time.
Can I use a different type of flour, like whole wheat, in this mug cake?
That’s a great question pertaining to making a Simple Cake Recipe healthier! While you absolutely *can* substitute other flours, you need to be ready for a texture shift. All-purpose flour is what keeps this recipe balanced so it stays moist and doesn’t turn into a dense brick. If you use whole wheat flour, it absorbs much more liquid and can make your mug cake turn dense and grainy really fast. You’ll likely need to add an extra splash of milk. If you try almond or oat flour, you might need to adjust baking powder too. For the best guaranteed results that match the original recipe, stick with all-purpose flour, but feel free to try those other flours once you master this basic chocolate version!
Why does my mug cake always turn out spongy or rubbery?
Oh gosh, the spongy texture is the number one complaint about Baking in a Mug! In my experience, this almost always comes down to two things, which ties right back into our E-E-A-T standards for reliable recipes. First, you overmixed the batter slightly. Once the flour combines with the milk, you want to stop stirring immediately. Overmixing develops the gluten in the flour, which causes that elastic, chewy, spongy texture we absolutely hate. Second, and this is huge for Microwave Baking, you overcooked it. Microwaves cook from the inside out very aggressively. If you leave it in for 15 extra seconds, that moisture evaporates, and you are left with something closer to a sponge than a cake. Always pull it out when the center still looks slightly soft!
I see other recipes call for an egg. Why doesn’t this one need one?
That’s a fantastic point, as many older or more traditional recipes for a Chocolate Mug Cake do rely on a whole egg for structure and binding. However, for a super-quick, foolproof single-serving cake destined to be eaten right away, I find egg whites can sometimes lean toward making the texture cloud-like or rubbery once microwaved. In this recipe, we rely on the combination of flour, oil, and that perfect ratio of liquid to dry ingredients to provide enough structure. We also use a slightly higher amount of leavening (baking powder) than usual, which helps it rise nicely without the need for an egg. This allows us to skip washing an extra bowl because, remember, we preach practicality here!
What’s the best wattage to use for this microwave dessert?
Since every microwave is unique—some are 700W, some are screaming hot 1200W—you have to learn your machine! Generally, this recipe is calibrated for a standard 1000W microwave for that 60 to 90-second cook time. If you have a lower wattage microwave (say, under 800W), you might need closer to 1:45 or even two full minutes. If you have one of those commercial powerhouses above 1100W, you *must* start checking at 50 seconds! It’s all about watching the sides set while keeping that beautiful, fudgy center intact. Getting this timing right is the secret to avoiding that dry texture and achieving a truly Gooey Mug Dessert!
If you have any more burning questions about getting your Easy Mug Recipes just right, please don’t hesitate to reach out!
Nutritional Information Estimates for This Simple Cake Recipe
One of the things I truly value, drawing from my background in nutrition, is knowing what I’m putting into my body, even with a quick indulgence like this mug cake. While the beauty of MayaPlate is providing practical guidance, I want to be completely transparent: because we are using standard pantry ingredients, these nutritional figures are estimates! Your exact amounts of milk, oil, or chocolate chips will change these numbers a little bit.
This is an indulgent treat, designed for satisfying that craving in a flash, so it packs a punch of flavor and energy. If you want to keep track, here’s what you can generally expect from one serving of this glorious, moist dark chocolate creation:
- Serving Size: 1 mug cake
- Calories: 280
- Sugar: 20g (Sweetness alert! This is where the deliciousness comes from.)
- Total Fat: 10g
- Saturated Fat: 3g
- Carbohydrates: 45g
- Protein: 4g
It’s important to note that the fat content includes the oil used for moisture and the fat from the cocoa powder. If you swapped the oil for applesauce in a variation, those numbers would shift down significantly! But for the classic, rich, fudgy version we just made, these estimates help you understand the profile. We aim for a satisfying treat that supports your overall journey, and that begins with honesty about what’s in the mug!
Share Your Quick Microwave Dessert Experience
Now that you know the secrets to making the most wonderfully moist mug cake imaginable—no spongy texture allowed!—I really want to hear from you. Seeing your successes is honestly the best part of running MayaPlate. Our recipes are tested endlessly here in my kitchen, but I know that every kitchen—and every microwave—behaves a little differently!
So, once you’ve whipped up this ultimate Quick Microwave Dessert, please tell me all about it! Did you manage to get that perfect 75-second cook time? What wattage was your microwave running at? Knowing these details seriously helps me refine these instructions for the next person who needs a quick fix.
If you made one of the fun variations, like the Snickerdoodle Mug Cake or maybe you added extra sea salt on top, snap a picture! Tag us when you share your results on social media. I absolutely love seeing how you integrate these simple, delicious recipes into your busy lives.
Drop a rating or leave a comment below—let’s build this library of tested, reliable, quick comfort food together. Your feedback is what keeps these recipes genuinely practical and trustworthy for everyone who visits! Don’t be shy; I’m always reading!
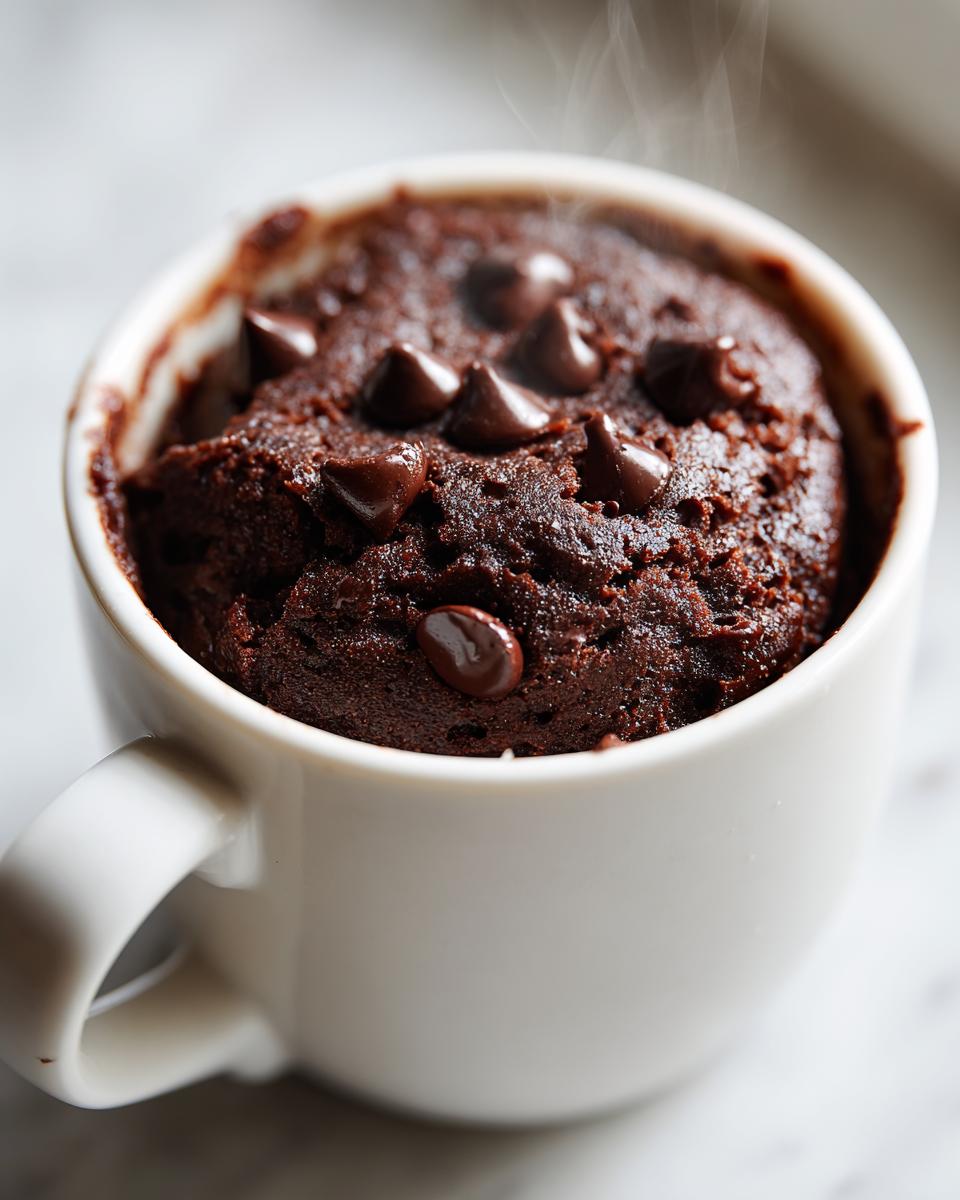
PrintThe Moistest Chocolate Mug Cake (Microwave Recipe)

Make this single serving chocolate mug cake in your microwave for a quick, gooey dessert ready in minutes. This recipe avoids the spongy texture common in other microwave cakes.
- Prep Time: 2 min
- Cook Time: 1.5 min
- Total Time: 3.5 min
- Yield: 1 serving 1x
- Category: Dessert
- Method: Microwave Baking
- Cuisine: American
- Diet: Vegetarian
Ingredients
- 4 Tablespoons all-purpose flour
- 4 Tablespoons granulated sugar
- 2 Tablespoons unsweetened cocoa powder
- 1/4 teaspoon baking powder
- Pinch of salt
- 3 Tablespoons milk (dairy or non-dairy)
- 1 Tablespoon vegetable oil
- 1/4 teaspoon vanilla extract
- 1 Tablespoon chocolate chips (optional, for extra gooeyness)
Instructions
- Select a microwave-safe mug that holds at least 10-12 ounces.
- In the mug, whisk together the flour, sugar, cocoa powder, baking powder, and salt until fully combined.
- Add the milk, vegetable oil, and vanilla extract to the dry ingredients.
- Stir well with a fork until the batter is smooth and no dry pockets of flour remain. Do not overmix.
- If using, stir in the chocolate chips, or press a few on top of the batter.
- Place the mug in the microwave and cook on high power for 60 to 90 seconds. Cooking time varies based on microwave wattage. Start checking at 60 seconds.
- The cake is done when the top looks set but the center is still slightly soft. Be careful not to overcook, or it will become dry.
- Let the mug cake cool for one minute before eating directly from the mug.
Notes
- For a richer flavor, use melted butter instead of vegetable oil.
- Serve immediately with a scoop of vanilla ice cream or a dusting of powdered sugar.
- If your microwave is very powerful (over 1000 watts), reduce the cooking time to 50-70 seconds to prevent drying out.
Nutrition
- Serving Size: 1 mug cake
- Calories: 280
- Sugar: 20g
- Sodium: 150mg
- Fat: 10g
- Saturated Fat: 3g
- Unsaturated Fat: 7g
- Trans Fat: 0g
- Carbohydrates: 45g
- Fiber: 2g
- Protein: 4g
- Cholesterol: 5mg