
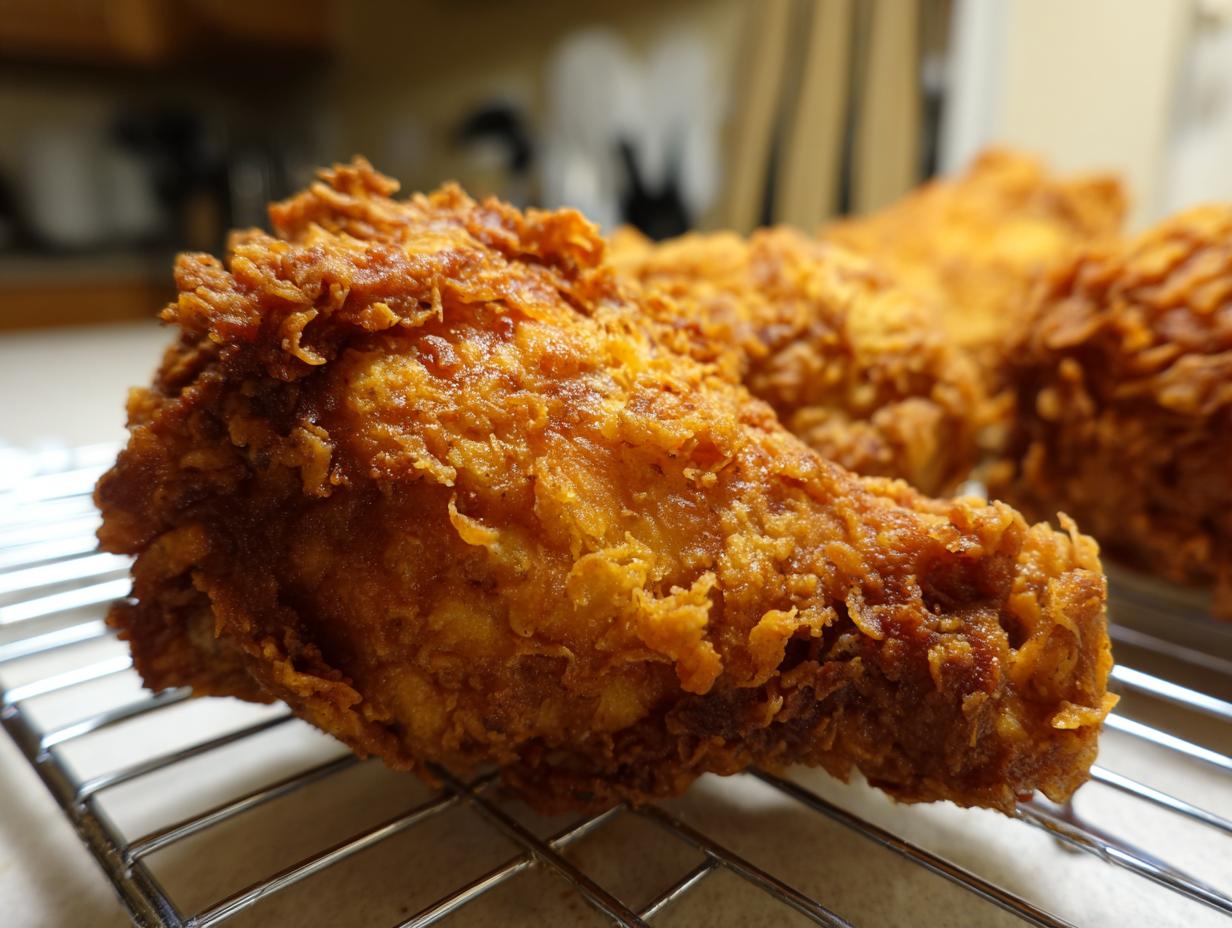
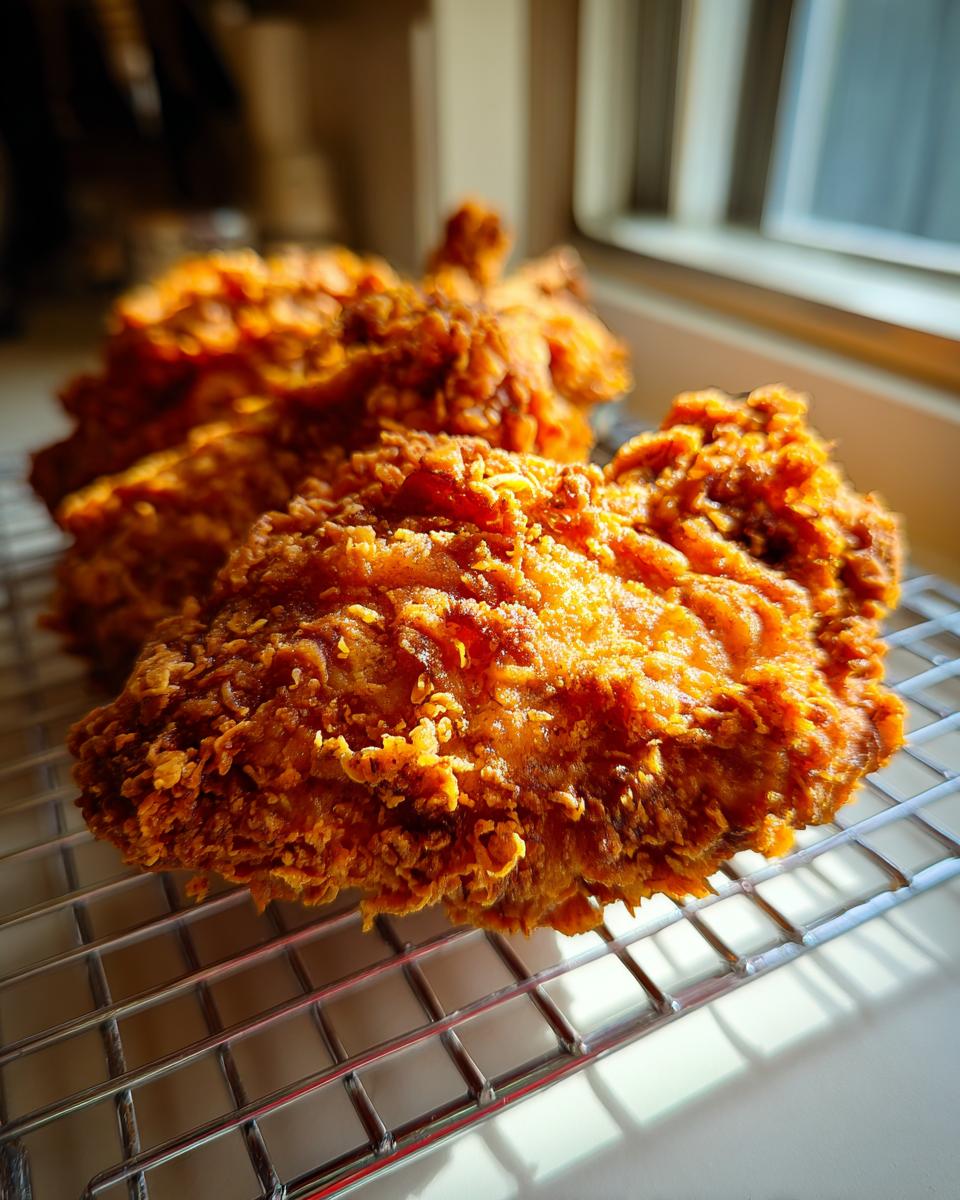
Oh, let’s be honest, sometimes you just need that perfectly crunchy, soul-satisfying bite of incredible comfort food. I know I do! That’s why conquering the ultimate homemade fried chicken was a non-negotiable goal for me here at MayaPlate. My goal is always to take those iconic recipes and make them work for real life, right? This recipe delivers on every promise: we’re talking ultra-crispy, stunningly golden crust surrounding meat that stays incredibly juicy, thanks entirely to a long, luxurious buttermilk brine. Having spent years studying nutrition, I wanted to create a showstopper like this Southern Fried Chicken that reminds everyone that delicious food can absolutely fit into a nourishing lifestyle. Forget soggy messes; this method gives you that perfect crunch every single time!
- Why This Is The Best Buttermilk Southern Fried Chicken Recipe
- Ingredients for Ultra-Crispy Fried Chicken
- How To Make Fried Chicken: Step-by-Step Instructions
- Tips for Foolproof Fried Chicken Success
- Serving Suggestions for Your Classic Fried Chicken
- Storage and Reheating Instructions for Leftover Fried Chicken
- Frequently Asked Questions About Making Fried Chicken
- Nutritional Snapshot of This Savory Chicken Dinner Idea
- Share Your Ultra-Crispy Fried Chicken Experience
Why This Is The Best Buttermilk Southern Fried Chicken Recipe
Listen, I’ve tested enough chicken recipes to know that the standard approach just leaves you with decent, but never *amazing*, results. This Buttermilk Southern Fried Chicken is different. The long soak in buttermilk isn’t just for flavor; it’s a tenderizing powerhouse! It ensures that even if you cook your breasts a minute too long, you still end up with super Juicy and Crispy Chicken. That rich, tangy brine penetrates deep down.
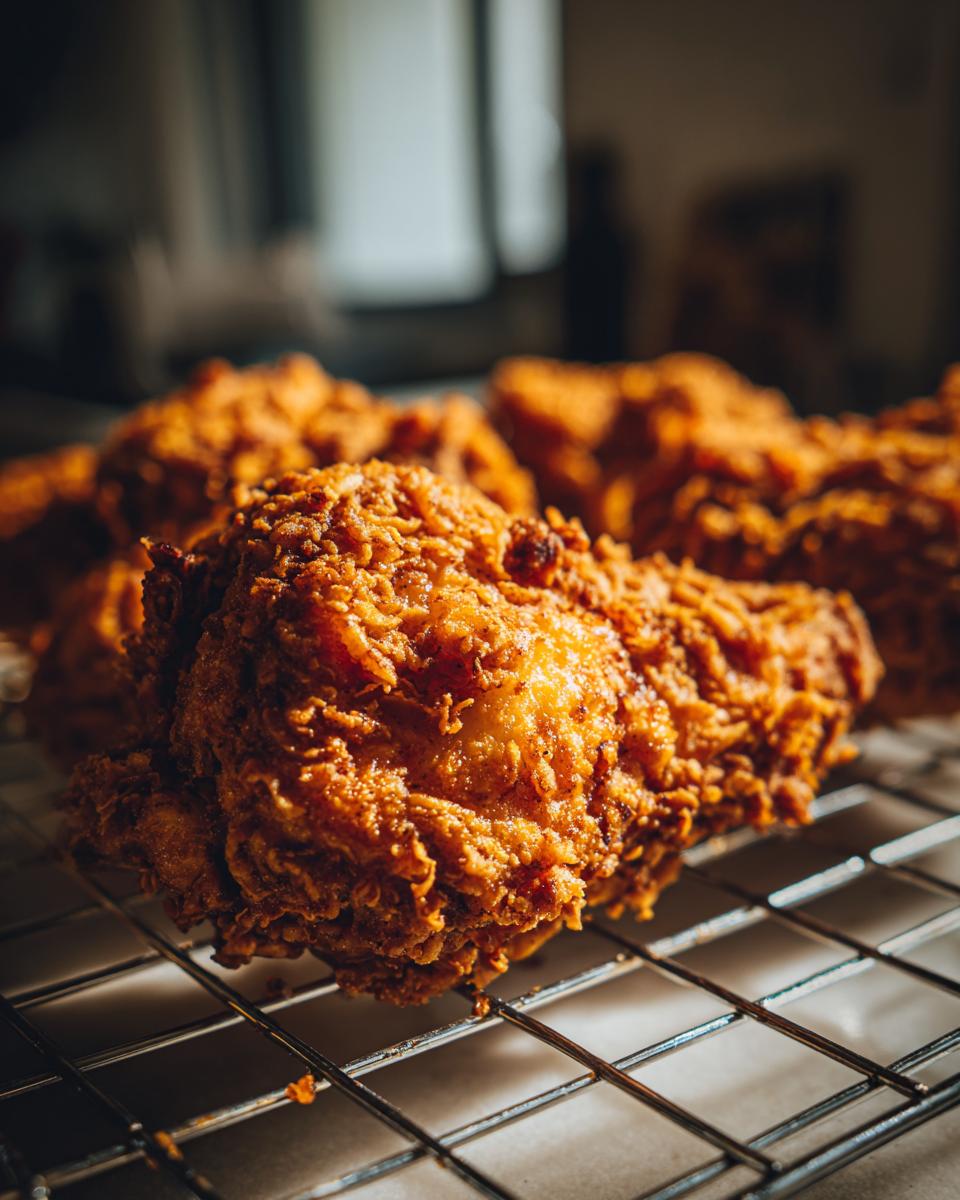
But the real kicker, what makes this the best homemade fried chicken experience, relies on layering that coating correctly. We’re not messing around with thin blankets of seasoning here; we want texture! This method guarantees the kind of thick, craggy, Crunchy Chicken Coating that holds up beautifully outside the oil.
The Secret to Extra Crispy Fried Chicken Coating
If you want that coveted, uneven, super-crispy exterior everyone loves in award-winning fried chicken, you need two tricks. First, we add cornstarch right into the flour dredge. That starch is what keeps the coating dry and super crunchy when it hits the hot oil. Second? You’ve got to double-dip! A quick trip back into the buttermilk bath after the first flour coating locks everything in place, creating those amazing crispy nubs.
Ingredients for Ultra-Crispy Fried Chicken
Okay, getting the right ingredients is non-negotiable if you want that golden, crunchy result—we need precision here, even though we’re keeping it straightforward! Since my background is in nutrition, I want you to see exactly what’s going into the magic. Don’t stress about finding specialty items; everything here is found in a typical grocery store, but how we use them is what counts!
For the main event, you’ll need about 4 pounds of bone-in, skin-on chicken pieces. I usually stick to thighs and drumsticks because they stay juicier, but whatever parts you love—breasts, wings—just make sure you have enough to submerge them in the brine!
Here’s the full lineup:
- 4 lbs bone-in, skin-on chicken pieces (thighs, drumsticks, breasts)
- 4 cups buttermilk (This is our backbone! Don’t skimp here.)
- 2 tablespoons kosher salt
- 1 tablespoon black pepper
- 1 tablespoon garlic powder
- 1 teaspoon cayenne pepper (Just a little kick for complexity!)
- 4 cups all-purpose flour
- 1/2 cup cornstarch (This is a secret weapon for crispiness, trust me!)
- 1 tablespoon paprika
- 1 teaspoon onion powder
- Vegetable oil or shortening for frying (Y’all need enough to reach 2 inches deep in your heavy skillet. This is essential for proper deep frying!)
You’ll notice the seasonings are split between the wet brine and the dry dredge. That double layer of flavor ensures that every single bite, even the crust, tastes savory and amazing. Now, let’s get to putting this all together!
How To Make Fried Chicken: Step-by-Step Instructions
Alright, this is where the magic happens! Making fried chicken is a process, but it’s totally manageable if you follow the timing. We start ahead of time, handle our oil carefully, and then we get that gorgeous crunch that makes Southern cooking famous. Don’t rush any of these stages, especially the brining and the heating—that’s my whole non-negotiable rule for success!
Brining the Chicken for Maximum Juiciness
This first step is what separates an okay chicken from the kind that melts in your mouth. You need to mix up your buttermilk batter with all those spices—salt, pepper, cayenne, garlic powder—and totally submerge your pieces. You absolutely *have* to let this sit. I always aim for overnight in the fridge, but if you’re in a hurry, set a timer for at least four solid hours. This buttermilk brine is the secret sauce, besides the crunch, that guarantees you get that phenomenal Juicy and Crispy Chicken contrast we’re aiming for.
Preparing the Dredge for the Best Fried Chicken
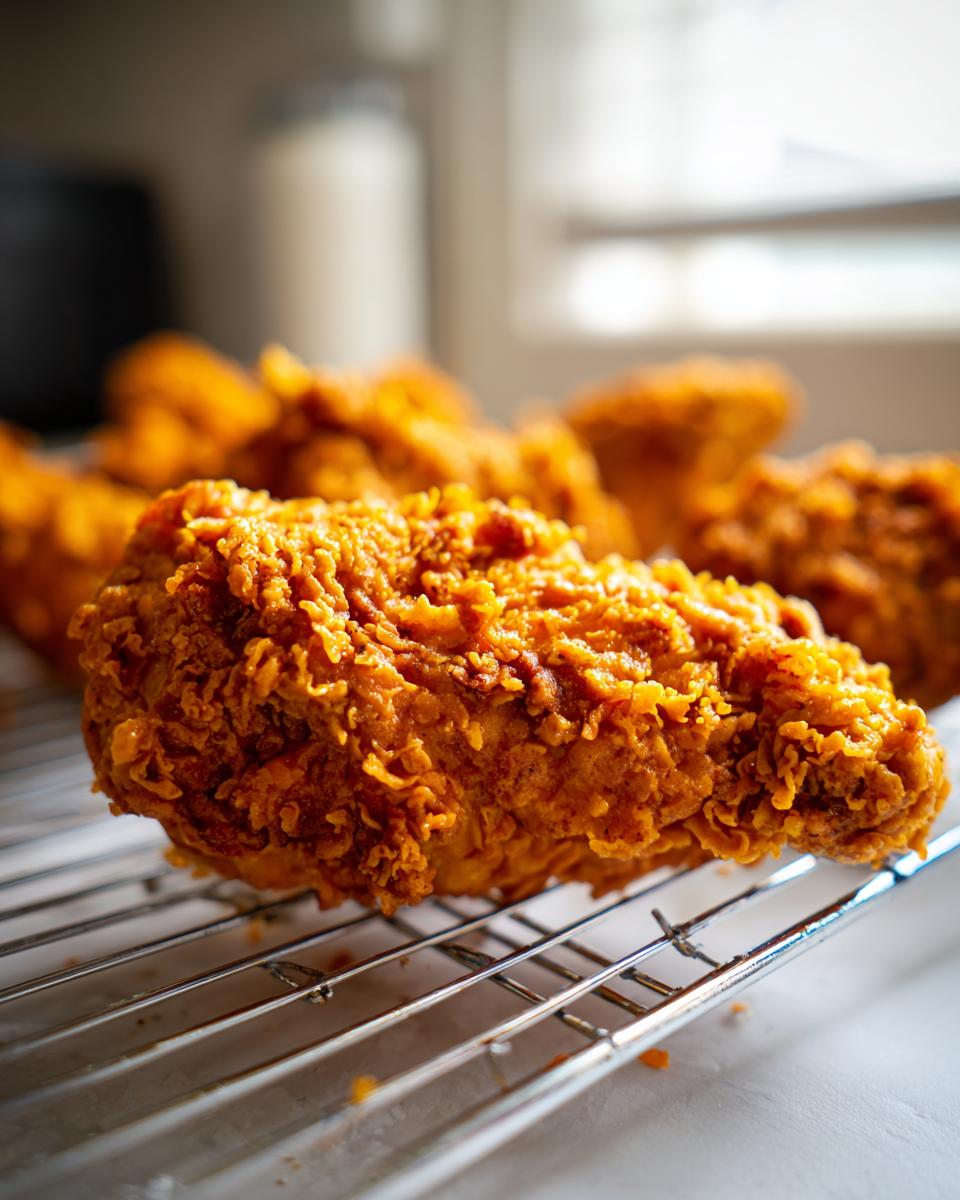
While the chicken is brining, mix up your dry dredge ingredients—the flour, cornstarch, paprika, and onion powder. Mix it until those colors are totally uniform. Now for the technique! Take a piece out of the buttermilk, let the big drips fall off, and press it firmly into the flour mix. Make sure you really pack that coating on; we want peaks and valleys for crunch! Then, for the ultimate Golden Brown Chicken crust, dip it *quickly* back into the buttermilk, shake off the excess, and give it one more hearty press into the dry flour. Lay these seasoned pieces onto a clean wire rack while you heat the oil.
Frying Techniques for Perfect Deep Fried Chicken
Heating the oil is crucial for any good Deep Fried Chicken. You need at least two inches of oil in a heavy skillet, and you must use a thermometer! We are aiming for exactly 325°F (160°C). If it’s too cold, the crust gets oily; too hot, and the outside burns before the inside cooks. Once it’s bubbling nicely, gently lower 3 or 4 pieces in. Don’t crowd the pan, I mean it! Fry for about 6 to 8 minutes per side until they are deep golden and cooked through (165°F internal temp). When they come out, place them immediately on a wire rack—never paper towels! That rack lets the air circulate so the crust stays perfectly crunchy.
Tips for Foolproof Fried Chicken Success
Look, even when you have the best recipe in the world, when you’re dealing with hot oil and chicken, things can sometimes go sideways. But trust me, mastering this technique makes it totally Foolproof Fried Chicken! I remember the first dozen times I tried this, I struggled so much keeping the temperature right. If the oil dipped even ten degrees below 320°F, the crust got greasy fast. Once I got strict about using that thermometer constantly and only adding maybe three pieces at a time, everything changed. It became totally consistent and predictable. That’s the key: respecting the heat!
We baked some of this chicken when I was testing a lower-fat approach for my consulting work, and honestly? It’s still good, but it’s a different animal. If you want that authentic, melt-in-your-mouth Southern experience, deep frying is the only way to get that signature crunch. If you absolutely must bake it, spray the outside of your double-dredged pieces generously with cooking spray and pop them in a 400°F oven for about 35 to 45 minutes, flipping halfway through. It’s a decent alternative, but it won’t have that same shatter.
Ingredient Notes and Substitutions for Fried Chicken
Let’s talk about variations, because I know you’re already thinking about it! If you are only making Chicken Thighs Fried Recipe, that’s fantastic; thighs handle the frying time so well and they come out incredibly tender. You can use breasts too, but watch them closely so they don’t dry out while you wait for the inevitable crispy crust to form.
Also, a note on the final presentation: this recipe is pure, savory Southern Fried Chicken. If you prefer something closer to Country Fried Chicken, don’t worry—you use the exact same fried cutlet! But then, instead of serving it plain or with simple sides, you ladle a thick, creamy white gravy right over the top. It’s delicious comfort food, totally different vibe!
And if you want to amp up that crispiness even more, try adding just 1 tiny teaspoon of baking powder right into that flour dredge along with the cornstarch. It boosts the lift and makes the crust even more ridiculously craggy. It’s an easy swap that makes a huge difference!
Serving Suggestions for Your Classic Fried Chicken
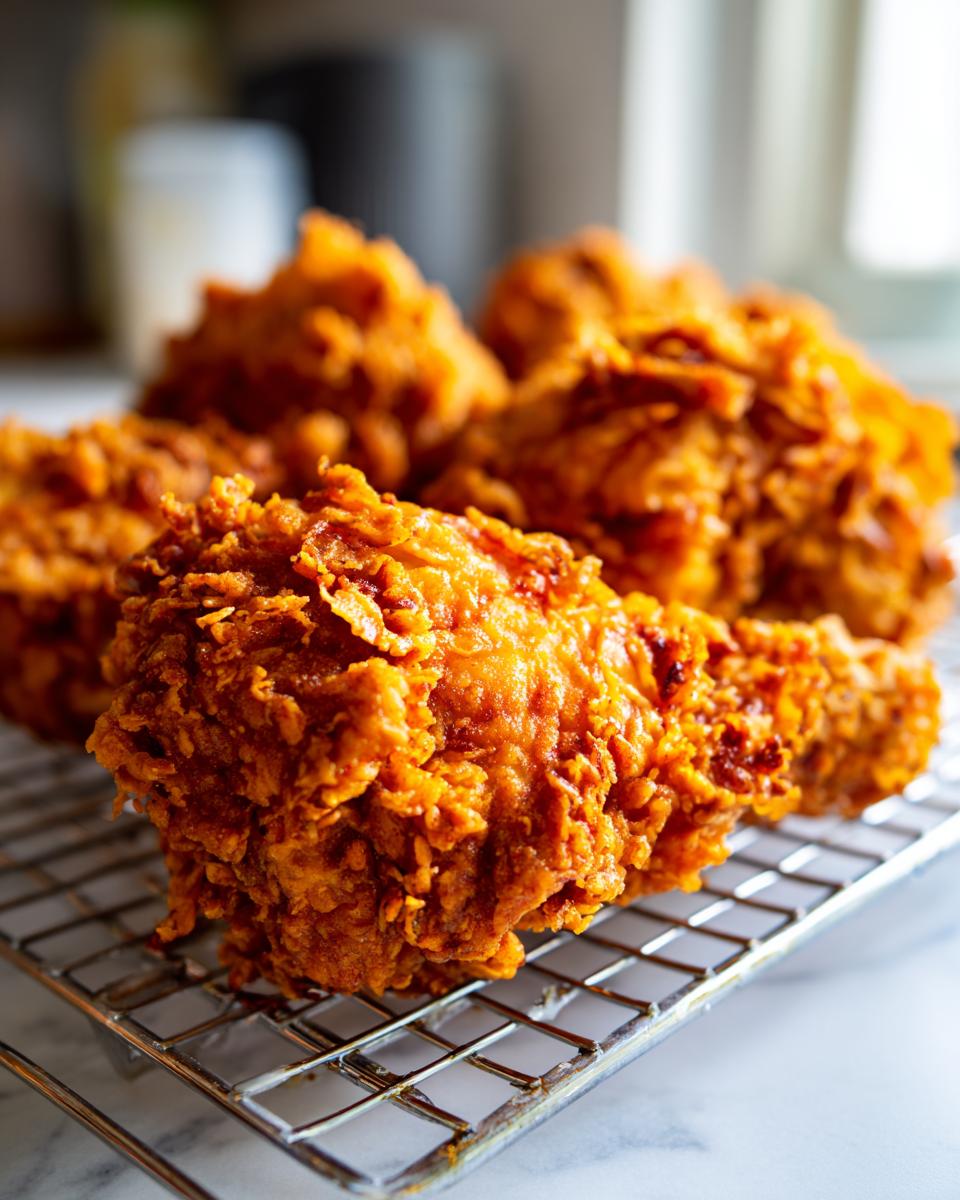
You’ve done the work! You’ve got this beautifully golden, ultra-crispy meat sitting on the rack, cooling perfectly. Now what? You can’t just eat it standing over the sink, though I have certainly been tempted! Part of creating an amazing meal experience is nailing the sides. This classic fried chicken deserves friends that stand up to its rich, savory flavor.
When I’m planning an Easy Fried Chicken Dinner, I always lean into the Southern roots of this dish. Nothing beats the satisfying combination of crispy skin and something cool and creamy underneath. My absolute top pick, every single time, has to be creamy, fluffy mashed potatoes. They are the perfect vehicle for soaking up any savory drippings or, if you skip the gravy, just adding that silky texture contrast.
But you need some zing to cut through that richness, don’t you? My go-to green side is a crisp, tangy coleslaw. It’s simple, it’s cold, and that slight vinegar bite is the perfect counterpoint to the deeply seasoned crust. Speaking of perfect additions, you must serve this with warm, flaky biscuits! A good biscuit, freshly baked, is essential. If you’re dipping, a drizzle of honey or a little homemade pepper jelly on the side of your biscuit takes things to another level.
Seriously though, once you nail this fried chicken, you’ll find that almost any classic side dish sings right alongside it. If you’re looking for a recipe that goes beautifully with this chicken, I’ve pinned a fantastic spicy buttermilk recipe from Lucille that offers a slightly different take on the flavor profile, which is great if you want to try a small variation next time you make it! These pairings ensure your Southern Fried Chicken feels like a complete, classic meal.
Storage and Reheating Instructions for Leftover Fried Chicken
Okay, nobody makes this amazing fried chicken and expects it to last long, but let’s be real—sometimes there are leftovers! The goal when storing is to protect that crunchy coating, and the goal when reheating is to bring that crunch back to life. If you don’t treat your leftovers right, you’ll end up with sad, soggy disappointment, and we just can’t have that.
First things first for storage: You MUST let the chicken cool down completely before you try to put it away. If you seal it up warm, the steam gets trapped, and that moisture breaks down the crunchy coating almost instantly. Once they are totally room temperature, grab an airtight container. I prefer stacking them with paper towels in between each layer. The paper towels absorb any lingering moisture that could cause issues overnight in the fridge. This will keep them good for about three to four days.
Now for the reheat—this is the most important part if you want that fresh-out-of-the-oil goodness. Please, please, please promise me you won’t use the microwave! The microwave is the enemy of crispy coating; it steams everything and turns your beautiful crust into rubber. Trust me on this. The best way to revive your Crispy Fried Chicken Recipe is in the oven or, even better, an air fryer.
If you’re using the oven, preheat it to 375°F (190°C). Set the chicken pieces on a wire rack placed over a baking sheet. That airflow underneath is vital! Bake for about 10 to 15 minutes, checking after the tenth minute. If you have an air fryer—and you should get one, they are game-changers—set it to 360°F (180°C) and cook for maybe 6 to 8 minutes, shaking the basket once halfway through. That quick, dry heat blasts the exterior back into ultra-crispy perfection while warming the juicy meat inside perfectly. Enjoy those delicious leftovers!
Frequently Asked Questions About Making Fried Chicken
I always get so many questions after folks try this recipe for the first time because, let’s be real, deep frying chicken can feel intimidating! But once you nail the heat and the coating, you’ll feel like a total pro. Here are a few things I hear all the time, especially from those trying to perfect their Crispy Fried Chicken Recipe.
Can I use chicken breasts instead of bone-in pieces for this fried chicken recipe?
Yes, you absolutely can use boneless, skinless chicken breasts! They cook much faster than bone-in pieces, which is a huge time saver if you’re whipping up a quick Savory Chicken Dinner Idea. The main adjustment you have to make is watch the clock like a hawk! Since breasts are usually thicker on one end than the other, I highly recommend slicing them horizontally, opening them up like a book, so you have fairly uniform thickness. This way, they cook through evenly. You still want that minimum final temperature of 165°F, but you’ll probably only need about 4 to 6 minutes per side, depending on thickness. You don’t want to overcook them, or that wonderful buttermilk brine won’t save you from dryness!
What oil temperature is best for achieving Golden Brown Chicken?
This is the single most important element for success—honestly, it trumps everything else! For that perfect, thick, craggy, and deeply Golden Brown Chicken crust that actually cooks the meat perfectly underneath, you need your oil locked in between 315°F and 325°F (160°C). If your oil is too cool, that flour and cornstarch mixture soaks up grease like a sponge before it has a chance to crisp up, leading to a sad, oily mess. If it’s too hot, the crust burns black in three minutes, and the inside is still pink. Using a dedicated thermometer is key here to guarantee that thick coating stays crisp! Stability is everything for a truly Crispy Fried Chicken Recipe.
I also recommend checking out our Privacy Policy here if you have any questions about how we handle your information!
Nutritional Snapshot of This Savory Chicken Dinner Idea
Look, while this Ultra-Crispy Buttermilk Southern Fried Chicken is the ultimate comfort food—and boy, does it taste heavenly—it is deep-fried, so we need to keep our nourishing philosophy in mind! Because I have a background in nutrition, I always want to be transparent about what we’re eating. This information is super helpful for planning your full Savory Chicken Dinner Idea!
Below are the estimates based on the recipe for one standard piece of chicken. Remember, these are just a ballpark figure; your results will change depending on the exact cut of chicken you use and how much oil your crust happens to soak up. That’s just the reality of deep frying things!
- Calories: Around 450
- Protein: A fantastic 33 grams! That’s what bone-in chicken brings to the table.
- Fat: About 28 grams total (remember, some of this is the healthy unsaturated kind!)
- Saturated Fat: Roughly 8 grams
- Carbohydrates: About 15 grams (mostly from the flour dredge)
- Sodium: Approximately 650 mg (This is why watching your salt in the brine vs. the dredge is important!)
We keep the carbs relatively low compared to some other recipes because we aren’t using a heavy breading mixture—we rely on that double-dredging technique with cornstarch for the crispness instead of huge, thick layers of dough. If you keep your batches small during frying and maintain that high oil temperature, you really minimize the grease absorption, which is how we keep the fat content as reasonable as possible for a true, classic, home-style fried chicken dish. Enjoy this satisfying meal knowing that it’s balanced with huge protein benefits!
Share Your Ultra-Crispy Fried Chicken Experience
Whew! We made it through the brining, the dredging, and the glorious, sizzling moment of deep frying this amazing fried chicken. Now that you’ve pulled that stunning, golden-brown masterpiece out of the oil, I really, truly want to hear about it!
This is why I share all my hard-won techniques with you—I want you to succeed! If you followed the steps, especially keeping that oil temperature steady, you should be rewarded with the juiciest meat and the crunchiest crust imaginable. So please, stop what you’re doing and drop a rating below! If you loved this Ultra-Crispy Buttermilk Southern Fried Chicken, give it a well-deserved 5 stars.
And don’t keep all that crispy goodness to yourself! Snap a photo while it’s still piping hot. Tag me on social media when you share your results! I absolutely love seeing your gorgeous creations, whether you stuck strictly to the method or maybe tried a little something extra in your dredge that I didn’t even think of. Did you serve it with your favorite sides or try that white gravy idea on the side? Let me know!
Don’t be shy about successes or even learning moments! If you ran into any trouble or have a modification that made this the best Southern Fried Chicken for *your* family, drop those notes in the comments too. I always appreciate feedback and there’s nothing better than connecting with you all about what’s cooking. I read every single note, and if you have questions, you can always reach out through my contact page. Happy cooking!
PrintUltra-Crispy Buttermilk Southern Fried Chicken
Make the best homemade fried chicken with this recipe for juicy meat and an ultra-crispy, golden crust. This Southern-style fried chicken uses a buttermilk brine for maximum tenderness.
- Prep Time: 20 min
- Cook Time: 35 min
- Total Time: 4 hours 55 min
- Yield: 6 servings 1x
- Category: Dinner
- Method: Deep Frying
- Cuisine: Southern American
- Diet: None
Ingredients
- 4 lbs bone-in, skin-on chicken pieces (thighs, drumsticks, breasts)
- 4 cups buttermilk
- 2 tablespoons kosher salt
- 1 tablespoon black pepper
- 1 tablespoon garlic powder
- 1 teaspoon cayenne pepper
- 4 cups all-purpose flour
- 1/2 cup cornstarch
- 1 tablespoon paprika
- 1 teaspoon onion powder
- Vegetable oil or shortening for frying (enough to reach 2 inches deep)
Instructions
- In a large bowl, combine the buttermilk, kosher salt, black pepper, garlic powder, and cayenne pepper. Add the chicken pieces, ensuring they are fully submerged. Cover the bowl and refrigerate for at least 4 hours, or preferably overnight, to brine the chicken.
- In a separate shallow dish, whisk together the flour, cornstarch, paprika, onion powder, and an additional teaspoon of salt and pepper. This is your dredge mixture.
- Remove the chicken from the buttermilk, allowing excess to drip off, but do not rinse.
- Dredge each piece of chicken thoroughly in the flour mixture, pressing the flour onto the chicken to create a thick, craggy coating. For extra crispiness, dip the floured chicken back into the remaining buttermilk for a second, quick dip, and then coat it again in the flour mixture. Place coated chicken on a wire rack.
- Pour enough vegetable oil or shortening into a large, heavy-bottomed skillet or Dutch oven to reach a depth of about 2 inches. Heat the oil over medium-high heat until it reaches 325 degrees Fahrenheit (160 degrees Celsius). Use a thermometer to monitor the temperature; maintaining this heat is key for crispy chicken.
- Carefully place 3 to 4 pieces of chicken into the hot oil, ensuring you do not overcrowd the pan. Overcrowding lowers the oil temperature and results in soggy chicken.
- Fry the chicken for about 6 to 8 minutes per side, turning carefully with tongs, until it is deep golden brown and cooked through. The internal temperature should reach 165 degrees Fahrenheit (74 degrees Celsius).
- Remove the cooked chicken from the oil and place it on a clean wire rack set over a baking sheet to drain excess oil. Do not place it on paper towels, as this traps steam and softens the crust.
- Repeat the frying process with the remaining chicken, adjusting the heat as necessary to maintain the oil temperature between 315 and 325 degrees Fahrenheit.
- Serve your golden brown chicken immediately for the best texture.
Notes
- For an extra crunchy coating, add 1 teaspoon of baking powder to your flour dredge mixture.
- If you prefer to bake some of the chicken, spray the dredged pieces lightly with cooking spray and bake at 400 degrees Fahrenheit for 35-45 minutes, flipping halfway.
- If you are making Chicken Fried Chicken instead, prepare a simple white gravy to serve over the fried cutlets.
Nutrition
- Serving Size: 1 piece
- Calories: 450
- Sugar: 1
- Sodium: 650
- Fat: 28
- Saturated Fat: 8
- Unsaturated Fat: 20
- Trans Fat: 0
- Carbohydrates: 15
- Fiber: 1
- Protein: 33
- Cholesterol: 110