
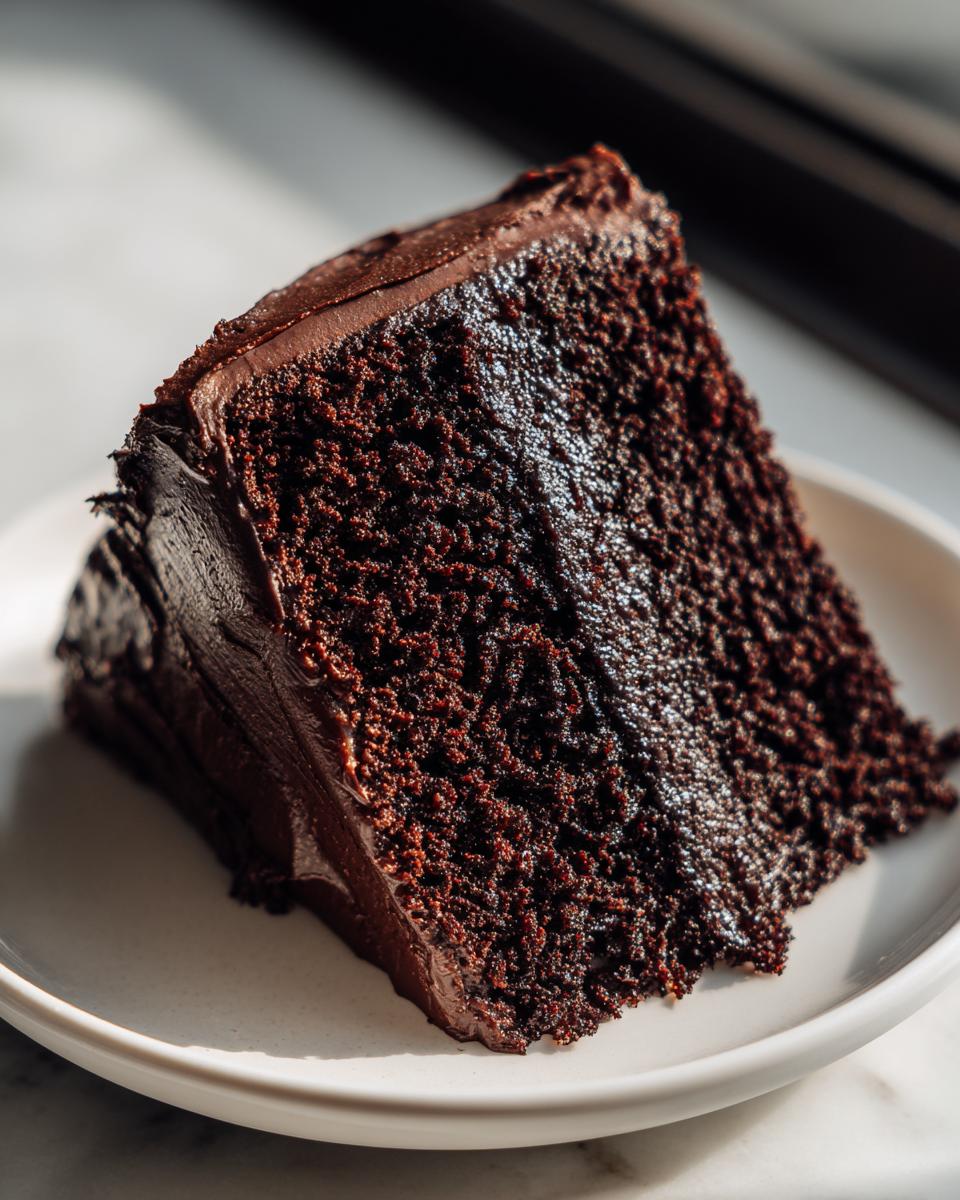
Oh, trust me, I know the struggle! You want that deeply decadent, pure chocolate experience—the kind that tastes like it came straight from a professional bakery—but you’re secretly terrified it’s going to dry out before you even frost it. I spent years chasing that perfect texture. As someone who has spent equal time studying nutrition and hovering over mixing bowls, I can tell you that achieving an ultra moist chocolate cake isn’t luck; it’s science applied with love. This recipe is the result of rigorous testing, ensuring every single batch delivers that rich, bakery-style crumb. If you’re looking for the best, foolproof way to make a chocolate cake from scratch that is unbelievably moist, you’ve absolutely found it here.
- Why This Is The Best Chocolate Cake Recipe for Extreme Moisture
- Gathering Ingredients for Your Moist Chocolate Cake
- Step-by-Step Instructions: How to Bake a Moist Chocolate Cake
- Expert Tips for the Ultimate Moist Chocolate Cake
- Making This Moist Chocolate Cake a Decadent Dessert Centerpiece
- Storage and Reheating for Your Moist Chocolate Cake
- Frequently Asked Questions About This Rich Chocolate Cake
- Estimated Nutritional Data for This Easy Chocolate Cake
- Share Your Ultra Moist Chocolate Cake Creations
Why This Is The Best Chocolate Cake Recipe for Extreme Moisture
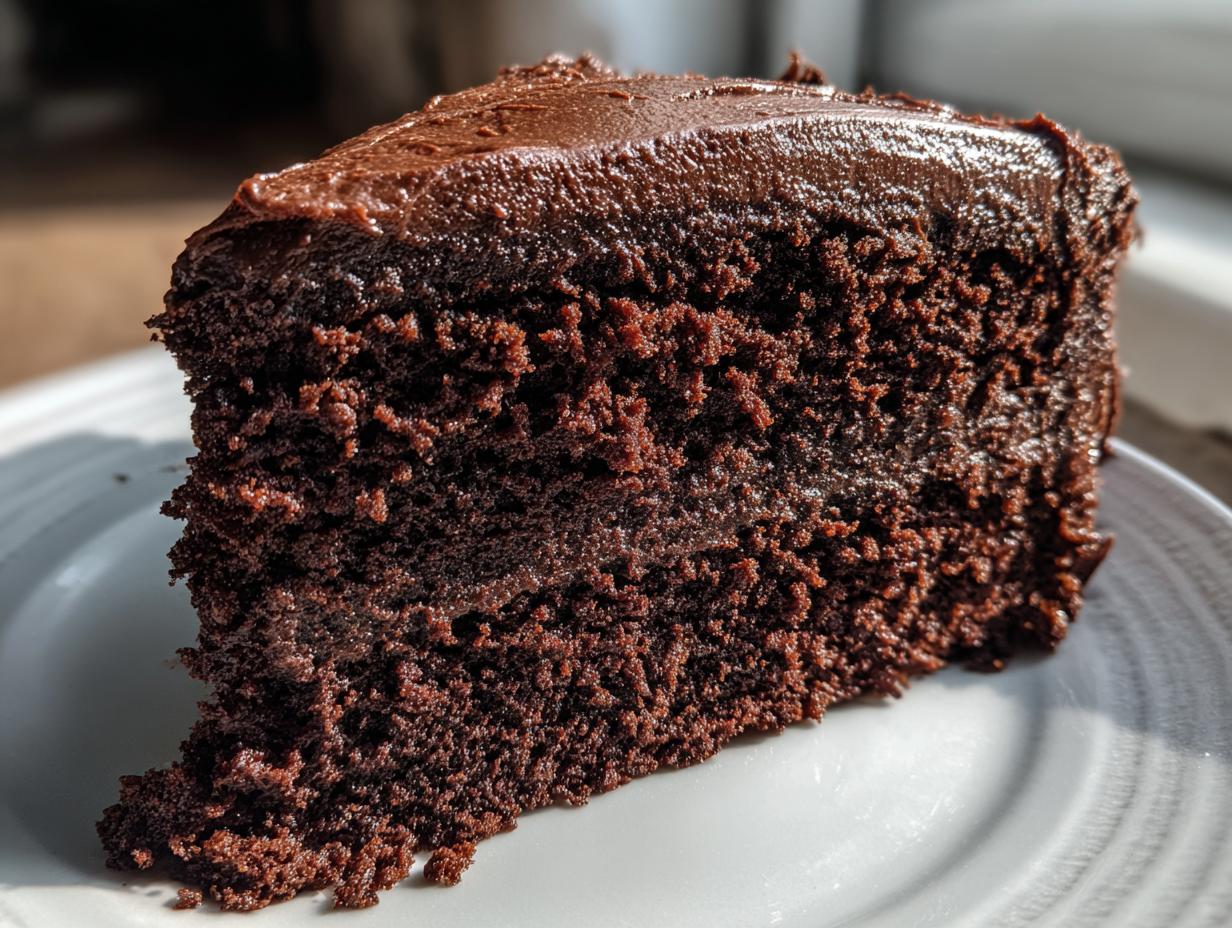
I’m not going to just say this is the rich chocolate cake you’ve been dreaming about; I’m going to explain *why* it works so well every single time. When I set out to create this recipe, moisture was my absolute primary goal. You deserve a cake that feels deeply indulgent, not dry and disappointing!
Here are the game-changers that guarantee you a beautiful, tender crumb cake:
- It uses liquids at the perfect temperature—hot coffee—which blooms the cocoa powder for maximum flavor extraction.
- It relies on oil instead of just butter for superior, non-solid fat that keeps the crumb soft even when chilled.
- The combination of baking soda and baking powder works perfectly with the buttermilk for lift and tenderness.
Key Factors Ensuring a Tender Crumb Cake
The buttermilk is crucial here. Its acidity is what reacts so beautifully with the baking soda, creating lots and lots of tiny, gentle bubbles. These bubbles give structure without being tough. Then, you hit it with that hot coffee. That heat wakes up the dark cocoa powder, pushing the flavor way deeper than room temperature water ever could. That’s the secret to that intense, dark look and unbelievably moist chocolate cake result.
Gathering Ingredients for Your Moist Chocolate Cake
You’re about to see that making a spectacular chocolate cake from scratch doesn’t mean you need a million fancy things. Most of these ingredients are probably already in your pantry! The key is using the right proportions, especially of the cocoa and the leaveners. When you look at this list, remember that quality matters—using proper unsweetened cocoa powder and making sure your coffee is freshly brewed and hot is what gets you that perfect finish. Don’t stress; this is an easy chocolate cake setup!
Here’s what you’ll need to gather:
- 1 3/4 cups all-purpose flour
- 1 3/4 cups granulated sugar
- 3/4 cup unsweetened cocoa powder
- 1 1/2 teaspoons baking soda
- 1 1/2 teaspoons baking powder
- 1 teaspoon salt
- 1 cup buttermilk
- 1/2 cup vegetable oil
- 2 large eggs
- 1 teaspoon vanilla extract
- 1 cup hot brewed coffee (or hot water)
Step-by-Step Instructions: How to Bake a Moist Chocolate Cake
Okay, this is where the magic really happens, and I promise, it’s so straightforward we might as well call this an easy chocolate cake! First things first, get your oven preheated to 350°F (175°C). Prep those two 9-inch pans—I always grease them and then cut out a parchment circle for the bottom. It’s my insurance policy against sticking!
Mixing the Dry and Wet Components for Your Moist Chocolate Cake
Grab a big bowl! You want to whisk together the flour, sugar, cocoa powder, baking soda, baking powder, and salt really well. We are aiming for zero lumps here. Once that dry mix is happy, you add your buttermilk, the oil, the eggs, and the vanilla. Now, use your mixer on medium speed for a full two minutes. Don’t skimp! This is called creaming, and it really helps build structure before we thin it out.
The Secret to a Bakery Style Chocolate Cake: Adding Hot Liquid
Here comes the star! Carefully pour in that cup of hot brewed coffee—or hot water if you prefer. Mix this on low speed, but stop the second it combines. I mean it! Scrape down the sides once and only mix until those dry patches are just gone. If you overmix after adding the hot liquid, you lose that gorgeous, tender crumb cake texture we are aiming for. Don’t worry, that batter is supposed to be thin!
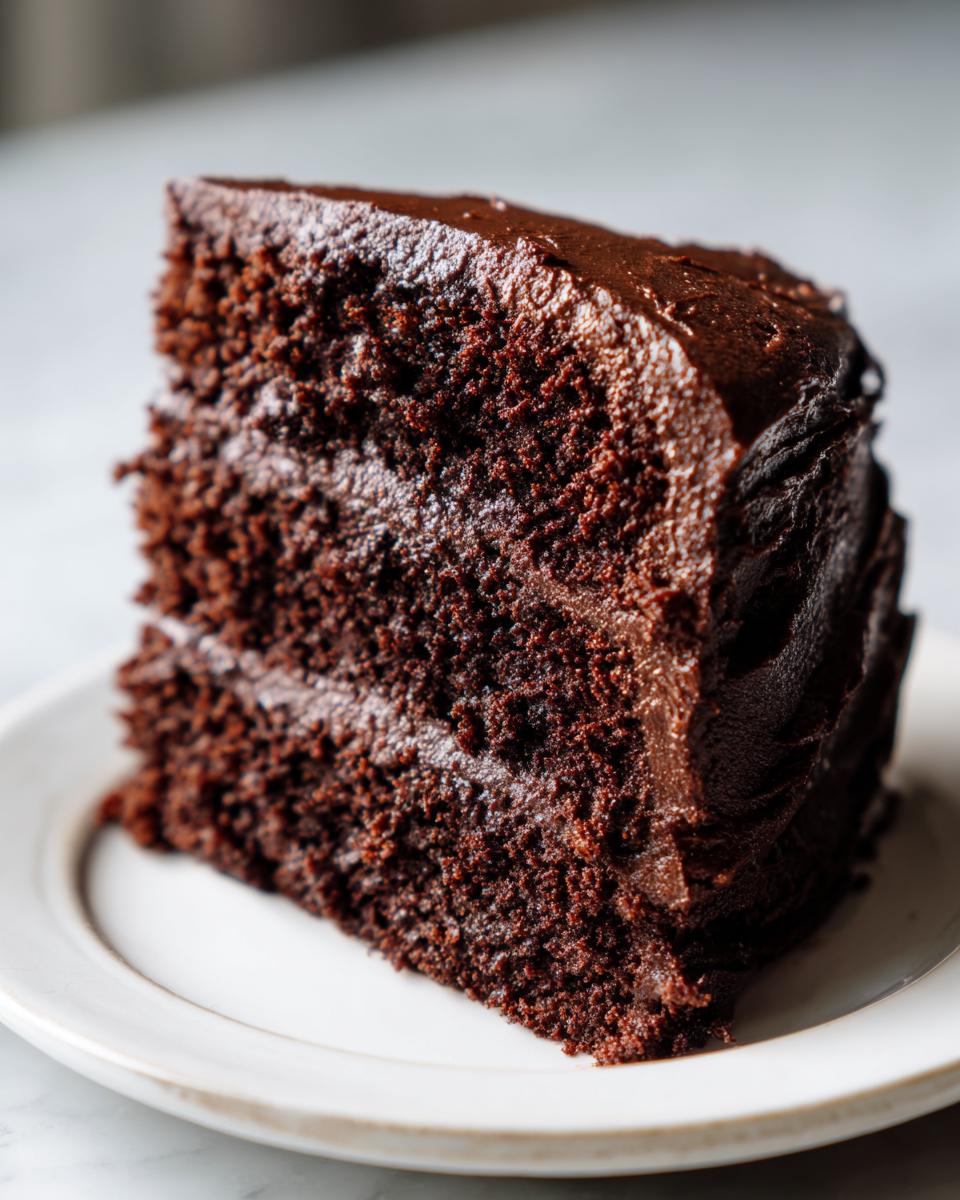
Baking and Cooling Your Homemade Chocolate Layer Cake
Divide your thin batter evenly between those prepared pans. Now, pop them in the oven for about 30 to 35 minutes. You’re looking for that wooden pick to come out clean—that confirms your homemade chocolate layer cake is done. Crucially, let them cool in the pans on a rack for 10 minutes exactly. This lets them firm up just enough. Then, flip them out to cool completely before you even think about frosting. Patience pays off!
Expert Tips for the Ultimate Moist Chocolate Cake
Look, anyone can mix ingredients, but knowing *why* you choose them is what separates a good cake from the kind people beg you to bake again. If you follow this method, you’ve already nailed the fundamentals of how to bake moist cake. But let me give you the insider scoop on the two non-negotiables here, because these elements are what transform this from a standard box mix replacement into an actual super moist dessert.
Ingredient Deep Dive: Buttermilk and Coffee
First up: buttermilk. Don’t skip it! That gentle acidity attacks the baking soda perfectly, which helps tenderize the flour proteins so you don’t get a tough cake. It’s pure moisture magic. Second is the coffee. I know, I know, chocolate and coffee sound weird together, but trust me on this one. The hot coffee doesn’t make it taste like your morning cup; it simply intensifies the existing deep cocoa notes. It makes the chocolate flavor pop way harder, giving you that intense, rich chocolate cake complexity you find in those high-end bakeries.
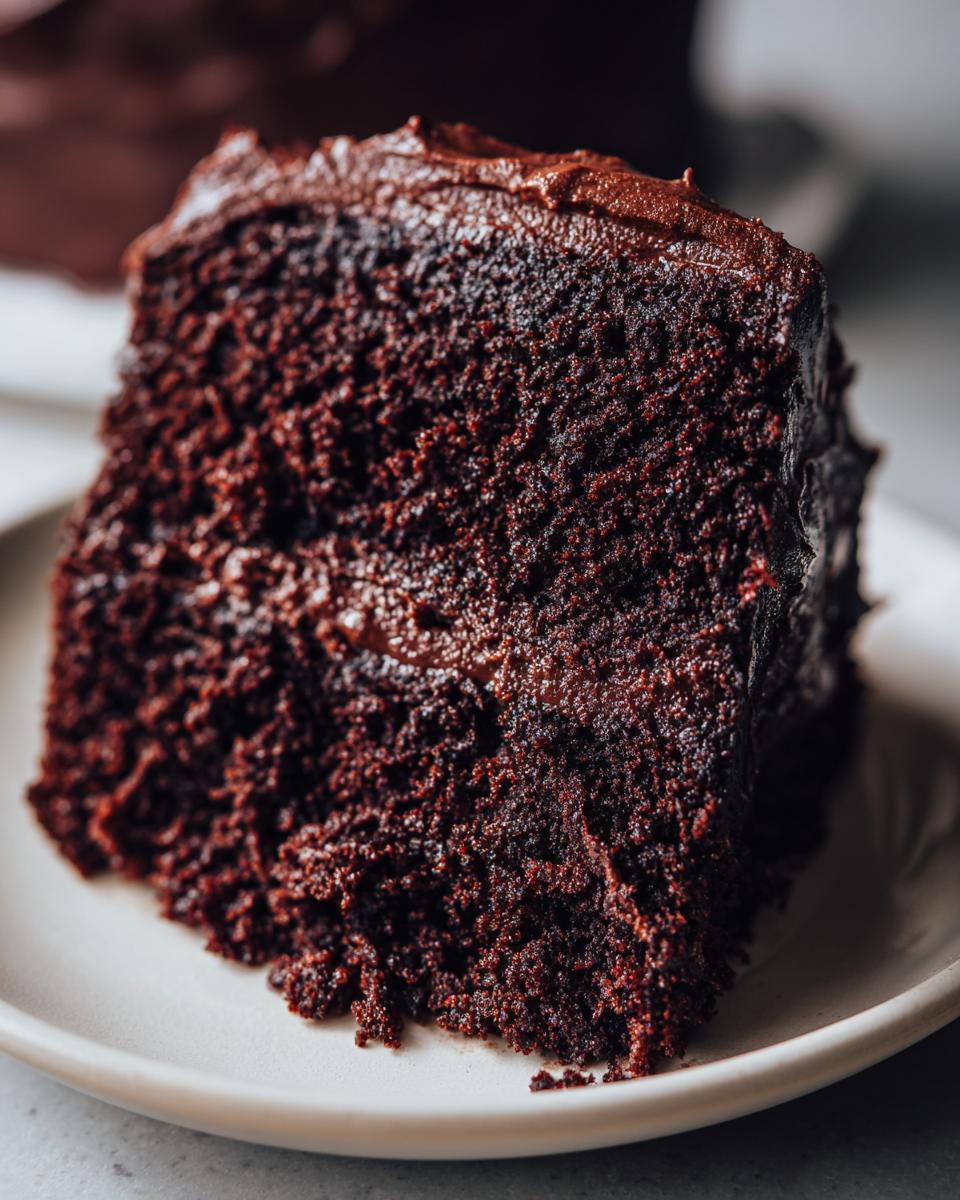
Making This Moist Chocolate Cake a Decadent Dessert Centerpiece
Now that you have this unbelievably moist chocolate cake, you can’t just slap on any old canned frosting! If you want that true show-stopping, decadent dessert vibe, you need to treat this layer cake right. For me, nothing beats a classic, dark, rich chocolate buttercream. Whip up a batch of that creamy stuff and slather it on thick between the layers.
If you’re feeling fancy, sometimes I blend a little salted caramel right into the frosting for an extra layer of flavor complexity that just screams special occasion. A light dusting of high-quality cocoa powder right before serving also looks super professional. Honestly, this cake is so rich it’s begging to be the star!
Storage and Reheating for Your Moist Chocolate Cake
Okay, you’ve made the most moist chocolate cake ever, and now you have leftovers—which is a wonderful problem to have! We want to make sure that incredible texture lasts until you get to that last slice. Moisture is the first thing to go if you store it wrong, so pay attention here.
If you’re frosting the cake, do it as soon as it’s completely cool. Once frosted, wrap the entire cake tightly in plastic wrap, making sure the wrap touches the frosting surface to prevent air exposure. That layer of frosting actually acts like a seal!
For short-term storage (1-3 days), the refrigerator works fine, especially if your frosting is buttercream-based. However, the fridge can be drying. To combat this, pull that rich chocolate cake out about 45 minutes before you plan to serve it. Letting it come back up to room temperature is non-negotiable; it thaws out all those fats and brings back that soft, tender crumb we worked so hard for!
If you need to save slices for longer, freezing is your best friend. Wrap individual slices extremely well—I sometimes use plastic wrap followed by a layer of aluminum foil—and they’ll keep their moisture for up to three months. When thawing, just move them, still wrapped, to the fridge overnight, and then let them sit out on the counter for that final thirty minutes before eating. That’s how we keep this super moist dessert perfect!
Frequently Asked Questions About This Rich Chocolate Cake
It’s totally normal to have questions when you’re aiming for perfection, especially when crafting a spectacular chocolate birthday cake ideas masterpiece. Since this recipe focuses so heavily on texture, people often ask about substitutions or how to get that flawless presentation. Don’t worry, I’ve covered the common concerns so you can bake with total confidence!
Can I use regular milk instead of buttermilk in this moist chocolate cake?
You can, but I really, really advise against it if your top goal is the ultimate moist chocolate cake. Buttermilk isn’t just about the liquid volume; it’s about that acid content we talked about. Regular milk just doesn’t have the oomph to react with the baking soda the way we need it to for this specific structure. If you absolutely must substitute, measure out 1 cup of regular milk and whisk in 1 tablespoon of white vinegar or lemon juice. Let that sit for about five minutes until it curdles slightly—that’s your homemade buttermilk substitute! It’ll do the job, but the bottled stuff is always better for that tender crumb.
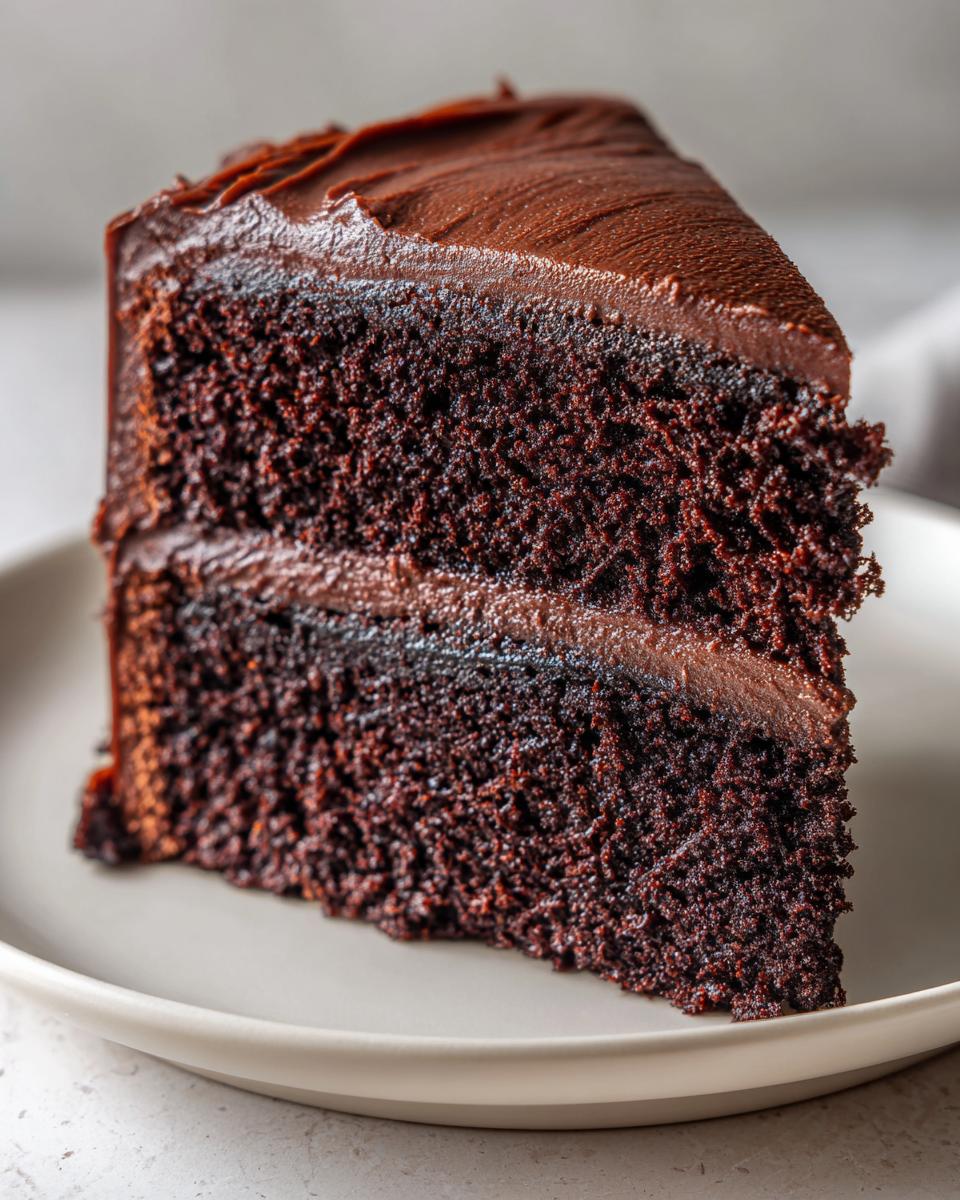
How do I ensure my homemade chocolate layer cake layers are perfectly flat?
Ah, the elusive flat top! This happens when the outside of the cake cooks and sets faster than the middle, causing the center to dome up before the entire structure is stable. Since this is a thin batter, it’s less of a problem, but here are my tricks: First, check your oven temperature with a thermometer—over-hot ovens cause doming! Second, after the 10 minutes cooling time in the pan, when you turn them out, if you see any slight dome, don’t panic. Once the cakes are completely cool (I mean fridge-cold cool!), you can use a large serrated knife—like a bread knife—to gently saw off the top, leveling it for those perfect homemade chocolate layer cake stacks. It’s a simple step, but it makes stacking so much easier.
Also, if you are trying to achieve a super rich, intense profile like a dark chocolate cake, make sure you are using high-quality, dark cocoa powder in the first place!
Estimated Nutritional Data for This Easy Chocolate Cake
I always include a peek at the nutrition facts because, even though this is undoubtedly an ultimate chocolate dessert meant for indulgence, I believe in transparency! Remember, this is cake we’re talking about, so we aren’t aiming for a salad here, but it’s good to know what you’re diving into.
The information below is based on one serving of the cake layers alone—this doesn’t include the rich chocolate buttercream you’ll definitely be slathering on top (and you should!). Since frosting recipes vary wildly, your final totals will change depending on how generous you are with the frosting!
- Serving Size: 1 slice
- Calories: 350
- Sugar: 35g
- Fat: 18g (Saturated Fat: 4g)
- Carbohydrates: 45g
- Protein: 4g
- Sodium: 300mg
These values are helpful guides, but they are estimates. The actual breakdown can wiggle around based on the brand of cocoa powder or buttermilk you choose to use. Enjoy every bite of this amazingly moist chocolate cake!
Share Your Ultra Moist Chocolate Cake Creations
Listen, my favorite part of baking isn’t just licking the bowl (though, that’s a close second!). It’s seeing you all bring this moist chocolate cake to life in your own kitchens! That’s where the real joy of MayaPlate comes from—seeing simple, smart techniques turn into genuine moments of comfort and celebration.
When you finish your layers and stack them up high, I want to see them! Please drop a rating for this recipe down below—if it helped you achieve that bakery-style texture, give it 5 stars so others struggling with dry cakes can find it!
Seriously, tag me on social media with a photo of your finished decadent dessert. Did you use the coffee? Did you go heavy on the frosting? If you loved the results, don’t forget to check out some other reliable favorites, like this no-fail option from Lily’s journal here.
Baking should be rewarding, not stressful. Let me know how this recipe brought a little joy to your table today, or if you have any lingering questions, pop over to the contact page, and we can chat through any last-minute cake dilemmas!
PrintThe Best Ultra Moist Chocolate Cake Recipe (Bakery Style)
Bake this foolproof recipe for an ultra moist chocolate cake with rich, deep cocoa flavor. This homemade layer cake uses simple ingredients and techniques to guarantee a tender crumb every time you bake.
- Prep Time: 15 min
- Cook Time: 35 min
- Total Time: 50 min
- Yield: 12 servings 1x
- Category: Dessert
- Method: Baking
- Cuisine: American
- Diet: Vegetarian
Ingredients
- 1 3/4 cups all-purpose flour
- 1 3/4 cups granulated sugar
- 3/4 cup unsweetened cocoa powder
- 1 1/2 teaspoons baking soda
- 1 1/2 teaspoons baking powder
- 1 teaspoon salt
- 1 cup buttermilk
- 1/2 cup vegetable oil
- 2 large eggs
- 1 teaspoon vanilla extract
- 1 cup hot brewed coffee (or hot water)
Instructions
- Preheat your oven to 350°F (175°C). Grease and flour two 9-inch round cake pans or line them with parchment paper.
- In a large bowl, whisk together the flour, sugar, cocoa powder, baking soda, baking powder, and salt until combined.
- Add the buttermilk, oil, eggs, and vanilla extract to the dry ingredients. Beat with an electric mixer on medium speed for two minutes.
- Carefully pour the hot coffee (or hot water) into the batter and mix on low speed until just combined. The batter will be thin.
- Divide the batter evenly between the prepared cake pans.
- Bake for 30 to 35 minutes, or until a wooden pick inserted into the center comes out clean.
- Let the cakes cool in the pans for 10 minutes before inverting them onto a wire rack to cool completely.
- Frost with your favorite rich chocolate buttercream once fully cooled.
Notes
- Using hot coffee deepens the chocolate flavor without making the cake taste like coffee. This is key for a bakery style result.
- Do not overmix the batter once the liquid is added; this keeps the crumb tender.
- Buttermilk reacts with the baking soda to create a very moist texture.
Nutrition
- Serving Size: 1 slice
- Calories: 350
- Sugar: 35g
- Sodium: 300mg
- Fat: 18g
- Saturated Fat: 4g
- Unsaturated Fat: 14g
- Trans Fat: 0g
- Carbohydrates: 45g
- Fiber: 2g
- Protein: 4g
- Cholesterol: 50mg