
When you crave a dessert that stops conversation in its tracks, you reach for something truly decadent, right? For me, that means the most luxurious chocolate experience possible, which is why perfecting the **French Silk Pie** has been such a joy in the MayaPlate kitchen. Forget those runny, disappointing versions you see sometimes; this is the ultimate, velvety recipe that captures that melt-in-your-mouth perfection we all dream about. I spent ages figuring out how to adapt my grandmother’s comforting Midwest recipes into something that felt elegant enough for a fancy gathering, but simple enough for a Tuesday night when I just desperately needed a treat. This recipe is my answer to getting that **rich chocolate pie recipe** flavor, even when life is busy. You deserve this level of indulgence! You can find more wonderful sweet treats in my collection of delicious dessert recipes.
- Why This Is the Best French Silk Pie Recipe You Will Ever Make
- Gathering Ingredients for Your Decadent Chocolate Dessert
- Step-by-Step Instructions for the Ultimate French Silk Pie
- Tips for Success Making Your Showstopper Holiday Pie
- Storage and Serving Suggestions for Your French Silk Pie
- Frequently Asked Questions About This Rich Chocolate Pie Recipe
- Nutritional Estimates for This Classic French Dessert Recipe
- Share Your Ultimate French Silk Pie Experience
Why This Is the Best French Silk Pie Recipe You Will Ever Make
I know, I know, everyone claims theirs is the best, but the difference here is the undeniable texture and the depth of chocolate flavor. When I make this **French Silk Pie**, I’m not just making dessert; I’m making an experience. It truly takes that rich, deep chocolate element and elevates it into something unbelievably elegant for any gathering.
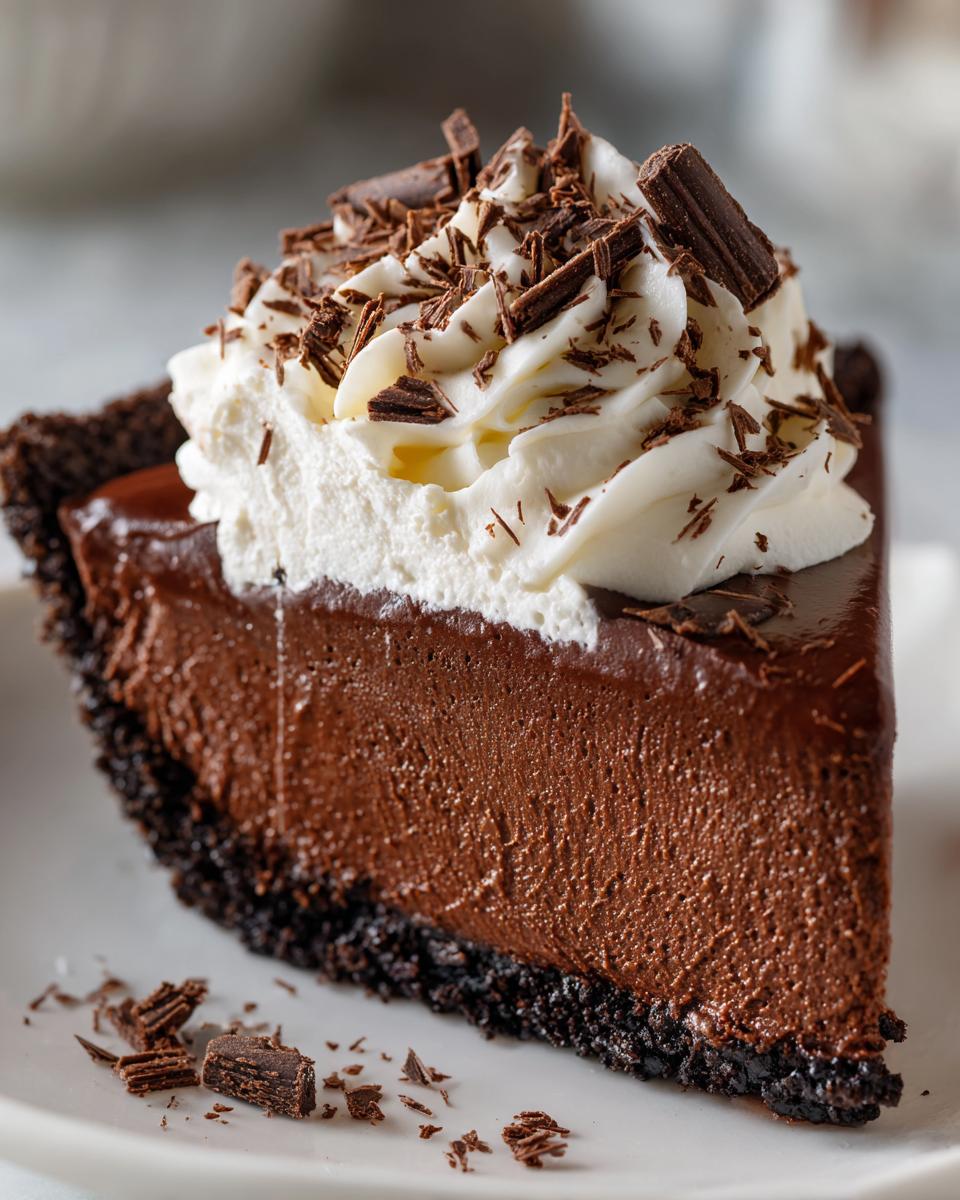
- Unmatched Silky Texture: It’s light enough to feel airy, but rich enough to feel substantial.
- Intensely Chocolatey: We use bittersweet chocolate so the flavor isn’t just sweet—it’s decadent.
- A True Showstopper: This pie looks like it took all day, but it’s actually quite straightforward when you know the tricks!
Achieving That Signature Velvety Chocolate Dessert Texture
The secret sauce to that incredible mouthfeel is definitely twofold. First, we gently cook those egg yolks with hot sugar syrup. That tempering step is how we get that rich, cooked base without needing a heavy gelatin binder. Then, the folding! You have to be gentle when you incorporate the whipped cream. If you rush it, you deflate the air, and then you just have heavy chocolate pudding. We want light, airy ribbons for that perfect **creamy silk pie filling**.
The Perfect Crust for Your French Silk Pie
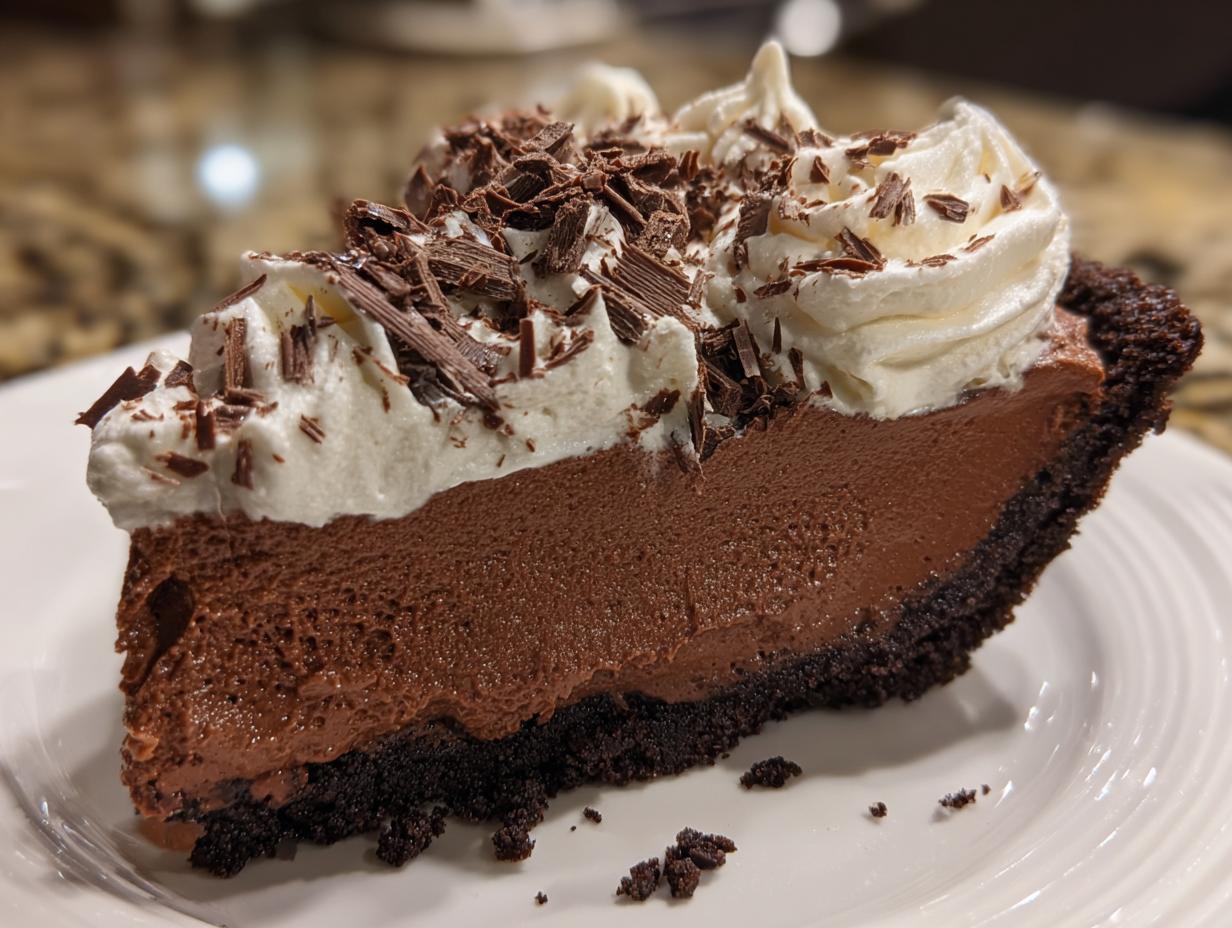
For this recipe, I’m leaning into the crunchy, simple cookie crust—it offers a fantastic textural contrast to the silky filling. It’s so quick and always holds up beautifully in the fridge. However, if you are craving something more traditional, don’t stress! You can absolutely use your favorite pre-baked flaky crust instead when making your **Homemade French Silk Pie**. Either way, the focus is 100% on that filling!
Gathering Ingredients for Your Decadent Chocolate Dessert
Now that we know how amazing this **French Silk Pie** is going to turn out, we need to make sure we have our ducks in a row with the ingredients. Seriously, the better your chocolate is, the more intense and luxurious this **decadent chocolate dessert** will be. It’s worth spending a few extra coins on that good quality stuff! Don’t skip anything here; the ratios are important for that perfect set.
For the crust, we are using about 1 and 1/2 cups of chocolate wafer cookie crumbs—that usually means crushing about 30 cookies—mixed with 1/4 cup of sugar and 6 tablespoons of melted, unsalted butter. For that deep filling, grab 8 ounces of your favorite bittersweet chocolate, chopped fine. The filling base needs another 1/2 cup of granulated sugar, 1/4 cup of water, 4 large egg yolks, and a teaspoon of vanilla. Finally, you’ll obviously need 1 cup of heavy whipping cream, cold, plus 1/4 cup of powdered sugar for whipping, and some chocolate shavings for that beautiful topping.
Ingredient Notes and Substitutions for Silky Smooth Chocolate Filling
Listen, the chocolate really needs to be bittersweet or semi-sweet. Milk chocolate will make this too sweet and won’t give you that dark, rich color we are aiming for in the **silky smooth chocolate filling**. Also, the cream must be ice cold when you whip it—if it’s even slightly warm, it might not reach those stiff peaks we need for folding later. Remember, while I love this cookie crust, if you prefer a classic, flaky crust, just go ahead and get a fully baked one ready to go instead. That’s the beauty of simple enhancements!
Step-by-Step Instructions for the Ultimate French Silk Pie
Okay, deep breath everyone—this is where the magic happens! While we need precision, don’t let the syrup temperature scare you off. Getting the steps right here is how you guarantee that **creamy silk pie filling** sets up just right instead of being soupy. Remember that in any **French Inspired Dessert**, technique matters more than speed sometimes. We are patient cooks, and this reward is worth the wait!
Preparing the Cookie Crust and Chocolate Base
First things first: crust time! You want to mix those crumbs, 1/4 cup of sugar, and melted butter really well, then firmly press it into your 9-inch pie plate. Make sure you compact it well on the bottom and up the sides. Then, pop the whole thing into the fridge to chill for at least 30 minutes while you make the filling. While that chills, melt your chopped bittersweet chocolate until it’s completely smooth, stirring over that simmering water bath. Once it’s ready, take it off the heat and just let it hang out for a few minutes so it cools down just a tiny bit before we mix it in later.
Tempering Yolks and Achieving Perfect Syrup Temperature
This is the high-stakes moment, but totally doable! Get your 1/2 cup of sugar and water heating up in a saucepan. We are cooking this until it hits exactly 240 degrees F on the candy thermometer—that soft-ball stage is crucial for safely cooking the yolks. While that’s happening, get your mixer ready with the egg yolks. Once that syrup hits 240°F, you need to drizzle it in a super thin stream into the yolks while the mixer is going on medium. Keep whipping for about ten minutes until the mixture is pale, thick, and has completely cooled down to room temperature. This slow process is what makes the meringue base so stable, giving you that wonderful **velvety chocolate dessert** structure.
Folding for the Mousse-Like French Silk Pie Filling
Next, we bring the chocolate flavor in. Whisk your slightly cooled melted chocolate and vanilla right into that cooled yolk mixture until they are just meeting. Now, for the aeration! In a separate bowl, whip your cold cream and powdered sugar until you have stiff peaks—that’s non-negotiable for a tall filling! Here’s the most important move for your **french silk pie**: take about a third of the whipped cream and gently fold it into the chocolate base to lighten it up. Once that’s incorporated softly, gently fold in the remaining cream in two more additions. You must stop mixing the second no white streaks show. Overmixing deflates the air, turning your beautiful batter heavy. Pour this light, airy filling into the chilled crust, give it a gentle smooth top, and wrap it loosely. This beauty needs to hang out in the fridge for a minimum of six hours, but honestly, overnight is your best friend here.
If you want to see the whole process in real-time, I actually filmed a quick tutorial that really helps explain the folding process during my delicious dessert recipes session!
Tips for Success Making Your Showstopper Holiday Pie
Making this **French Silk Pie** feels a little fancy, but it boils down to respecting temperature, which is something I learned early on from my grandmother! The biggest pitfall, in my experience, is adding the hot sugar syrup too fast to those yolks; it needs to be a thin, slow drizzle so you don’t end up scrambling them even slightly. That cooling time after tempering is non-negotiable for getting a true mousse! Also, make sure your chocolate isn’t scorching hot when you whisk it in—it should already be starting to firm up slightly.
My personal tip, straight from the MayaPlate kitchen, is this: always taste the whipped cream just before you fold it in. Sometimes, depending on how much flavor you want, a tiny extra splash of vanilla extract right into the cream can really boost the overall flavor profile. And please, heed the chilling warnings! This **decadent chocolate dessert** needs that time to go from soft batter to perfectly sliceable. If you need inspiration for other holiday treats, check out my page for delicious dessert recipes.
Storage and Serving Suggestions for Your French Silk Pie
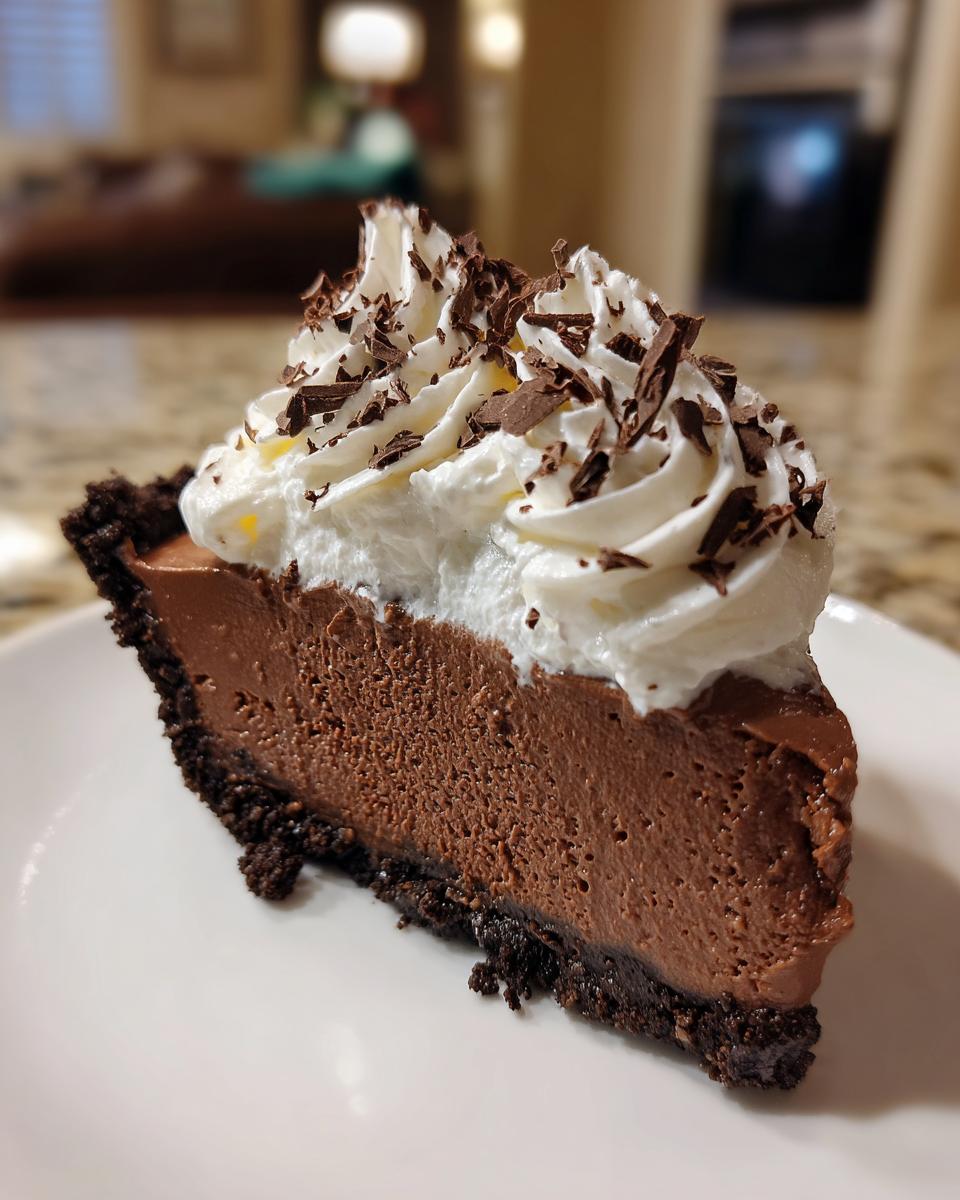
This **decadent chocolate dessert** needs patience after assembly! You absolutely must keep it covered loosely in the fridge for at least six hours, but if you can hold out until the next day, that’s even better. Overnight chilling ensures that luxurious filling is completely firm so you get those clean slices of **French Silk Pie** everyone is hoping for.
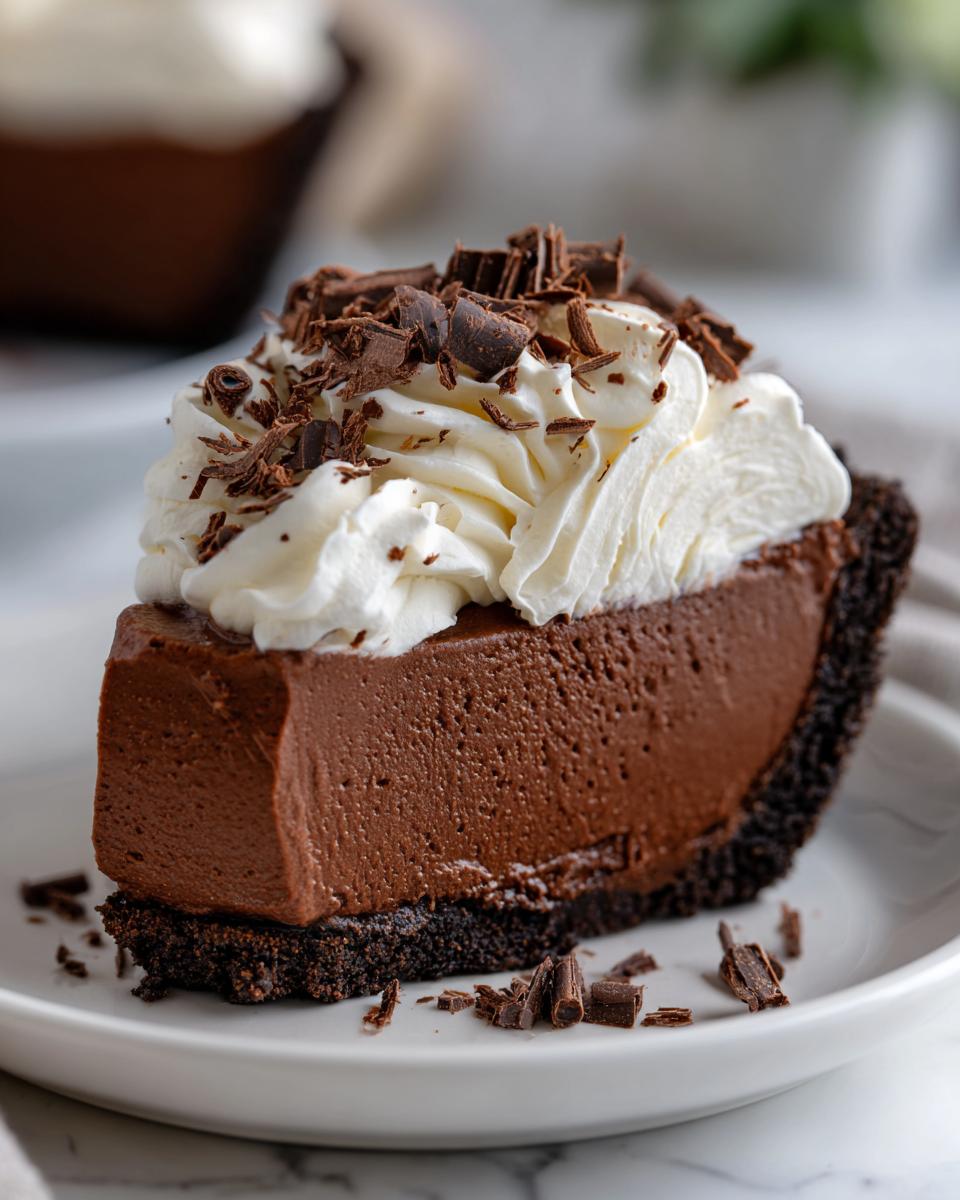
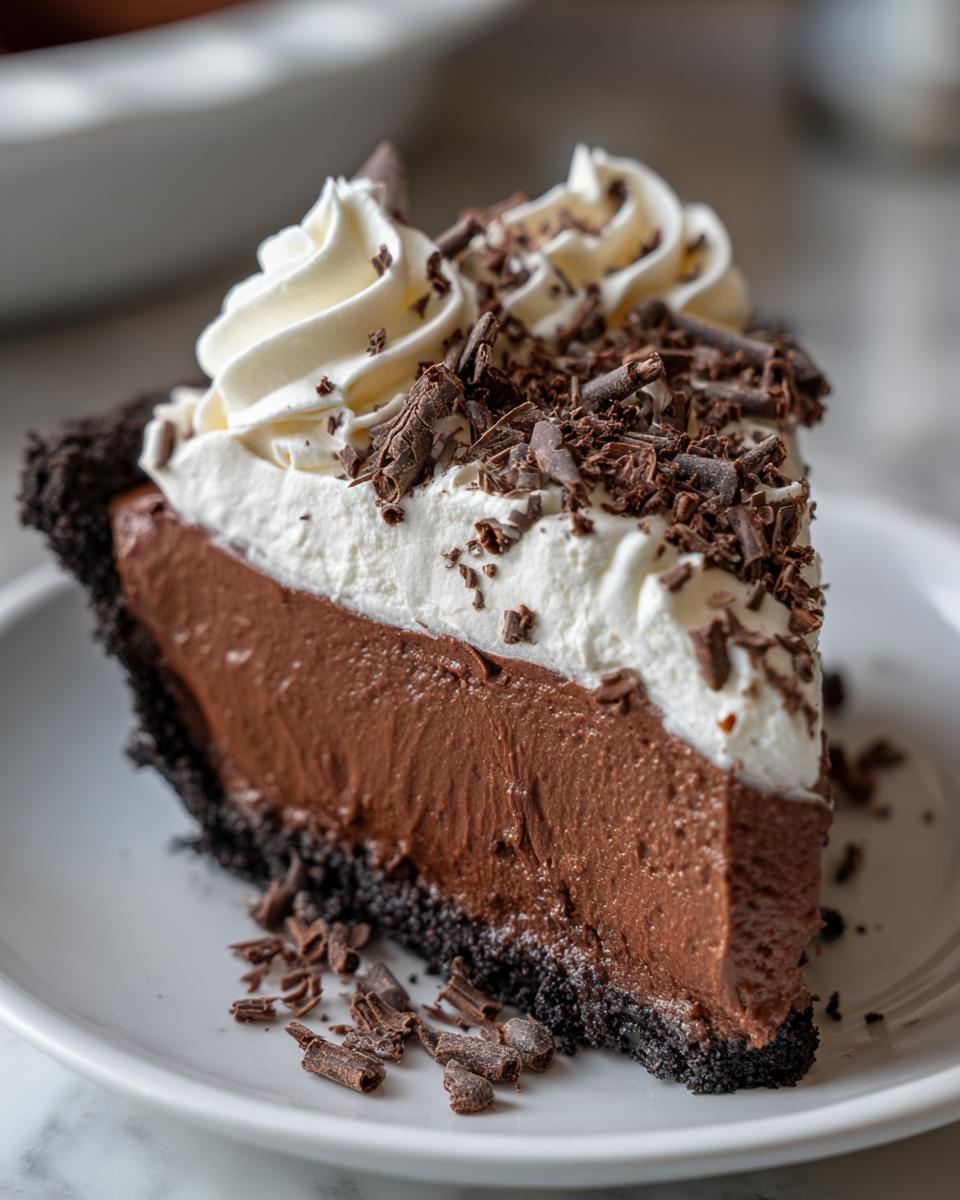
When it’s time to serve, this rich treat pairs perfectly with a strong cup of coffee or maybe a side of fresh raspberries to cut through the intensity of the chocolate. Honestly, sometimes just extra chocolate shavings on top are all the fanfare it needs!
Frequently Asked Questions About This Rich Chocolate Pie Recipe
It’s totally normal to have questions when you’re making something this spectacular! People often ask me about safety, especially since we’re dealing with hot syrup and eggs, or if they can skip the chilling time. I promise, once you master the technique for this **french silk pie**, you’ll feel like a pastry genius. Here are the things I hear most often from folks trying out this **Rich Chocolate Pie Recipe** for the first time. You can find more guidance in my collection of delicious dessert recipes.
Can I make a No Bake Silk Pie Option?
That’s a great question if you are in a real hurry! While this recipe is technically very easy, it isn’t truly no-bake because we have to heat that sugar syrup to 240°F to cook out the yolks. That heating step is essential for the classic texture. If you absolutely need no-bake, you could try using a stabilized chocolate pudding mix as a filling, but trust me, it won’t give you that true airy, **Mousse Pie Recipe** quality that makes this **French Silk Pie** so famous.
How long does the French Silk Pie filling need to set?
This is critical, so listen up! You need a bare minimum of six hours for the filling to really firm up. If you cut into it any sooner, you’ll end up with a beautiful, messy chocolate pool instead of a perfect slice. I absolutely insist that you aim for overnight chilling. That extra time allows the fats to solidify properly, guaranteeing you get that clean, beautiful slice of **silky smooth chocolate filling** when you pull it from the fridge. Patience truly is the final ingredient here!
Nutritional Estimates for This Classic French Dessert Recipe
I always encourage people to focus on the joy of this **decadent chocolate dessert**, but I know some of you look at details like this! Please remember that since this is such a rich pie and my recipe uses specific ingredients like bittersweet chocolate and a cookie crust, these numbers are just estimates based on dividing the whole pie into 8 servings. I’ve included the main numbers here for your planning, though.
- Serving Size: 1 slice
- Calories: 450
- Sugar: 35g
- Fat: 30g
- Protein: 6g
These values can swing a bit based on the brand of chocolate you select, but this gives you a good baseline for what you’re enjoying when you make this amazing **Classic French Dessert Recipe**.
Share Your Ultimate French Silk Pie Experience
Okay, the moment of truth! You’ve done the chilling, you’ve mastered the tempering, and now you have this incredible, **showstopper holiday pie** cooling on your counter, smelling like pure chocolate heaven.
I truly live for seeing what you all create in your kitchens! When you take that first beautiful, clean slice of your **French Silk Pie**, I want to see it! Please snap a picture of your **impressive chocolate dessert** and tag me on Instagram or Facebook. Nothing makes me happier than knowing my careful recipe helped bring a little joy and indulgence to your table.
If you loved how truly silky and rich this turned out, I’d be so grateful if you could leave a quick star rating right here on the recipe page. And if you found any tweaks that worked perfectly for your family—maybe you topped it with those candied pecans I mentioned—share those tips in the comments below so we can all learn together! We’re always sharing new ways to enjoy delicious dessert recipes!
If you want to check out another fantastic perspective on perfecting this pie, this recipe is another wonderful resource to explore!
PrintThe Ultimate Classic French Silk Pie with Cookie Crust

Make this rich, creamy French Silk Pie featuring a velvety chocolate filling and a simple cookie crust. This decadent chocolate dessert is perfect for holidays or any special gathering.
- Prep Time: 35 min
- Cook Time: 5 min
- Total Time: 6 hours 40 min
- Yield: 8 servings 1x
- Category: Dessert
- Method: Chilling
- Cuisine: French Inspired
- Diet: Vegetarian
Ingredients
- 1 1/2 cups chocolate wafer cookie crumbs (about 30 cookies)
- 1/4 cup granulated sugar
- 6 tablespoons unsalted butter, melted
- 8 ounces bittersweet chocolate, chopped
- 1/2 cup granulated sugar
- 1/4 cup water
- 4 large egg yolks
- 1 teaspoon vanilla extract
- 1 cup heavy whipping cream, cold
- 1/4 cup powdered sugar
- Chocolate shavings, for garnish
Instructions
- Prepare the crust: Combine cookie crumbs, 1/4 cup sugar, and melted butter in a bowl. Press the mixture firmly into the bottom and up the sides of a 9-inch pie plate. Chill the crust for at least 30 minutes.
- Melt the chocolate: Place the chopped bittersweet chocolate in a heatproof bowl. Set the bowl over a saucepan of simmering water (ensure the water does not touch the bottom of the bowl) and stir until the chocolate is smooth. Remove from heat and set aside to cool slightly.
- Make the syrup: In a small saucepan, combine 1/2 cup sugar and water. Heat over medium heat, stirring until the sugar dissolves. Bring the mixture to a boil without stirring and cook until it reaches 240 degrees F (soft-ball stage) on a candy thermometer.
- Temper the egg yolks: While the syrup boils, place the egg yolks in the bowl of a stand mixer fitted with the whisk attachment. With the mixer running on medium speed, slowly pour the hot sugar syrup in a thin stream down the side of the bowl into the yolks. Continue whisking until the mixture is thick, pale, and has cooled to room temperature, about 8 to 10 minutes.
- Combine the filling base: Gently whisk the slightly cooled melted chocolate and vanilla extract into the cooled egg yolk mixture until just combined. Set this chocolate base aside.
- Whip the cream: In a separate clean bowl, whip the cold heavy cream and powdered sugar until stiff peaks form.
- Fold the filling: Gently fold one-third of the whipped cream into the chocolate base to lighten it. Then, gently fold in the remaining whipped cream until no white streaks remain. Do not overmix; this keeps the filling airy and mousse-like.
- Assemble and chill: Pour the creamy silk filling into the chilled cookie crust. Smooth the top. Cover the pie loosely with plastic wrap and refrigerate for at least 6 hours, or preferably overnight, until the filling is completely set.
- Serve: Before serving, top the chilled French Silk Pie generously with additional whipped cream (if desired) and garnish with chocolate shavings. Slice and serve immediately.
Notes
- For a classic, flaky crust instead of a cookie crust, prepare and fully bake a standard 9-inch pie crust and allow it to cool completely before filling.
- To ensure the silkiest texture, make sure the egg yolk and sugar mixture is completely cool before adding the melted chocolate.
- This decadent chocolate dessert benefits greatly from a long chilling time to achieve the proper set.
Nutrition
- Serving Size: 1 slice
- Calories: 450
- Sugar: 35g
- Sodium: 150mg
- Fat: 30g
- Saturated Fat: 18g
- Unsaturated Fat: 12g
- Trans Fat: 0g
- Carbohydrates: 40g
- Fiber: 3g
- Protein: 6g
- Cholesterol: 120mg