
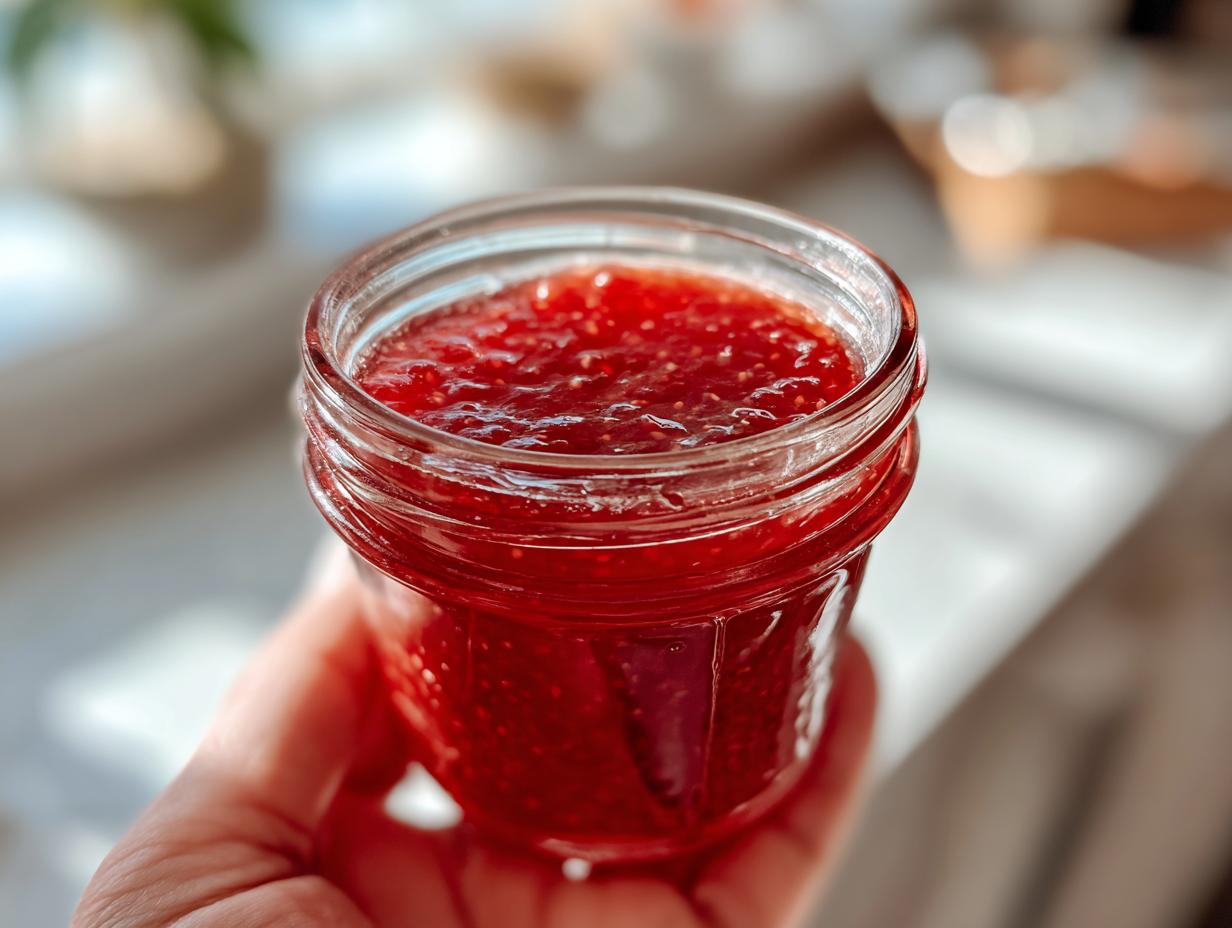
Oh, friends, if you’ve been chasing that perfect, bright taste of summer strawberries but dread the whole boiling and sterilizing rigmarole, I have the absolute secret weapon for you. Forget the heavy canning equipment; we are keeping things incredibly simple today. I’m sharing my tried-and-true recipe for the easiest, no-cook strawberry freezer jam you will ever make. Seriously, this is such a beginner-friendly preserving guide, it feels like cheating!
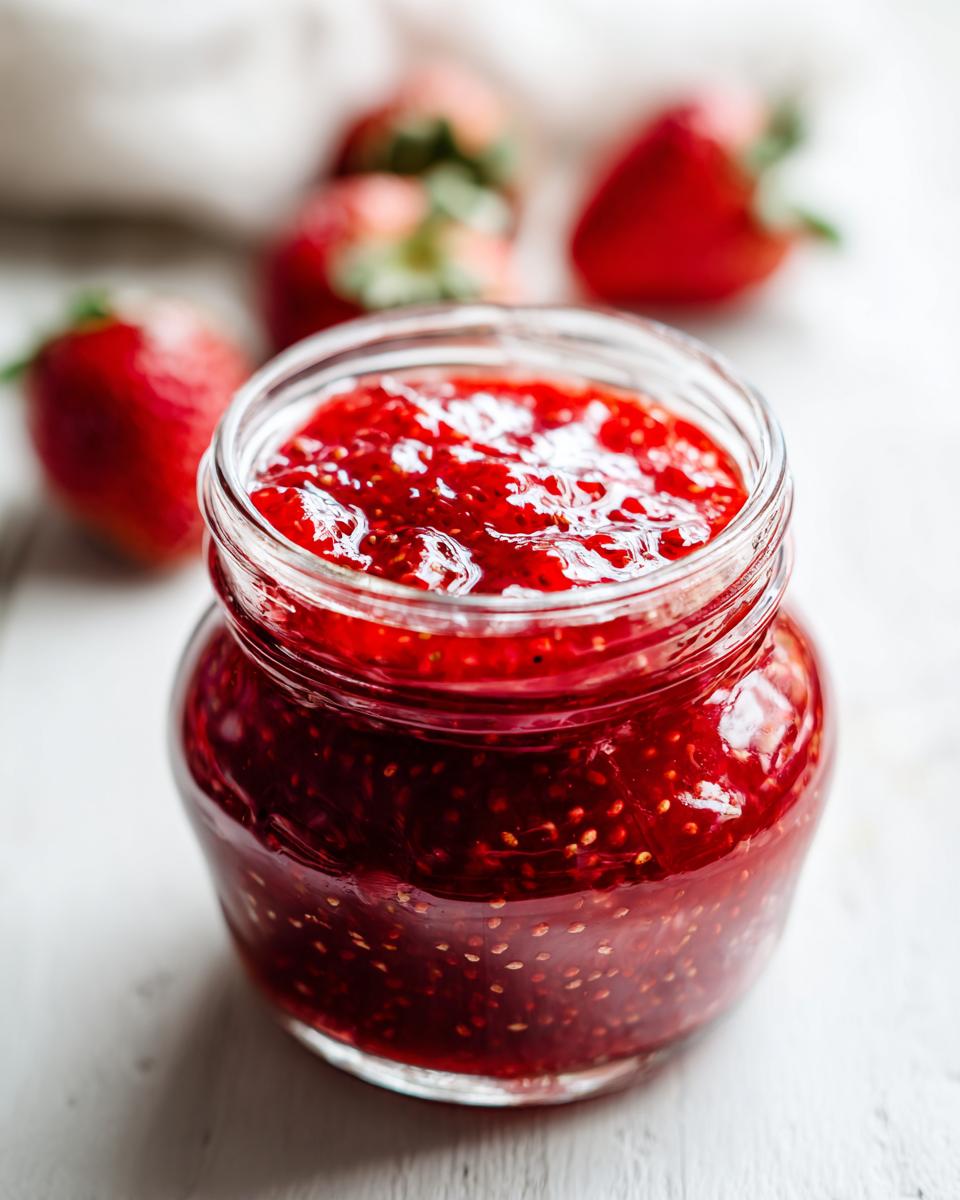
When I was developing recipes for MayaPlate, I wrestled with how to bring that nostalgic, wholesome feeling from my grandmother’s kitchen into our super-busy modern schedules. This recipe is the answer! We capture peak fruit flavor using just a few straightforward ingredients and zero cooking time. You get that vibrant, fresh fruit preserves quality we all love, ready faster than ordering takeout. It’s about making nourishment and joy truly accessible, even on a Tuesday night!
- Why This Easy No-Cook Strawberry Freezer Jam Recipe Works (E-E-A-T)
- Gathering Ingredients for Perfect Strawberry Freezer Jam
- Step-by-Step Instructions for Quick Freezer Jam Making
- Tips for Success with Homemade Freezer Jam
- Variations for Your Next Batch of Freezer Jam
- Making Low Sugar Jam with This Freezer Jam Method
- Storing and Enjoying Your Freezer Jam
- Frequently Asked Questions About No Canning Required Jam
- Serving Suggestions for Your Fresh Fruit Preserves
Why This Easy No-Cook Strawberry Freezer Jam Recipe Works (E-E-A-T)
When I first started diving into preservation, the whole water bath canning process felt intimidating—and let’s be honest, it really cooks out all that gorgeous, bright flavor you get from perfectly ripe strawberries. I needed a shortcut that wouldn’t sacrifice quality, and bingo! That’s where other freezer jam recipes finally clicked for me.
This is a genuine no cook jam because we rely entirely on the magic of powdered pectin, like Sure-Jell. Pectin is a natural thickener, and when mixed correctly with sugar (and maybe a little lemon juice for acid), it gels up beautifully without any boiling whatsoever. It’s such a game-changer for anyone looking for a real beginner preserving guide.
I switched over completely years ago because it lets the fruit taste like actual, just-picked strawberries. You just crush them, stir everything together, and let chemistry do the hard work. It’s fast, it’s reliable, and it allows you to keep summer flavors locked away until you need them!

Gathering Ingredients for Perfect Strawberry Freezer Jam
Okay, making this jam is almost impossible to mess up because the ingredient list is so short and sweet! This is where precision matters, just a tiny bit, especially when dealing with pectin. Remember, we aren’t cooking anything down, so the ingredients have to do all the heavy lifting to get that perfect set for our freezer jam.
We are making about six half-pint jars worth here, which is the perfect small batch jam size for tasting right away! You’ll need your four main players. Make sure you get the powdered fruit pectin—the boxed stuff, like the classic Sure-Jell—because that is what sets without heat. Don’t swap that unless you are adjusting for a low sugar jam recipe later, but for this standard run, stick to the instructions!
Ingredient Clarity and Preparation
Here’s the exact breakdown. Listen closely on the fruit processing, because this makes a huge difference in texture:
- Strawberries: You need 4 cups, and they must be crushed. I like mine pretty chunky, but if you want smoother homemade fruit preserves, pulse them quickly in the processor!
- Sugar: We need 7 cups of white, granulated sugar. Don’t try to cut this too much right now; the sugar is what helps the pectin grab onto the fruit and gel up.
- Powdered Pectin: Exactly one 1.75 oz package of powdered fruit pectin. Measure this carefully; it’s the key to success here!
- Lemon Juice: Just 1 teaspoon for brightness.
That’s it! See? That’s why this is the ideal easy jam recipe for beginners. You can have this done in less than 30 minutes active time.
Step-by-Step Instructions for Quick Freezer Jam Making
This process is so fast; you’ll be amazed you made this incredible homemade strawberry jam without ever turning on the stove! Since everything is done cold, it keeps that fruit flavor incredibly vibrant. Just follow these steps, and you’ll be enjoying your freezer jam in no time.
Preparing the Fruit Base
First things first, get those beautiful strawberries clean! Wash them really well and take all those little leaves off—that’s called hulling. Once they are prepped, you need to crush them down to meet the 4 cups measurement. I use a basic potato masher and just give them a good mushing until they are the consistency I like. Then, stir in your 1 teaspoon of lemon juice right into the mashed berries. Let that sit quietly on the counter for just five minutes while you get the sugar and pectin ready.
Activating the Pectin in Your Freezer Jam
This mixing order is super important! In a separate, dry bowl, you need to whisk the powdered fruit pectin together with 1 full cup of your granulated sugar. Make sure those two are fully combined first. Now, dump that sugar-pectin powder into your bowl of crushed strawberries and lemon juice. Stir that mixture really well for a solid two minutes. You want that pectin dust all gone! Then, slowly add in the rest of that sugar—the remaining 6 cups—stirring until it starts to dissolve. Now comes the waiting game which is key for a true no canning required jam set.
You must let this mixture stand for a full 30 minutes. Seriously, set a timer! This resting time lets the pectin fully activate and dissolve all that sugar. Don’t skip this, or your jam will be runny little berries in syrup!
Jarring and Setting the Freezer Jam
Once that half-hour is up, your homemade fruit preserves are almost done! Ladle the jam carefully into your clean freezer-safe jars or containers. Remember that headspace! You need about a half-inch of empty space at the top of each jar. Wipe the rims clean—nobody likes a sticky jar edge—and cover them up tightly. Let them sit out on the counter for another 30 minutes to start setting up slightly. After that counter-rest, pop them into the fridge for about 3 to 4 hours until they look nicely set. Then, they are ready to go into the freezer for long-term flavor!
Tips for Success with Homemade Freezer Jam
Now that you’ve seen how fast this whole deal is, I want to make sure you get the absolute best homemade jam possible. Since we aren’t using heat, the texture is really controlled by how much you mess with the fruit before the pectin gets going, and that takes a little finesse when you’re making a small batch jam like this.
The wonderful thing about this freezer jam method is that you decide the texture! Don’t feel boxed in by the recipe notes. I know some folks like that chunky, whole-berry feel in their preserves, which is why a potato masher works great for crushing.
Achieving the Perfect Texture in Your Freezer Jam
If you want something incredibly smooth, like a fancy glaze for your morning toast topping, grab an immersion blender! Just a couple of quick pulses right after you mix the pectin in, before that 30-minute rest, and you’ll get a really beautiful, consistent texture. I checked out this great resource too, and they confirm that gentle blending is the secret for smoother results without having to cook it down. If you are aiming for that super easy, everyday spread, a quick blend is just the ticket. Remember, once it sets in the fridge, you can’t really change the texture much, so decide your preferred chunkiness right before that resting period!
For me, the smoother texture blends better with chicken salad on crackers, which is a great savory use for this sweet spread! Find more ideas like that for your busy life over at our simple weeknight dinners section.
Variations for Your Next Batch of Freezer Jam
The best part about mastering this simple, no-cook technique for strawberry freezer jam is that you can swap out the fruit so easily! You aren’t locked into just one flavor profile, which is fantastic for capturing different seasons.
The recipe proportions I gave you work perfectly for other berries, too. So, if you grab those gorgeous summer raspberries, you can absolutely make a killer raspberry freezer jam by just following the exact same steps. Weigh your fruit—4 cups total!—and proceed exactly as written.
I also love using this method for spring peaches. If you want a peach freezer jam recipe next time, you’ll just need to peel and crush your peaches to the 4-cup mark. Check out this roundup of other fruit ideas to keep your freezer stocked all year long!
Making Low Sugar Jam with This Freezer Jam Method
I know many of you are looking to cut back on refined sugar, and honestly, I get it! The good news is that you don’t have to swear off jam entirely. You can definitely adapt this freezer jam base, which is great because it keeps the fruit tasting sunny and fresh.
In our recipe notes, I mentioned you can substitute about half the sugar with a sugar substitute that your specific pectin brand recommends. If you’re experimenting with low sugar jam recipes that need zero actual sugar—like using a stevia blend, for example—you must check that substitute’s label. Pectin needs *some sort* of sugar structure to set up correctly, so using the wrong replacement could leave you with runny fruit goo!
For the most reliable results when cutting sugar, stick to replacing only half, or use a commercial product designed specifically for freezer jam. If you use this method, you’ll still get that fantastic, quick set common to no canning required jam. Try it next time, maybe alongside some of my banana oatmeal muffins for breakfast!
Storing and Enjoying Your Freezer Jam
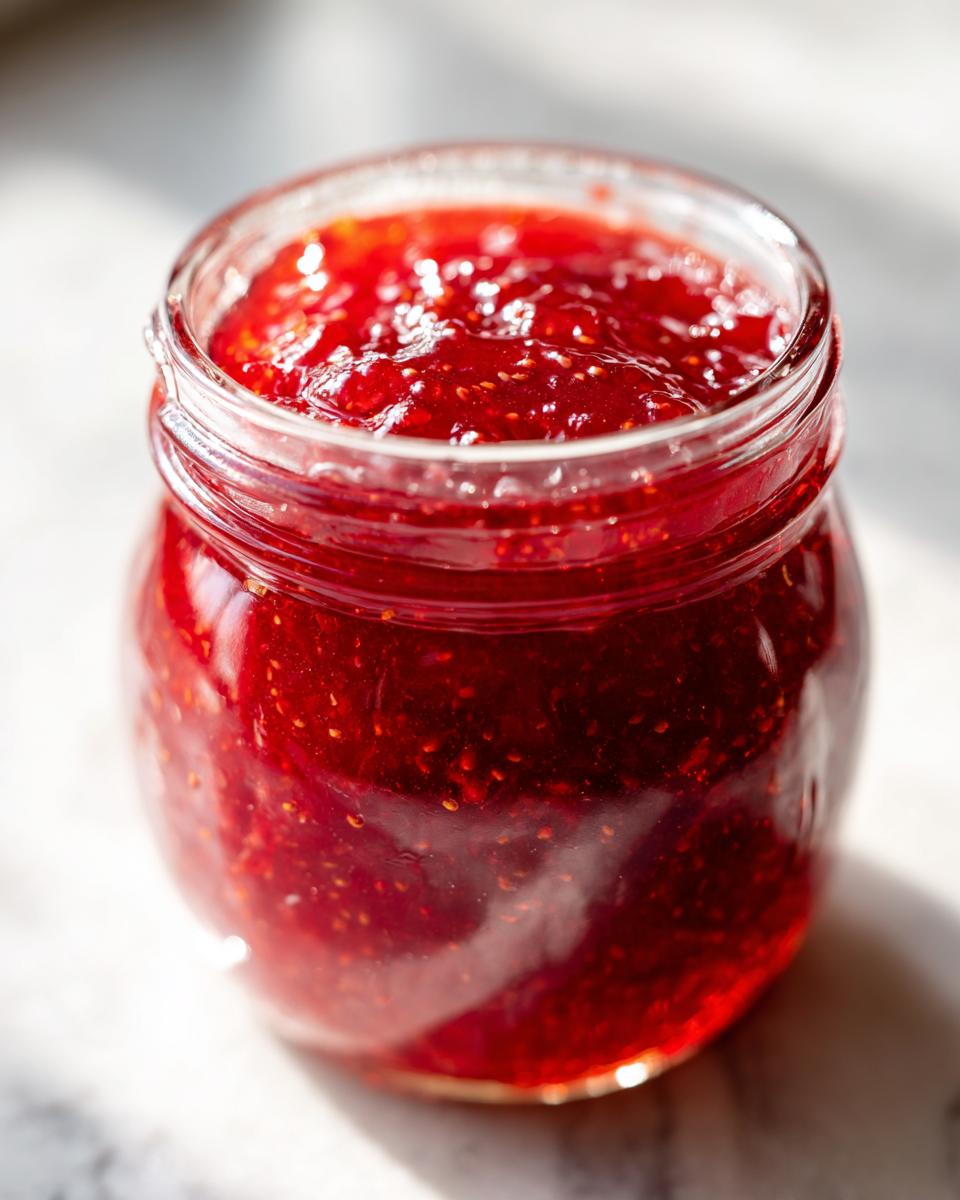
This is the best part about making freezer jam instead of traditional canned preserves: you capture that year round fruit flavor without all the fuss! When stored properly in the freezer, this vibrant strawberry jam tastes just as fresh as the day you made it for up to a full year. Can you imagine that? Having gorgeous, sun-ripened flavor ready for your morning toast anytime, even in the dead of winter!
It’s so handy when you just need an immediate topping for pancakes or a little bit of brightness added to a yogurt bowl. It really opens up possibilities for quick toast toppings recipes!
Thawing Instructions for Quick Jam Access
So, how do you get to that jam when the craving hits? It is ridiculously easy. You never have to thaw the whole jar at once! Just grab the jar you want to use and move it into the refrigerator. It usually only takes about 24 hours for it to soften up just enough to be spreadable. If you’re in a real hurry, you can leave it on the counter for a few hours, but I usually just plan ahead one day.
Once it’s thawed, you can use it right out of the fridge. I’ve even seen folks spoon a little bit of the slightly soft jam over ice cream—so good! If you happen to not finish the jar, pop it right back into the freezer until you need it again. You can find some neat ideas on how others are using their preserves over at this site!
Frequently Asked Questions About No Canning Required Jam
I know when you’re trying out a new preserving method, you’re going to have questions. That’s totally normal! Especially when we’re skipping the traditional water bath part of things. This recipe is designed to be foolproof as a no canning required jam, but let’s clear up a few things so you feel 100% confident when you mix that pectin in.
We want you to feel good about this, because knowing how to make homemade fruit preserves without all the heat is so liberating! We want you to have success, whether you’re making this strawberry version or planning your next batch of raspberry freezer jam.
Can I use liquid pectin instead of powdered pectin for this freezer jam?
Oh, that’s a great question about pectin substitution! I strongly advise you don’t mix liquids and powders unnecessarily here. Powdered pectin and liquid pectin are chemically different, and a liquid pectin package usually requires you to bring the fruit and sugar mixture to a full rolling boil before adding it. Since the whole point of this recipe is the super-quick, no cook jam approach, stick with the powdered pectin called for. If you swap, you’ll probably end up needing to boil it, and that changes the beautiful fresh flavor we worked so hard to keep!
How long does this strawberry freezer jam last in the refrigerator if I don’t freeze it?
That’s the difference between true freezer jam and refrigerator jam! Since we aren’t processing these jars with heat, they aren’t shelf-stable. If you decide you want to use a jar quickly—maybe for a brunch centerpiece—you can absolutely keep it in the fridge instead of the freezer. However, for the freshest quality and to really capture that intense fruit flavor we talked about, I recommend eating it within 2 to 3 weeks max. After that, the fruit really starts to lose that vibrant, just-made quality. If you want year-round flavor, the freezer is your best friend!
Is this considered a ‘no canning required jam’ process?
Absolutely, yes! This whole procedure is the definition of a no canning required jam. We are purposely avoiding the hot water bath or pressure canner entirely. This method relies on the combination of high sugar content, pectin, and cold temperatures (the freezer) to set the product and keep it preserved for the long haul. It’s designed for people who want that delicious, thick spread without having to worry about sterilized jars sitting safely on a shelf for months. This is quick, easy preservation for your freezer!
If you have any further questions about equipment or technique for any future preserving projects, please don’t hesitate to reach out through my contact page!
Serving Suggestions for Your Fresh Fruit Preserves
Once you’ve got your beautiful jars of strawberry freezer jam ready, the real fun begins—eating it! Since this jam tastes so intensely of fresh fruit, it really elevates simple things. You don’t need a fancy occasion to enjoy these incredible toast toppings recipes.
Of course, it’s amazing slathered on a warm biscuit or scones, but don’t stop there! I love swirling a big spoonful into plain Greek yogurt for a quick, nutritious breakfast. It’s also fantastic folded into cheesecake batter before baking, or served warm over vanilla ice cream for a super-easy dessert topping. Enjoy that summer sunshine!
Print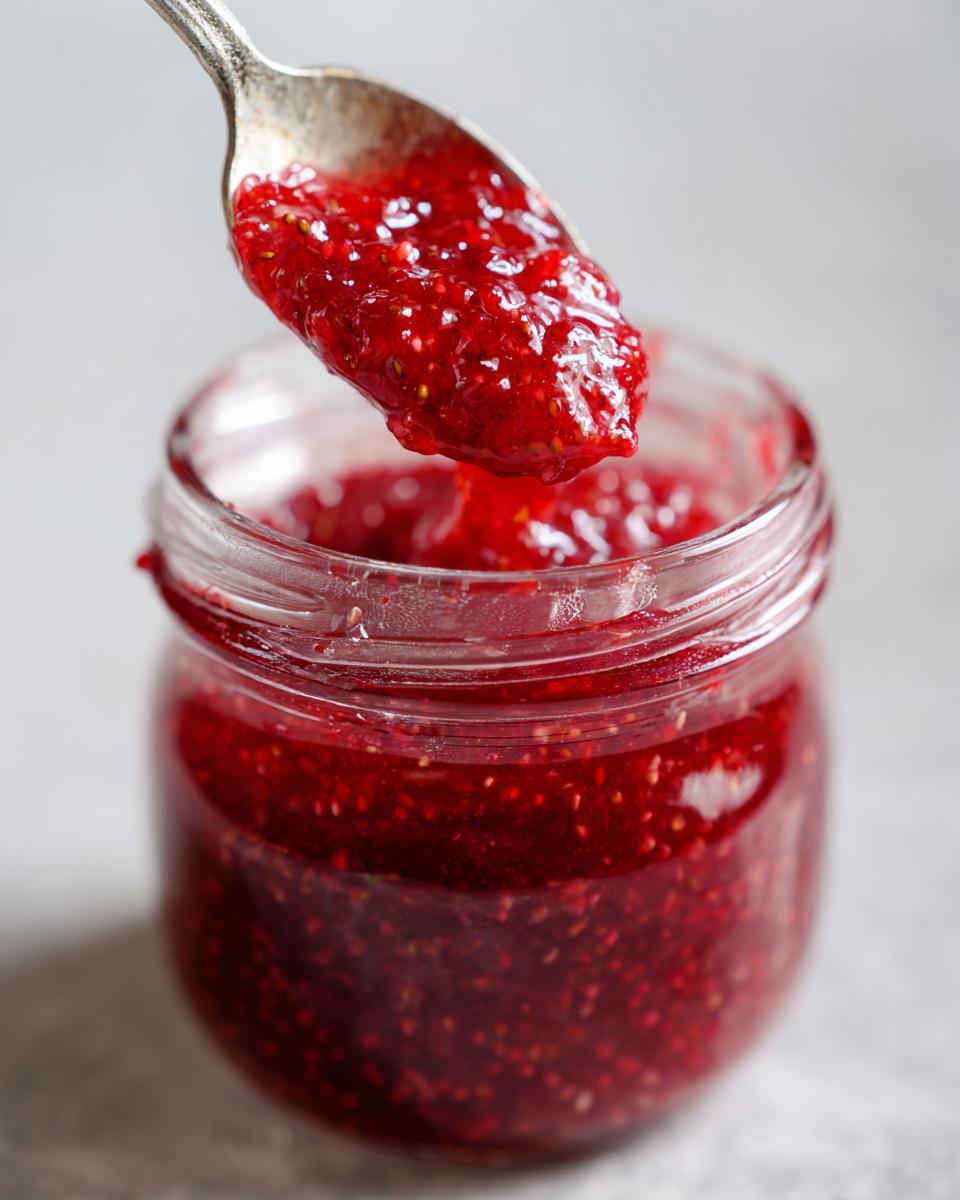
Easy No-Cook Strawberry Freezer Jam
Capture the taste of summer with this simple, no-cook strawberry freezer jam recipe. It is quick to make, beginner-friendly, and requires no canning process.
- Prep Time: 20 min
- Cook Time: 0 min
- Total Time: 20 min
- Yield: About 6 half-pint jars 1x
- Category: Preserves
- Method: No Cook
- Cuisine: American
- Diet: Vegetarian
Ingredients
- 4 cups fresh strawberries, crushed
- 7 cups granulated sugar
- 1 package (1.75 oz) powdered fruit pectin (like Sure-Jell)
- 1 teaspoon lemon juice
Instructions
- Thoroughly wash and hull the strawberries. Crush the strawberries using a potato masher or immersion blender until you reach your desired consistency.
- In a large bowl, combine the crushed strawberries and lemon juice. Let this mixture sit for 5 minutes.
- In a separate small bowl, mix the powdered fruit pectin thoroughly with 1 cup of the granulated sugar.
- Add the sugar-pectin mixture to the strawberry mixture. Stir well for about 2 minutes until the pectin is completely dissolved.
- Gradually add the remaining 6 cups of sugar, stirring until it dissolves. The mixture will look thin.
- Let the jam mixture stand, stirring occasionally, for 30 minutes. This allows the pectin to activate and the sugar to dissolve fully.
- Ladle the jam mixture into clean, freezer-safe jars or containers, leaving about 1/2 inch of headspace.
- Wipe the rims clean, cover the jars tightly, and let them sit on the counter for 30 minutes to begin setting.
- Place the jars in the refrigerator for 3 to 4 hours, or until the jam has set.
- Transfer the set jam to the freezer for long-term storage. It keeps well for up to one year.
Notes
- For a low sugar jam, you can substitute half the sugar with a sugar substitute recommended for freezer jam recipes.
- If you prefer a smoother texture, process the crushed strawberries in a food processor until smooth.
- This recipe makes a small batch, perfect for quick preserving.
Nutrition
- Serving Size: 2 tablespoons
- Calories: 100
- Sugar: 26
- Sodium: 2
- Fat: 0
- Saturated Fat: 0
- Unsaturated Fat: 0
- Trans Fat: 0
- Carbohydrates: 26
- Fiber: 0
- Protein: 0
- Cholesterol: 0