
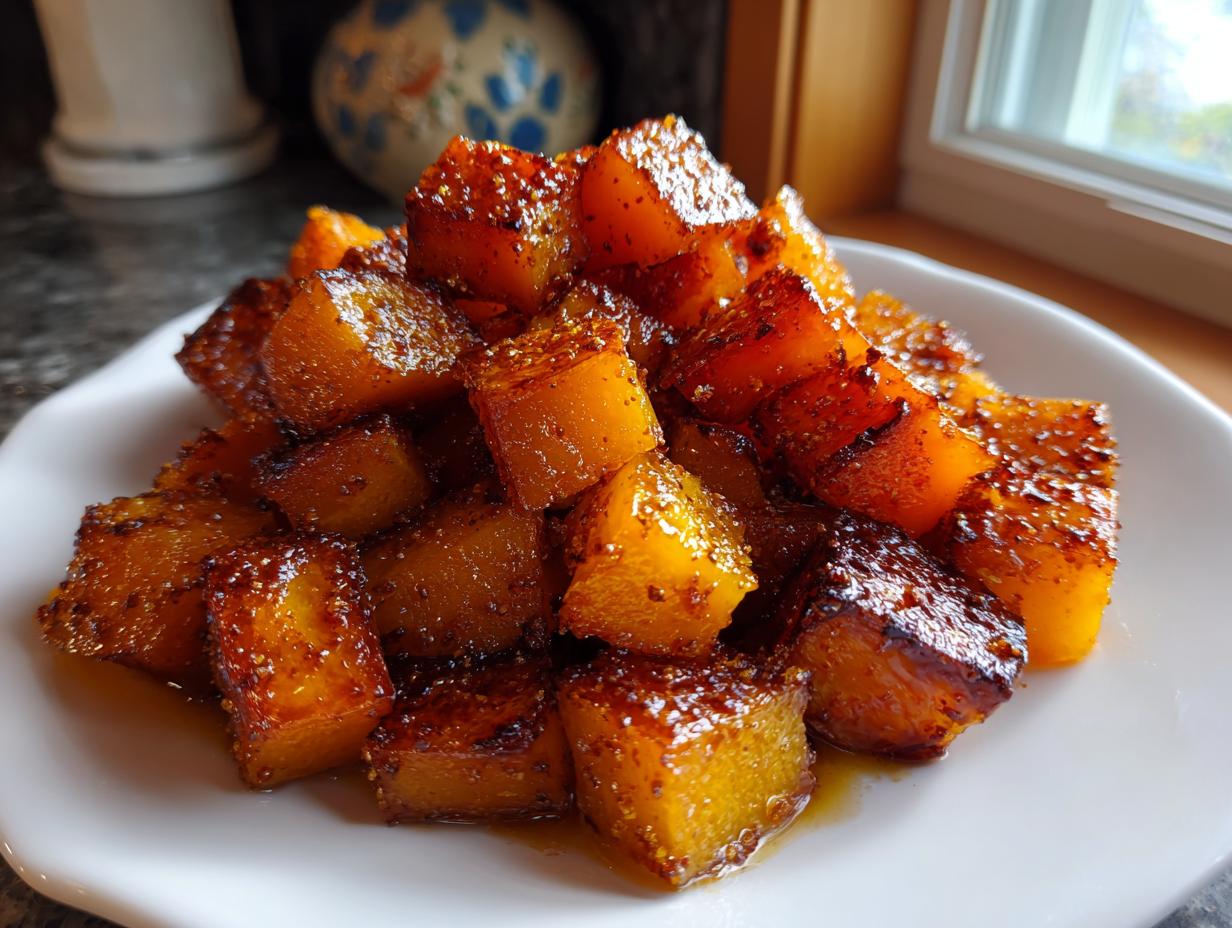
When the air gets crisp and the leaves start turning, my mind just screams for warm, comforting flavors, doesn’t it? That’s why I’m so excited to share this recipe for Brown Sugar Roasted Butternut Squash. Honestly, this is possibly the easiest, most flavorful side dish you’ll make all season. When I started MayaPlate, it was because I wanted those rich, comforting flavors—the ones you remember from your grandmother’s kitchen—but I needed them to fit into my crazy schedule. This squash is the perfect example of that philosophy in action: minimal effort, maximum satisfaction. Forget complicated roasting techniques; we are making something truly gorgeous with just a quick toss and a hot oven. Check out our philosophy on making good food accessible anytime over at our About page!
- Why This Brown Sugar Roasted Butternut Squash Recipe Works (EEAT)
- Gathering Ingredients for Perfect Brown Sugar Roasted Butternut Squash
- Step-by-Step Butternut Squash Baking Instructions for Brown Sugar Roasted Butternut Squash
- Tips for Achieving Perfect Brown Sugar Glazed Squash
- Serving Suggestions for Your Easy Butternut Squash Side Dish
- Storage and Reheating Instructions for Brown Sugar Roasted Butternut Squash
- Frequently Asked Questions About Brown Sugar Roasted Butternut Squash
- Nutritional Estimates for This Fall Roasted Squash
- Share Your Experience Making This Simple Fall Side Dish
Why This Brown Sugar Roasted Butternut Squash Recipe Works (EEAT)
When we talk about food that truly nourishes, it’s not just about the ingredients, but making sure the process works when you actually need it to. That’s where E-E-A-T comes in! The magic of this Brown Sugar Roasted Butternut Squash lies in the simple fat-to-sugar ratio we use. By mixing the butter and olive oil with the brown sugar, we create a sticky coating that promotes beautiful, deep caramelization rather than just burning instantly, which is perfect for that gorgeous Caramelized Squash Recipe finish.
It’s reliable, simple, and always delivers the results you expect, giving you wonderful Sweet Roasted Vegetables without needing constant babysitting. That’s genuinely practical cooking at its best!
Quick Prep for Your Brown Sugar Roasted Butternut Squash
You know I value your time! We get this entire dish prepped and tossing in the oven in about 15 minutes—seriously! Peeling and chopping squash can feel like a chore, but once you get into the rhythm, it flies by. This is why I love offering Quick Butternut Squash recipes. You get the complex, cozy flavor of fall veggies without pushing dinner back an extra hour. It’s wholesome food, made easy for your busy week!
Gathering Ingredients for Perfect Brown Sugar Roasted Butternut Squash
Okay, let’s talk ingredients! This recipe uses pantry staples you probably already have, which keeps things super budget-friendly and fast. We are keeping the flavor profile warm and sweet, but you need to make sure you have that brown sugar packed tightly into your measuring spoon. Don’t skimp on the spices, either! You want just a hint of cinnamon and nutmeg playing with that sweet squash.
Here’s what you’ll need on hand for four delicious servings:
- 1 medium butternut squash (about 3 pounds)
- 3 tablespoons unsalted butter, melted
- 3 tablespoons packed brown sugar
- 1 tablespoon olive oil
- 1/2 teaspoon ground cinnamon
- 1/4 teaspoon ground nutmeg
- 1/4 teaspoon salt
- 1/8 teaspoon black pepper
If you’ve ever made my honey-glazed carrots, you’ll recognize this simple sweet glaze concept. See? Good food doesn’t need to be complicated!
Step-by-Step Butternut Squash Baking Instructions for Brown Sugar Roasted Butternut Squash
Now for the fun part—turning those hard winter veggies into sweet, tender goodness! Following these straightforward Butternut Squash Baking Instructions means we get that perfect texture every single time, even if you’re making this for the first time. I like to think of roasting as low-stakes baking; we just need a little attention, not constant stirring!
First things first: get that oven shouting hot! Preheat your oven to 400 degrees Fahrenheit. I always line my big baking sheet with parchment paper—trust me, cleanup is a dream when dealing with melted sugar, and it keeps our recipe genuinely practical.
Preparing the Squash and Brown Sugar Glaze
Time to tackle the peeling. I find it easiest to slice the ends off first, then hack the squash in half lengthwise. Scoop out all those stringy seeds—a sturdy spoon works perfectly here. Once the guts are out, peel the skin away; you can use a vegetable peeler or a sharp paring knife. Cut that flesh into nice, even 1-inch cubes and toss them into a large bowl.
Next, we build that simple glaze! In a small separate bowl—don’t just dump it all over the squash yet—whisk together your melted butter, that beautiful brown sugar, the olive oil, cinnamon, nutmeg, salt, and pepper. Whisk it until it looks smooth, with no sugar lumps hiding in the bottom. Pour that sweet mixture over your cubes and toss gently with a spatula until every single piece is shining and coated.
Roasting Technique for Caramelized Squash Recipe
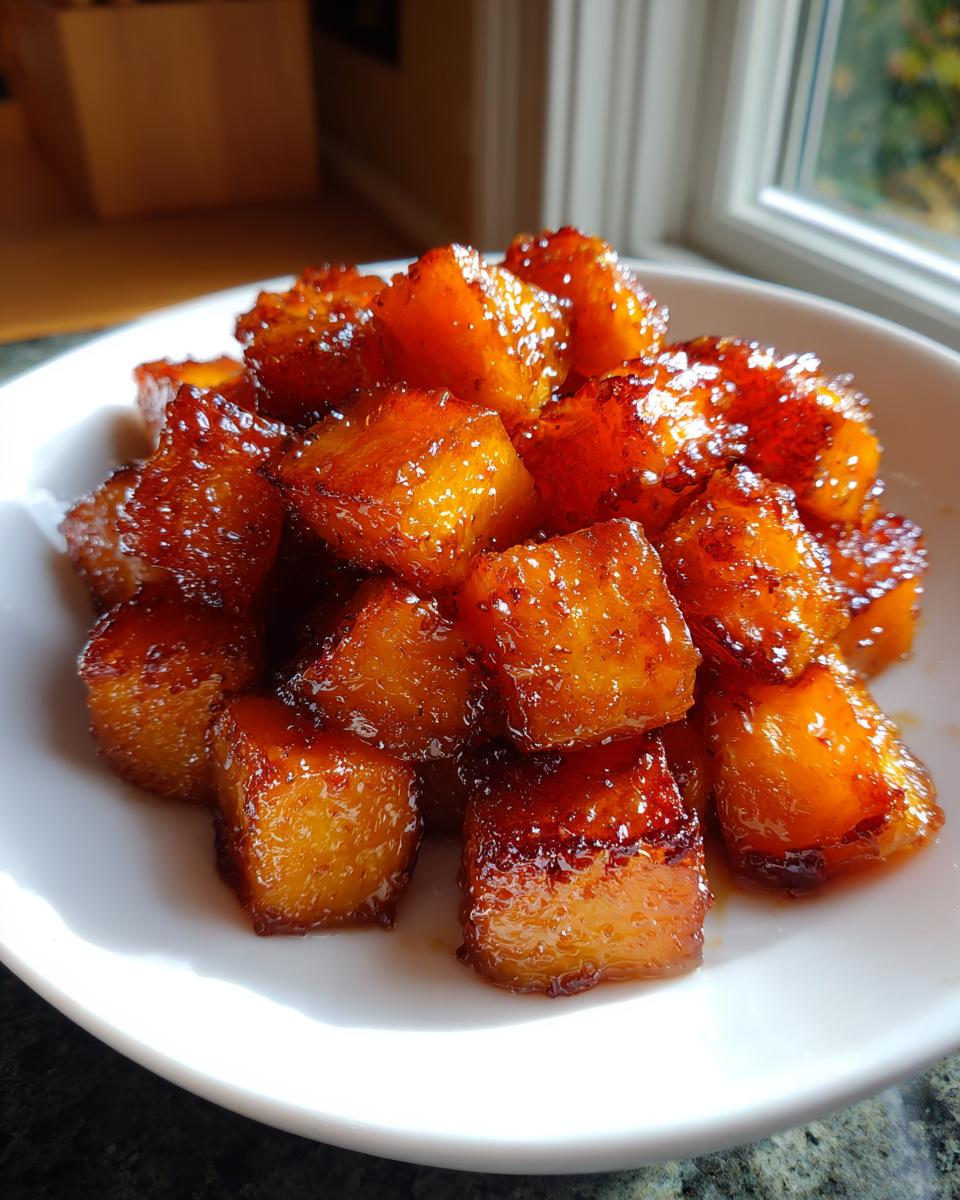
When you spread these treasures onto your baking sheet, please, *please* make sure they are in a single layer. If they pile up, they steam instead of roast, and we won’t get that lovely crisp edge for our Caramelized Squash Recipe. If your pan looks crowded, just grab a second one!
These go into the 400°F oven for about 25 to 30 minutes total. You absolutely need to stir them gently halfway through—around the 15-minute mark—so they brown up evenly on all sides. You are looking for fork-tender pieces with deep golden, bubbling edges. If you peek closer to 20 minutes and you see the sugar coloring very dark, pull the heat down to 375°F immediately, okay? We want sweet, not scorched!
We’ve got more tips below on making sure your roast is foolproof, including ways to keep the sugar from burning too fast, which reminds me of this helpful guide on general roasting techniques!
Tips for Achieving Perfect Brown Sugar Glazed Squash
Even with the best instructions, sometimes your oven runs hot, or maybe it runs cool, right? That’s why I always preach flexibility—it’s part of making food truly practical. To guarantee we end up with the best Brown Sugar Glazed Squash instead of burnt little rocks, you have to watch those first critical minutes of roasting time. I’m serious about this: check the squash at the 20-minute mark.
If you see that beautiful brown sugar starting to darken way too fast, don’t panic! Just immediately pull the oven temperature down to 375°F for the remaining baking time. That small drop usually saves the glaze perfectly, ensuring we maximize that sweet flavor without sacrificing the tender interior. It’s my secret safety net!
Ingredient Tweaks for Your Sweet and Savory Squash
If you want to push the flavor in your Sweet and Savory Squash just a touch further, I have two quick ideas. For an extra aromatic lift—especially if you are serving this with chicken—whisk in about 1/4 teaspoon of pure vanilla extract with your butter and sugar. It deepens the sweetness unexpectedly!

Also, feel free to swap out a tiny bit of the cinnamon for a pinch of ground cloves or maybe even a small grating of fresh nutmeg if you’re feeling fancy. If you already love roasted vegetable flavor profiles, you should definitely check out my garlic and herb roasted veggie roundup for some non-sweet inspiration!
Serving Suggestions for Your Easy Butternut Squash Side Dish
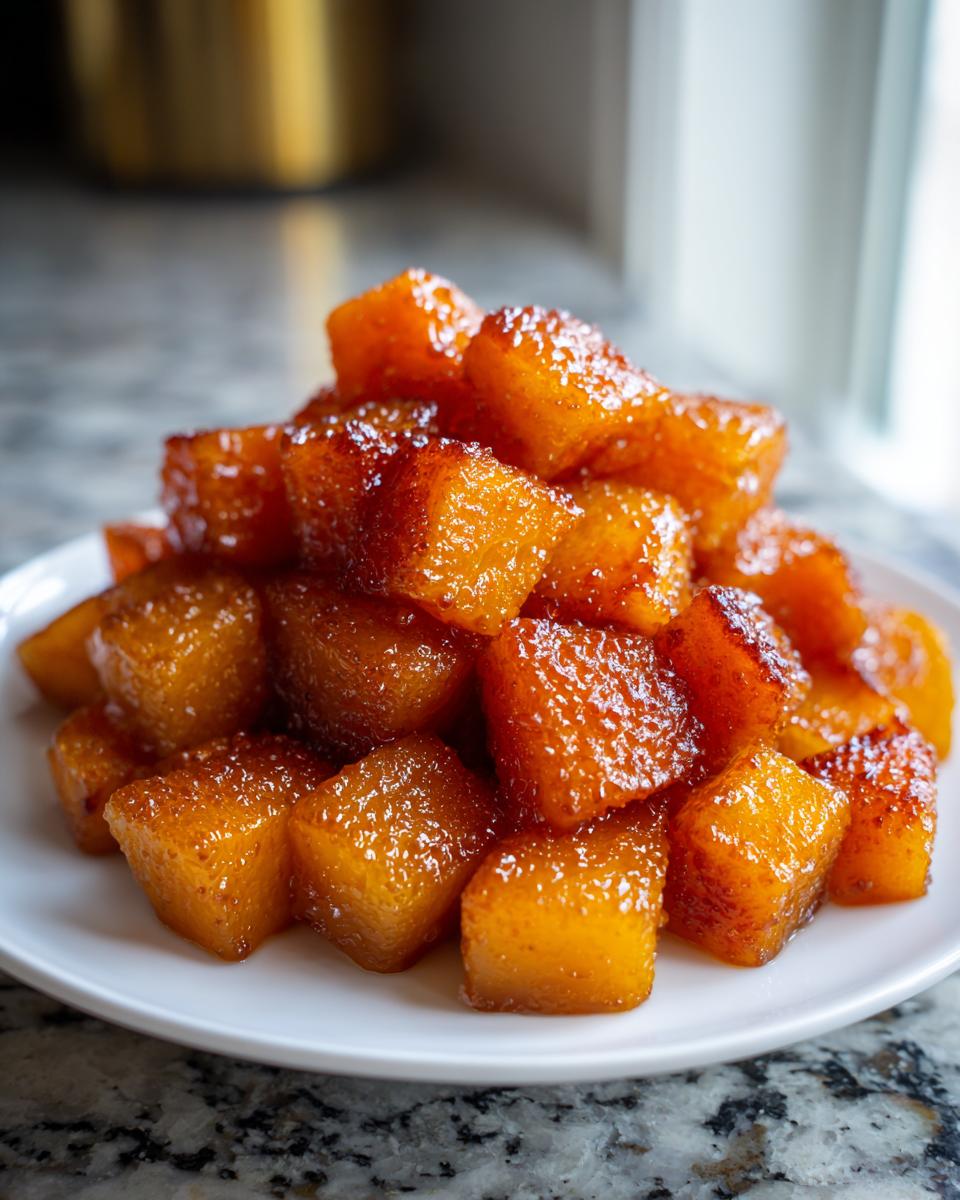
This isn’t just a weeknight hero; this is going straight onto my table for Thanksgiving and Christmas! Because this Easy Butternut Squash Side Dish has that perfect sweet-and-savory profile, it plays beautifully with richer meats. It’s the ultimate Holiday Vegetable Side because it requires so little fuss when you’ve got pies and turkey taking up all your attention.
I make a huge batch when I’m roasting a pork loin—the slight saltiness of the pork cuts right through the brown sugar glaze. Honestly, it’s heavenly. If you’re looking for the main event to go with this gorgeous squash, I highly recommend my easy oven-roasted pork loin or my parmesan-crusted chicken. It just balances everything out so nicely, taking the stress out of meal planning!
Storage and Reheating Instructions for Brown Sugar Roasted Butternut Squash
Because this recipe is so simple, it’s fantastic for meal prepping! If you have leftovers of your lovely Brown Sugar Roasted Butternut Squash, just let them cool a bit first. Then, tuck them into an airtight container and pop them in the fridge. They keep well for about four days, which is perfect for busy lunches.
When you’re ready for round two, don’t even think about microwaving them—that will just make them mushy very fast! The best way to reheat is quickly, spreading them back out on a clean baking sheet in a 350°F oven for about 8 to 10 minutes. This brings back that beautiful tender inside and helps dry up any moisture that settled during chilling, keeping that sweet glaze intact!
Frequently Asked Questions About Brown Sugar Roasted Butternut Squash
I get so many questions about roasting vegetables because everyone wants that perfect balance—cooked through but not mushy! I’ve pulled together the most common things folks ask about this simple recipe. If you’re planning out your week, you might find these answers helpful for fitting these wonderful Simple Fall Side Dishes into your rotation!
Can I use maple syrup instead of brown sugar in this Roasted Butternut Squash Recipe?
That’s a great substitution question for this Roasted Butternut Squash Recipe! You absolutely can swap maple syrup for the brown sugar, but know that the final result will taste a little different. Maple syrup is much thinner and has a lighter, more floral sweetness. With brown sugar, you get that deep molasses note helping the edges to caramelize slowly and stick beautifully to the squash. If you use maple syrup, watch your oven closely at the 20-minute mark because it can burn faster than the packed sugar does!
What is the best way to peel a butternut squash?
Okay, peeling is often the scariest part, but let me show you how I do it to keep things safe and fast. First, remember I told you to slice off the tough ends? Do that! Now you have two flat surfaces to work with. Then, cut the whole squash in half lengthwise and scoop out the seeds—a sturdy metal spoon works wonders for scraping the insides clean. Once it’s scooped out, lay the halves flat side down on your cutting board. Use a sturdy vegetable peeler and just peel the skin away, going top to bottom. It should come off in long strips fairly easily once you get the hang of it. Safety first, always!
Can I make this Glazed Winter Squash ahead of time?
For the absolute best texture in your Glazed Winter Squash, I really recommend that you roast it right before you plan to serve it. The sugar glaze softens up a bit as it cools and sits in the fridge, which makes the squash a little weepier overnight. If you absolutely must prep ahead, I suggest peeling and cubing the squash, storing the raw cubes in water in an airtight container in the fridge for up to two days. Then, toss with the glaze and roast just before dinner for the best results. If you’re prepping for the week, check out some of my ideas for meal planning right here!
Nutritional Estimates for This Fall Roasted Squash
I always try to keep things balanced here at MayaPlate, even when we are making something naturally sweet like this wonderful Fall Roasted Squash. Just remember, because these are based on estimates using standard ingredient weights, your final numbers might shift a little bit based on the exact size of your butternut!
For a standard serving (about 3/4 cup cooked), you can expect:
- Calories: Around 185
- Fat: About 9g (mostly healthy fats from the oil and a bit of butter)
- Carbohydrates: Roughly 26g
- Sugar: About 18g (that’s where the brown sugar comes in!)
- Protein: A small boost at 2g
It’s a naturally vegetarian side dish that gives you a good dose of fiber to balance out that satisfying sweetness. Enjoy knowing you’re eating something wholesome!
Share Your Experience Making This Simple Fall Side Dish
I really, truly hope you loved making this incredibly easy meal, and I’m eager to hear how it turned out on your table! When you try this Brown Sugar Roasted Butternut Squash, please come back here and drop a star rating! Knowing how the recipe works for you, whether you stuck exactly to the 400°F roast or tweaked the spice blend, helps the whole MayaPlate community.
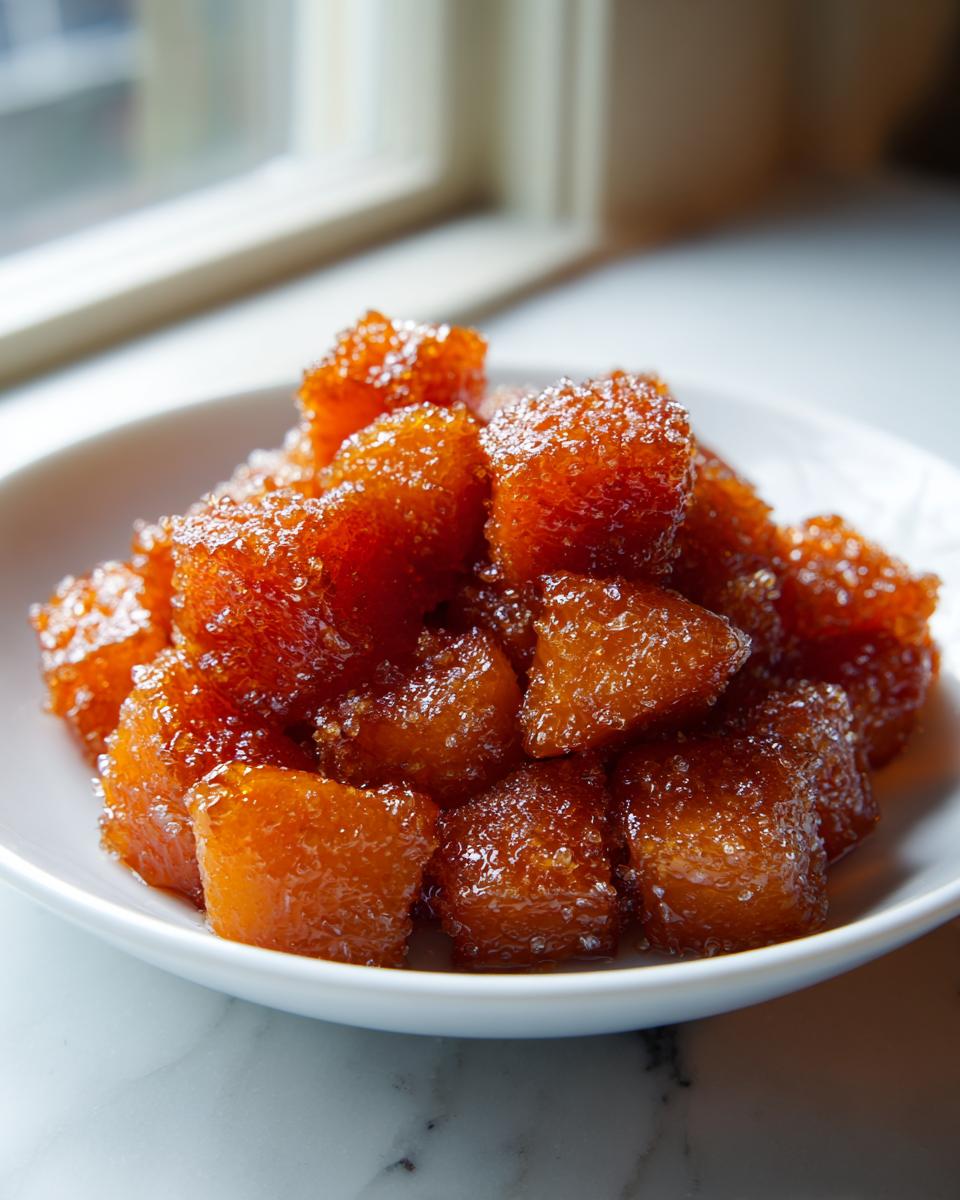
Did you pair it with chicken? Did you sneak an extra pinch of nutmeg in there? Don’t be shy—spill the details in the comments below! If you snap a picture of those gorgeous caramelized edges, tag me on social media so I can see your success; it brings me so much joy to see our practical, delicious food showing up at your dinners!
If you have any urgent questions that popped up while you were prepping, feel free to reach out through my contact page. Otherwise, happy cooking, and remember: good food that fits your life is always possible!
PrintBrown Sugar Roasted Butternut Squash

Prepare this simple, sweet, and savory roasted butternut squash side dish using brown sugar for a perfect caramelized finish. It is a practical addition to any fall or holiday meal.
- Prep Time: 15 min
- Cook Time: 30 min
- Total Time: 45 min
- Yield: 4 servings 1x
- Category: Side Dish
- Method: Baking
- Cuisine: American
- Diet: Vegetarian
Ingredients
- 1 medium butternut squash (about 3 pounds)
- 3 tablespoons unsalted butter, melted
- 3 tablespoons packed brown sugar
- 1 tablespoon olive oil
- 1/2 teaspoon ground cinnamon
- 1/4 teaspoon ground nutmeg
- 1/4 teaspoon salt
- 1/8 teaspoon black pepper
Instructions
- Preheat your oven to 400 degrees Fahrenheit. Line a large baking sheet with parchment paper for easy cleanup.
- Peel the butternut squash. Cut off the ends, slice the squash in half lengthwise, and scoop out the seeds with a spoon.
- Cut the squash flesh into 1-inch cubes. Place the cubes in a large bowl.
- In a small bowl, whisk together the melted butter, brown sugar, olive oil, cinnamon, nutmeg, salt, and pepper until combined. This creates your brown sugar glaze.
- Pour the brown sugar mixture over the squash cubes. Toss gently until all pieces are evenly coated.
- Spread the coated squash in a single layer on the prepared baking sheet. Do not overcrowd the pan; use two sheets if necessary for better roasting.
- Roast for 25 to 30 minutes, stirring halfway through, until the squash is tender and the edges are lightly caramelized.
- Serve immediately as an easy butternut squash side dish.
Notes
- To prevent burning the sugar, check the squash at the 20-minute mark. If the sugar is browning too quickly, reduce the oven temperature to 375 degrees Fahrenheit for the remaining cook time.
- For an extra layer of flavor, add 1/4 teaspoon of pure vanilla extract to the glaze mixture.
- This glazed winter squash pairs well with roasted chicken or pork loin.
Nutrition
- Serving Size: 3/4 cup cooked
- Calories: 185
- Sugar: 18
- Sodium: 110
- Fat: 9
- Saturated Fat: 5
- Unsaturated Fat: 4
- Trans Fat: 0
- Carbohydrates: 26
- Fiber: 5
- Protein: 2
- Cholesterol: 20