
You know that craving, right? That deep, comforting need for something wonderfully crunchy, cheesy, and packed with familiar Tex-Mex flavor that usually means deep frying and a serious cleanup afterwards. Well, I’m Maya, and here at MayaPlate, we stand firm on our belief that great food shouldn’t derail your week. That’s why I spent ages perfecting these Crispy Baked Chicken and Cheese Chimichangas. If you want to know more about how we focus on practical, nourishing meals, check out our story here.
Based on my background balancing deliciousness with real-life timing—that’s our Genuinely Practical philosophy in action—these Chimichangas give you that restaurant-quality crunch straight from the oven. You get all the satisfaction without the oil slick. It’s my absolute favorite way to bring cozy comfort food to the table fast!
- Why This Easy Chimichanga Recipe is Your New Weeknight Favorite
- Ingredients for Perfect Crispy Chimichangas
- Simple Chimichanga Instructions: Baking for Golden Brown Chimichangas
- Making Cheesy Chimichangas: Mastering the Filling
- Variations: Beyond Chicken Chimichangas
- Storage and Make Ahead Chimichangas
- Serving Suggestions for Your Homemade Chimichangas
- Frequently Asked Questions About Baked Chimichangas
- Nutritional Snapshot of These Chicken Chimichangas
- Share Your Best Chimichangas Experience
- Nutritional Snapshot of These Chicken Chimichangas
- Share Your Best Chimichangas Experience
Why This Easy Chimichanga Recipe is Your New Weeknight Favorite
Listen, I get it. You want the flavor payoff of restaurant-style Mexican comfort food, but you don’t have 45 minutes to stand over a vat of hot oil. That’s the entire reason this Easy Chimichanga Recipe exists! We nail that satisfying texture using the oven, making cleanup a dream. Honestly, this is my go-to solution when I need a hearty Quick Chimichanga Dinner on the table.
Here’s exactly what makes these baked goodies the champion of our weeknight rotation:
- Under 35 Minutes Total: Seriously! Because we’re baking instead of waiting for oil to heat up, you’ll be sitting down to eat faster than you can decide on your favorite toppings.
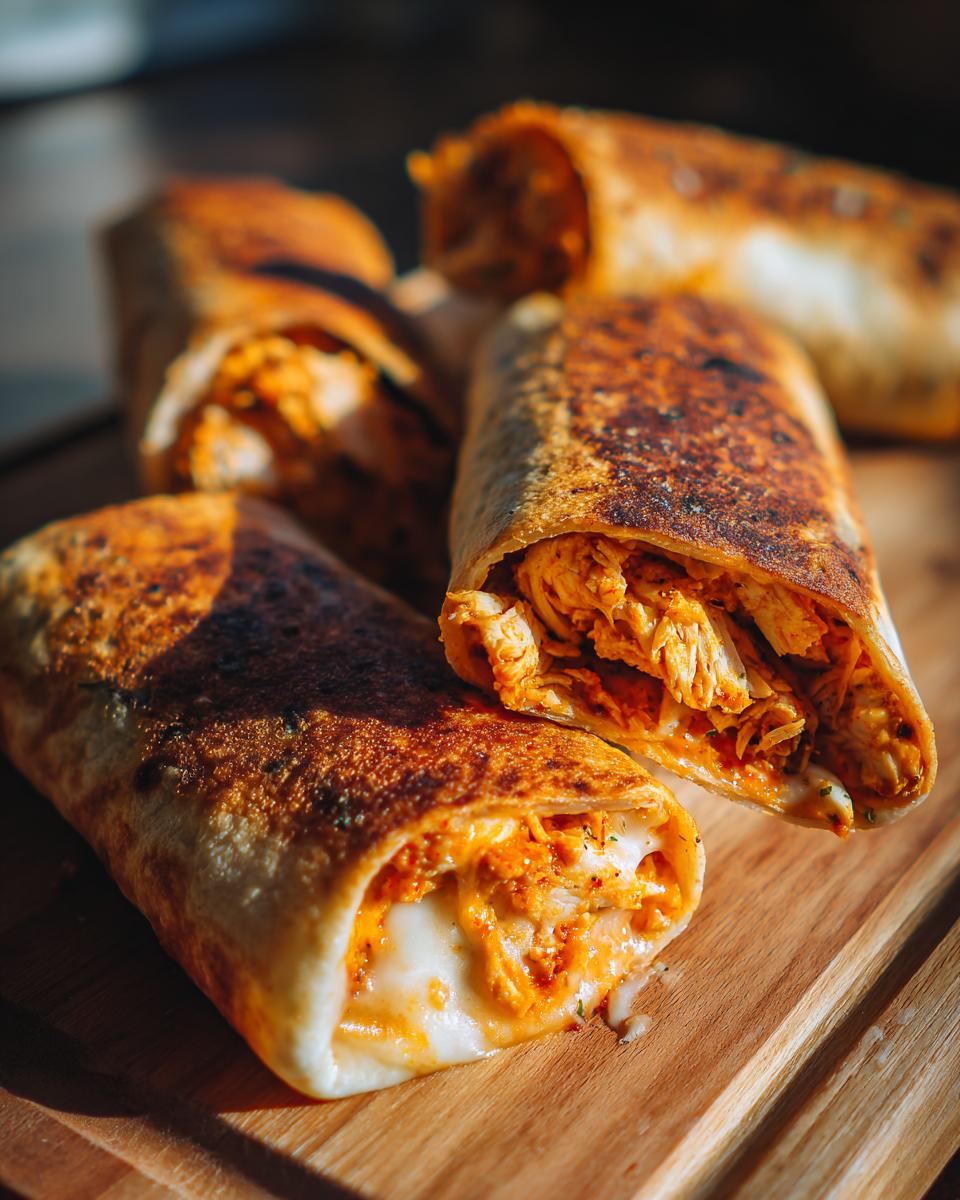
- Seriously Crispy Finish: Don’t let ‘baked’ scare you. A little olive oil spray, high heat, and a quick flip give you that delightful golden brown crunch that rivals anything deep-fried. That texture is non-negotiable for me!
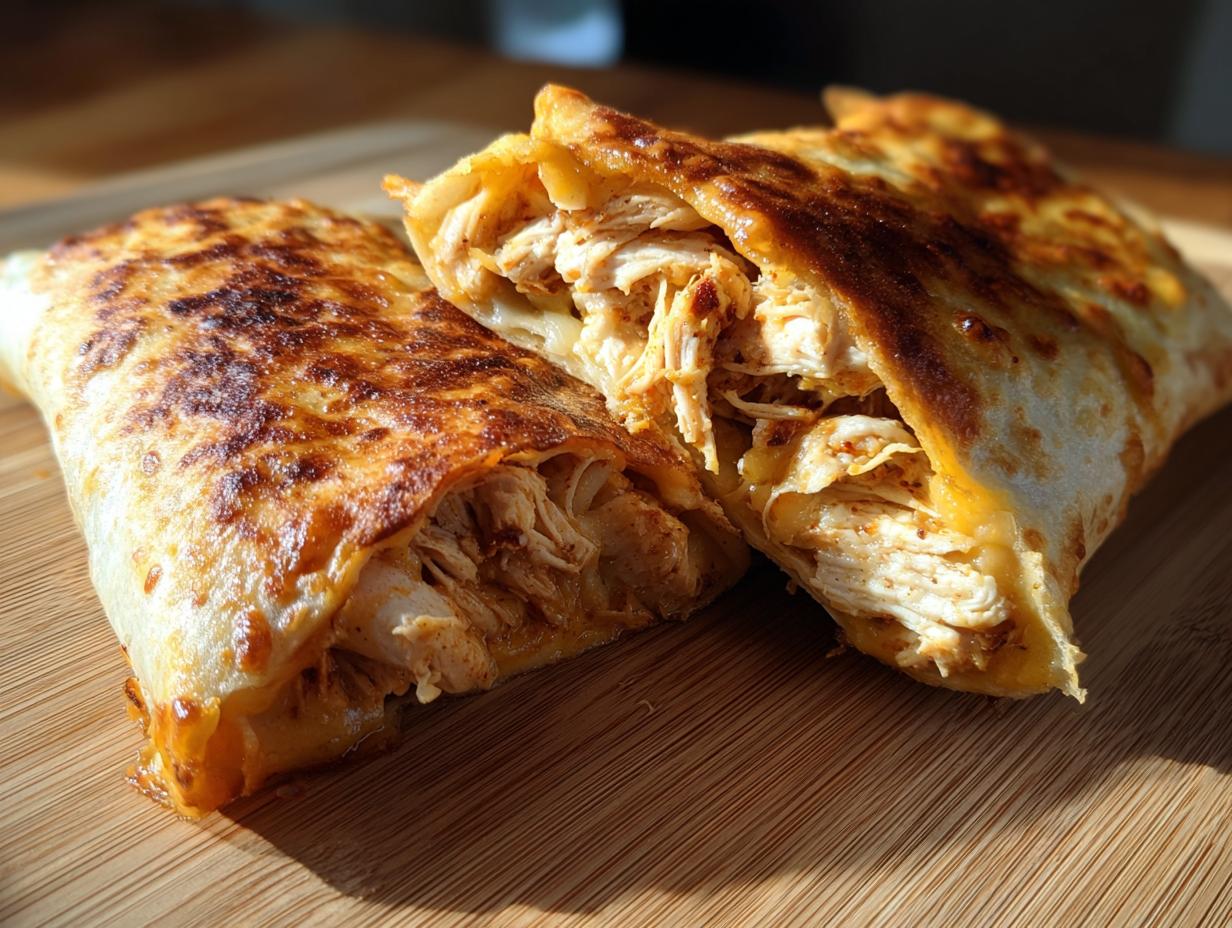
- Perfectly Cheesy Filling: Inside, we’ve balanced the seasoned chicken with plenty of Monterey Jack and cheddar. The cheese stays gooey and nestled inside the wrap without making too much of a mess when you slice into it.
- Great for Meal Prep: I often assemble six of these on a Sunday, wrap them up tight, and stash them in the fridge. They are ready to go straight into the oven when I get home late. You can see some of my other favorite simple weeknight dinners here if you’re planning ahead!
Ingredients for Perfect Crispy Chimichangas
When we talk about getting those beautiful, golden brown chimichangas, the ingredients are everything. It sounds simple—tortillas, chicken, cheese—but trust me, those details matter! Remember, precision in ingredients builds that overall trustworthiness that leads to amazing results in your cozy Tex-Mex night. Here is exactly what you’ll need to grab:
- 12 medium flour tortillas (burrito size—this is important for that tight wrap!)
- 2 cups cooked, shredded chicken breast
- 1 cup refried beans (optional, for filling—if you skip this, you’ll need a bit more chicken or cheese!)
- 1 1/2 cups shredded Monterey Jack cheese
- 1/2 cup shredded cheddar cheese
- 1 teaspoon chili powder
- 1/2 teaspoon cumin
- 1/4 teaspoon garlic powder
- 1/4 cup chicken broth or water (this keeps the filling from getting dry)
- 2 tablespoons olive oil or cooking spray (the secret weapon for crispiness!)
Ingredient Notes and Substitution Tips
Okay, let’s talk about the nitty-gritty on a couple of these items so your chimichangas turn out perfect every time. First off, the tortillas. You absolutely need the medium or standard burrito size here. If they are too small, they won’t roll tightly, and you’ll end up with filling exploding everywhere when you bake them. It just won’t hold up like a proper chimichanga should!
For the chicken, if you’re aiming for that ultra-quick dinner vibe, skip cooking the chicken from scratch! I rely on a good quality store-bought rotisserie chicken all the time. Shred about two cups worth, and you’re already halfway there. You can find more tips like this in the dedicated notes section later on, but trust me, rotisserie chicken is a lifesaver.
As for the cheese, feel free to play if you want! Monterey Jack melts beautifully, but if you love a little smoky kick, maybe swap half the cheddar for Pepper Jack. Just make sure whatever blend you use is already shredded. Mixing up cheese blends is one of those small, easy steps that really elevates these from “quick snack” to “family dinner!”
Simple Chimichanga Instructions: Baking for Golden Brown Chimichangas
Okay, now that we have the perfectly seasoned filling ready, let’s get these beauties rolled and baked! This method is what keeps baking from tasting like sadness—we are aiming for that glorious texture you find in the best Tex-Mex spots. Because we respect your week, these steps are straightforward, but don’t rush the rolling part! That’s where the integrity of your final product lives.
First thing, always, always preheat your oven. We need things hot! Set it to 400°F (200°C). While it heats up, quickly grease a baking sheet or line it with parchment paper. I find parchment paper is safer, especially if you’ve overloaded the filling just a touch.
Next, you want to make sure your tortillas are warm. Cold tortillas crack when you try to fold them, and that’s the fastest way to have a messy disaster on your hands. Just 15 seconds in the microwave makes them wonderfully pliable. Lay one flat, pile on your seasoned chicken and cheese, fold those sides in tight, and then roll it up securely, just like a classic burrito.
Here’s a pro tip for baking: place every single rolled chimichanga seam-side down on that prepared sheet. This keeps the seam sealed while the tortilla crisps up on the top and bottom. Once they are all snugly lined up, grab your olive oil (or cooking spray) and give the tops a good brush or spray. This is what transforms them into those rich, golden brown chimichangas!
They go into the oven for about 15 to 20 minutes total. You need to flip them halfway through so they get that lovely even color. If you’re feeling impatient, sprinkle on your final bit of cheese during the last five minutes so it melts down perfectly over that new crispy shell. Serve right away!
Achieving Extra Crispy Chimichangas
If you’re anything like me, you want your Crispy Chimichangas to snap when you bite them. Baking gets you 90% of the way there, but if you’re feeling that extra three minutes of dedication, I have two ways you can push them over the edge.
My absolute favorite trick, especially if I made a larger batch, is using the air fryer idea floating around. Once these come out of the oven looking beautifully brown, transfer them to your air fryer set at 375°F for just about 5 to 7 minutes. The air circulation works magic; it cranks up the crunch factor without drowning the whole thing in extra fat.
Alternatively, if you don’t have an air fryer, put your oven on the broiler setting (watch this like a hawk, please! It goes from golden to burnt in seconds.) for the last one or two minutes. Broiling targets that exposed surface layer and really hardens it up. Either way, you get that satisfying texture that just screams “perfect Tex Mex!” You can see how this method compares to some of our other oven favorites, like this recipe for Crispy Baked Parmesan Zucchini.
Making Cheesy Chimichangas: Mastering the Filling
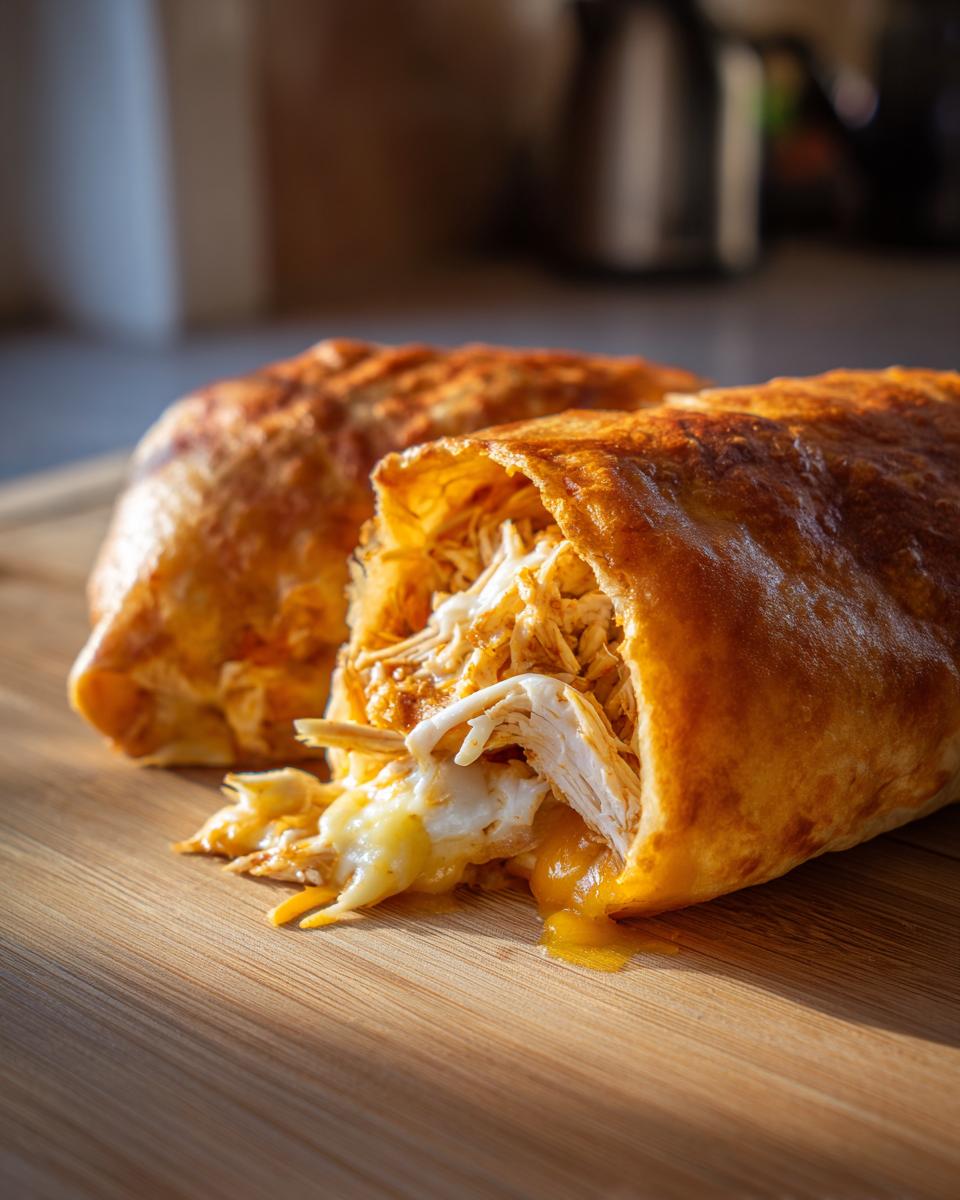
The outside might be crispy, but let’s be honest, the whole reason we love these so much is what’s hiding inside. A good chimichanga filling has to be flavorful, substantial, and most importantly, contained! We want to lock in that moisture so the filling stays tender while the tortilla crisps up. If your filling is too wet, you’re just asking for a soggy mess or a cheesy blowout in the oven.
The seasoning blend we use—chili powder, cumin, and garlic powder—is minimal but mighty. It gives the chicken that classic Tex-Mex backbone without overpowering the cheese. After you mix the chicken with the spices and that splash of broth or water, give it a quick taste test. Does it need a tiny pinch of salt? Probably! This is where you own the flavor profile.
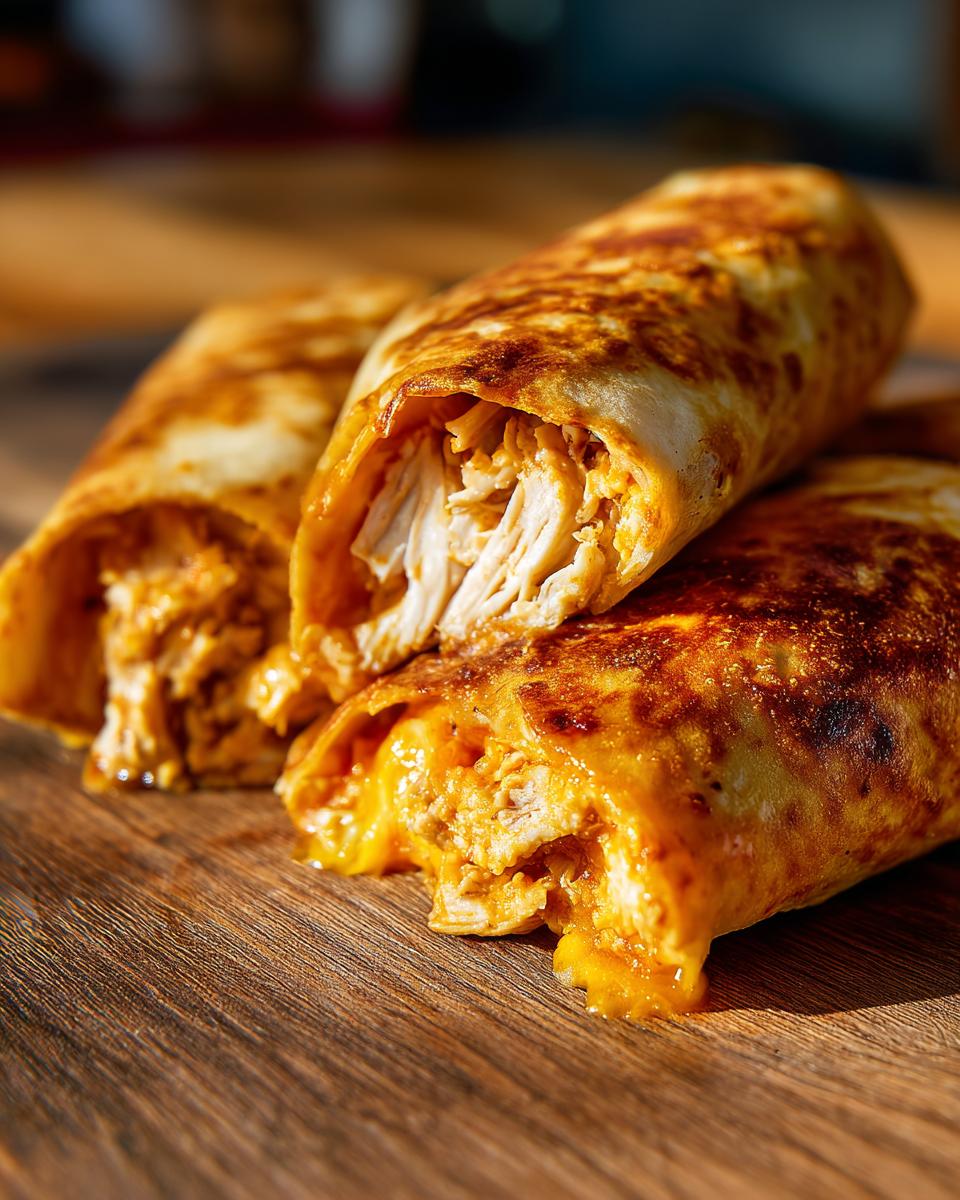
Now, for the cheese placement in these Cheesy Chimichangas. I use a two-step approach. First, put down a layer of the mixed Jack and Cheddar right on top of the seasoned chicken—I’m talking maybe two tablespoons—and let that melt partially during the main bake. Then, save about a quarter of the cheese mixture for the very end, sprinkling it over the top crust during the last five minutes. This gives you that beautiful, melted cheese blanket on top without having an ocean of molten cheese leaking out the sides during the main bake time.
My personal Maya tip for moisture control, especially if you’re using my optional refried beans, is to use them as a barrier. Spread the thin layer of beans first, directly onto the warm tortilla. They help insulate the shell slightly and keep any extra chicken juices where they belong—inside the roll! It’s just one small trick that keeps these beauties structurally sound, sort of like how I keep the fillings neat in my easy cheese bread recipe.
Variations: Beyond Chicken Chimichangas
While I absolutely adore working with chicken for these baked chimichangas—it shreds so nicely and keeps the moisture locked in—I know you might be looking for something different for your next Tex-Mex night. Variety is the spice of life, right? I’ve tested a couple of swaps, and they work wonderfully in this exact baking framework, which is fantastic because you don’t need to change the oven temperature or the rolling technique at all!
If you’re looking for that richer, more savory experience, swapping to Beef Chimichangas is super easy. Instead of using shredded chicken, you’ll want about 2 cups of well-seasoned cooked ground beef. Make sure you sauté that ground beef first, drain off any excess grease—we’re baking these, after all!—and mix it with those same seasonings: chili powder, cumin, and garlic powder. You might want to add a tablespoon of tomato paste or salsa to that beef mixture just to help bind it together, since ground beef doesn’t hold moisture quite like shredded chicken.
For those days when you want a meatless, hearty option, you can certainly make vegetarian chimichangas too! I often swap in black beans. Drain and rinse about 1 1/2 cups of black beans, mash about half of them with a fork, and then mix the mashed and whole beans with the spices. You might even want to dice up some bell peppers and sauté them lightly first to give that bean mixture some extra backbone and texture. Either way, a good portion of cheese is still essential here; nobody wants a sad, empty baked tortilla!
See? It’s so easy to pivot this base recipe to suit what you have on hand or what your family is craving. If you’re trying out ground beef fillings, you might also want to check out how I handle beef in a different style, like in these easy cheesy beef stuffed shells. Same great flavor profile, different format!
Storage and Make Ahead Chimichangas
This is one of the best parts about whipping up a big batch of these baked goodies: they are absolute rockstars for meal prep! I truly believe that having a few of these ready to go in the fridge saves dinner emergencies. Since we are baking them instead of frying, they actually hold up really well for future reheating, which is a massive win for busy nights.
If you are planning to make these ahead of time, the key is assembly! Get right up to step six in the instructions—that’s when they are rolled up—and place them seam-side down on that baking sheet we talked about. Don’t brush them with oil or spray them yet! Instead, cover the whole assembly tightly with plastic wrap and pop that entire tray into the refrigerator. They are designed to hold beautifully like this for up to 24 hours. That way, when you get home, you skip the filling and rolling chaos entirely.
When you’re ready to serve them later, just pull that sheet out of the fridge, brush them immediately with the olive oil or spray them generously, and pop them into your still-cold oven—then preheat to 400°F! You’ll just need to add a few extra minutes to the baking time since they are starting cold, maybe 25 to 30 minutes total, flipping halfway. They are perfect for those times when you need a delicious, hearty flavor boost without the cooking time. If you aren’t eating them within a day, you can freeze them tightly wrapped for up to three months. Pop them frozen straight into a 400°F oven for about 35-40 minutes, skipping the oil spray until the last 10 minutes of baking.
Leftovers, even if you baked them earlier, reheat beautifully. I often toss a couple of day-old chimichangas into my air fryer for about 4 minutes at 375°F. It instantly revives that crispy texture that you lose when you try to microwave them (never microwave them, seriously, they get sad and floppy!). If you love having ready-made meals hanging around, you might also enjoy my method for egg muffin cups for meal prep; they offer that same peace of mind for breakfast!
Serving Suggestions for Your Homemade Chimichangas
We’ve done the hard work! We’ve seasoned the chicken, we’ve rolled them tight, and we’ve achieved that glorious golden-brown crisp in the oven. Now comes the really fun part: dressing these beauties up for the main event. These aren’t just some sad, plain rolls; they deserve a fiesta of toppings!
Because these baked wraps are so satisfyingly savory and rich with cheese, they only need bright, cooling counterpoints on the side. Think about balancing that warmth with something fresh. You absolutely cannot go wrong with the classics: a dollop of cool sour cream, a spoonful of your favorite chunky salsa, and of course, some creamy, perfectly ripe guacamole. That trio never fails, and it instantly makes your homemade meal feel like you actually ordered takeout for a fraction of the work.
But if you’re looking to turn this into a full, hearty family dinner—you know, one of those satisfying Mexican comfort food nights—I always like sneaking in a side dish that adds some substance without adding more frying. My go-to is a big, colorful salad piled high with lime vinaigrette dressing. It adds that needed zing and keeps the meal feeling intelligently nourishing, which is what we’re all about here.
Another trick? A small side of my quick Mexican Rice Casserole. It’s flavorful, easy to make while the chimichangas are baking, and it soaks up any topping that might accidentally fall off your plate. It’s savory, a little tangy, and gives everybody something warm to scoop up with their food. Honestly, once you get these crispy shells loaded up with toppings, you’ll find they disappear faster than you can make them!
Frequently Asked Questions About Baked Chimichangas
I always get questions after I post these because everyone wants that golden crunch assurance! Since we’re focusing on baking these savory little bites, people often wonder about substitutions or how they compare to the deep-fried versions. Don’t worry; I’ve got you covered with the answers to the most common things I hear about making Homemade Chimichangas!
Can I deep fry these instead of baking them?
Oh, you definitely can! If you’re craving that classic, ultra-oily, purely indulgent experience, this recipe works perfectly for deep frying. Simply heat about 2 inches of neutral oil in a deep skillet to 350°F (175°C). Carefully place the rolled chimichangas in the hot oil, seam-side down first, and fry for about 2-3 minutes per side until they are deeply golden brown. Just remember, you’ll need to skip the olive oil brushing step entirely and drain them thoroughly on paper towels afterward. They are amazing, but baking is our favorite compromise for a Healthy Fried Burrito twist!
What is the best tortilla to use for these?
This is key for getting those beautiful, tight rolls! You want standard-sized flour tortillas, usually labeled as 8-inch or 10-inch burrito tortillas. If you use taco-sized tortillas, you won’t have enough surface area to roll them tightly, and the filling will try to escape. If you use the giant wrap-style ones, you’ll have way too much floppy tortilla folding over, which takes longer to crisp up evenly. You want just enough tortilla to cover the filling once rolled—that’s what creates the perfect ratio for Crispy Chimichangas!
Is the Air Fryer a good option for reheating or cooking?
Absolutely! The air fryer is actually incredible for this recipe, whether you’re trying to cook them from raw or reheat leftovers. If you used the recipe instructions to bake them first, they reheat *beautifully* in the air fryer set around 375°F for about five minutes. It brings back that fresh-out-of-the-oven crunch instantly. If you want to skip the oven entirely and go straight to the air fryer (for max crisp factor), spray the rolled chimichangas lightly with oil and cook them at 380°F for about 10-12 minutes, flipping halfway. It’s so handy, just like using the air fryer for my air fryer baked potato!
Do I need to cook the chicken before rolling?
Yes, you do! Since this is an Easy Chimichanga Recipe designed for speed, we rely on pre-cooked chicken. Buy a rotisserie chicken and shred two cups, or use leftover cooked chicken breast. The reason this is important is that our baking time (only 15-20 minutes at 400°F) is just long enough to heat the filling through and crisp the tortilla—it’s not long enough to safely cook raw meat. You want to add the seasoning to the *already cooked* chicken before rolling it up!
Nutritional Snapshot of These Chicken Chimichangas
We focus on making food intelligently nourishing here at MayaPlate, and even though we are making an indulgent favorite, baking instead of frying drastically cuts down on added fats while keeping the protein high! Please remember that nutritional information is always an estimate, especially since your cheese blend and how much oil you spray on top can change things slightly. But based on the core recipe amounts, here’s a general guide for one serving:
- Serving Size: 1 chimichanga
- Calories: About 380
- Protein: A solid 22 grams!
- Fat: Around 15 grams (much lower than fried versions!)
- Carbohydrates: Roughly 40 grams
- Fiber: 3 grams
- Sugar: Only 3 grams (mostly natural sugars from the tortilla)
This is a fantastic balance for a hearty meal that keeps you full and satisfied without leaving you feeling weighed down. It proves that Tex Mex Recipes can absolutely fit into a busy, healthy lifestyle!
Share Your Best Chimichangas Experience
I truly hope you loved making these! There is nothing better than achieving that crispy perfection right in your own kitchen. Now that you’ve got the recipe for the Best Chimichangas, I want to hear all about it!
Did you stick to the baked method, or did you give the air fryer a whirl? Do you prefer these flaky rolls with sour cream or loaded up with fresh pico de gallo? Please leave a comment below with your experience, and don’t forget to rate the recipe if it turned into one of your go-to Family Dinner Ideas Mexican style! If you have any baking questions or suggestions for me, you can always reach out directly through the Contact Page. Happy cooking!
PrintCrispy Baked Chicken and Cheese Chimichangas
Make satisfying, crispy chimichangas at home without deep frying. This baked recipe uses seasoned chicken and cheese for a quick, family-friendly Tex-Mex dinner.
- Prep Time: 15 min
- Cook Time: 20 min
- Total Time: 35 min
- Yield: 6 servings 1x
- Category: Dinner
- Method: Baking
- Cuisine: Tex-Mex
- Diet: Vegetarian
Ingredients
- 12 medium flour tortillas (burrito size)
- 2 cups cooked, shredded chicken breast
- 1 cup refried beans (optional, for filling)
- 1 1/2 cups shredded Monterey Jack cheese
- 1/2 cup shredded cheddar cheese
- 1 teaspoon chili powder
- 1/2 teaspoon cumin
- 1/4 teaspoon garlic powder
- 1/4 cup chicken broth or water
- 2 tablespoons olive oil or cooking spray
Instructions
- Preheat your oven to 400°F (200°C). Lightly grease a baking sheet or line it with parchment paper.
- In a medium bowl, combine the shredded chicken, chili powder, cumin, and garlic powder. Add the chicken broth or water and mix until the chicken is evenly seasoned and moist.
- Warm the tortillas briefly in the microwave for 15 seconds to make them pliable.
- Place about 1/4 cup of the seasoned chicken mixture and 2 tablespoons of the mixed cheeses down the center of each tortilla. If using refried beans, spread a thin layer first.
- Fold the sides of the tortilla inward over the filling, then tightly roll the tortilla up from the bottom, like a burrito. Place the chimichanga seam-side down on the prepared baking sheet. Repeat with the remaining tortillas.
- Lightly brush the tops of the rolled chimichangas with olive oil or spray them thoroughly with cooking spray.
- Bake for 15 to 20 minutes, flipping halfway through, until the tortillas are golden brown and crispy.
- Sprinkle the remaining cheese over the tops during the last 5 minutes of baking, if desired, to melt.
- Serve immediately with your preferred toppings like salsa, sour cream, or guacamole.
Notes
- For extra crispiness, you can briefly place the chimichangas in an air fryer set to 375°F for 5-7 minutes after baking.
- You can prepare these ahead of time; assemble them completely, wrap tightly, and refrigerate for up to 24 hours before baking.
- Use pre-cooked rotisserie chicken to save time on weeknights.
Nutrition
- Serving Size: 1 chimichanga
- Calories: 380
- Sugar: 3
- Sodium: 550
- Fat: 15
- Saturated Fat: 7
- Unsaturated Fat: 8
- Trans Fat: 0
- Carbohydrates: 40
- Fiber: 3
- Protein: 22
- Cholesterol: 65