

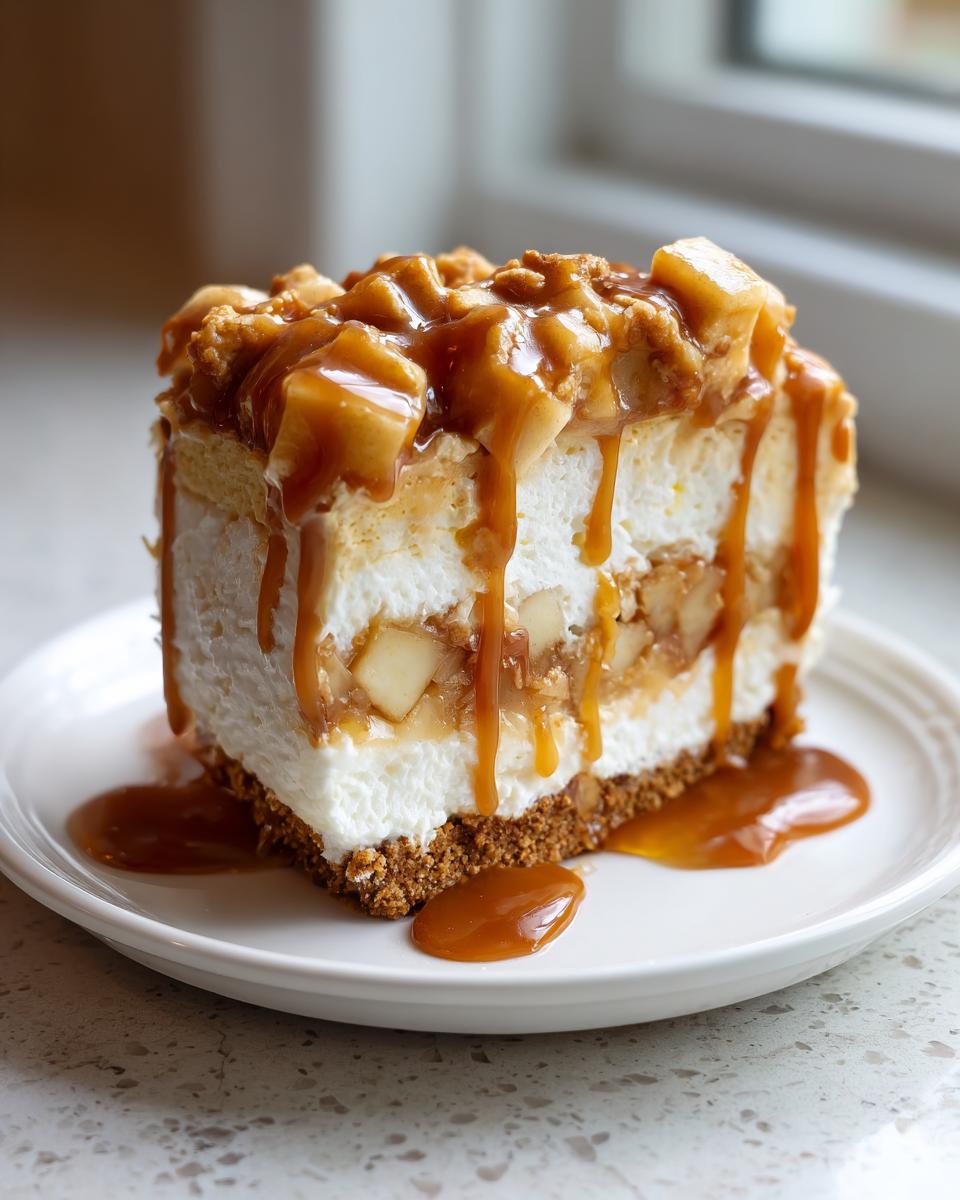
If you, like me, find yourself constantly torn between two incredible desserts—say, a warm slice of classic apple pie and a slice of velvety cheesecake—then I have solved your life’s biggest dilemma! Why choose when you can have both? This dessert mashup game we’re playing today results in the absolute best **apple pie cheesecake** you’ll ever taste.
And here’s the best part: it’s an easy no-bake version! As someone focused on bringing delicious, practical food to busy lives, I developed this recipe specifically for those times when you need a showstopper without spending hours in the kitchen. My background in nutrition taught me efficiency, so trust me when I say this creamy, salted caramel layered masterpiece sets up perfectly in the fridge while you conquer the rest of your day. Get ready for your new favorite fall treat!
- Why This No Bake Apple Pie Cheesecake Recipe Works for You
- Gathering Ingredients for Your Apple Pie Cheesecake
- How to Make No Bake Apple Pie Cheesecake Step-by-Step
- Tips for the Best Homemade Cheesecake Texture
- Variations on the Salted Caramel Apple Pie Cheesecake
- Serving Suggestions for Your Apple Pie Cheesecake
- Storage and Reheating Instructions for Apple Pie Cheesecake
- Frequently Asked Questions About Apple Pie Cheesecake
- Nutritional Estimates for This Indulgent Fall Treat
Why This No Bake Apple Pie Cheesecake Recipe Works for You
I totally get it. Sometimes you want indulgence, but honestly, who has time to manage a water bath and nervously check on a baked cheesecake? That’s where this recipe shines. When I designed this **easy apple pie cheesecake**, my main focus was making it stress-free, which is why it’s firmly in the no-bake category.
- It keeps oven space free during busy holidays.
- The active prep time is shockingly low, making it one of the best quick cheesecake desserts out there.
- It tastes deeply flavorful and set—no cracking, no fuss!
Quick Preparation, Maximum Flavor
Seriously, you only need about 20 minutes of active time! You mix the crust, mix the filling, layer it up, and call it a day. Because we skip the baking step, this recipe cuts down on waiting time dramatically. It’s the perfect way to deliver amazing **indulgent fall treats** when you’re short on minutes but long on ambition.
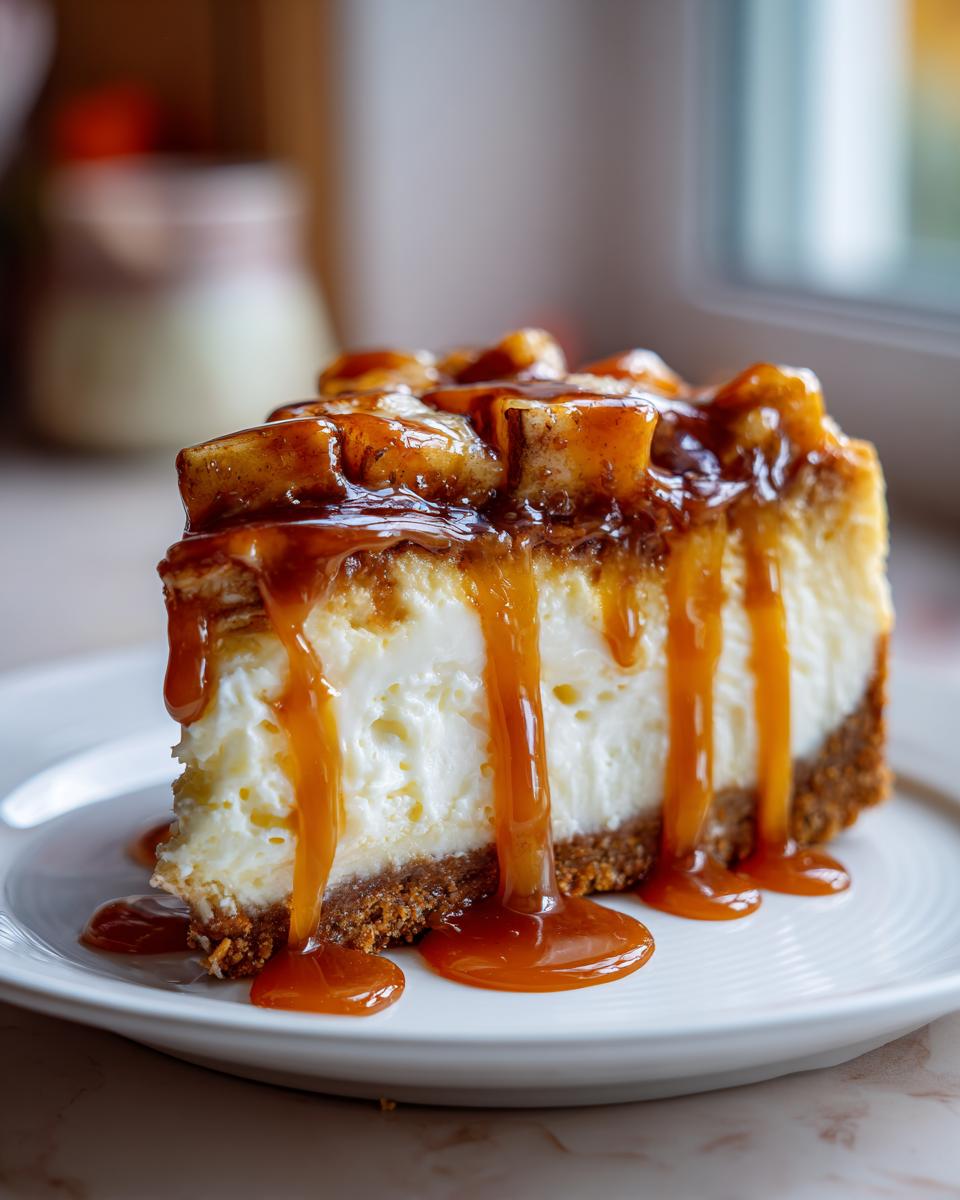
The Ultimate Dessert Mashup Recipes
If you love that combination of tangy cream cheese against sweet, spiced apples, you’re my kind of person! This isn’t just cheesecake; it’s a clever combination. These types of dessert mashup recipes are my absolute favorite to develop because they capture the best parts of two classics. It’s apple pie satisfaction meets creamy cheesecake perfection.
Gathering Ingredients for Your Apple Pie Cheesecake
Alright, let’s get organized! Since there’s no oven involved here, ingredient quality and preparation are even more important to nail that perfect set. Remember, we are aiming for a truly **creamy apple cheesecake**, and that starts with having everything ready to go before we start mixing. I’ve broken down exactly what you need from the recipe provided so you can pull it all from the pantry. Don’t forget, you can check out my guide on creamy dips if you want another no-bake star!
For the Buttery Graham Cracker Crust Dessert
This part is super simple and sets the foundation for our whole dessert. We need that perfect sandy texture to hold everything together. For this **buttery graham cracker crust dessert**, gather:
- 1 1/2 cups graham cracker crumbs
- 1/4 cup granulated sugar (this helps it crisp up nicely)
- 6 tablespoons unsalted butter, melted (don’t eyeball this, melt it properly!)
For the Creamy Apple Cheesecake Filling
This is where the smooth magic happens! My biggest tip for any cheesecake, baked or not, is temperature. Make sure your cream cheese has been out long enough to be truly soft—not just slightly less cold. This makes such a difference in avoiding lumps.
- 2 (8 ounce) packages cream cheese, softened (this is a non-negotiable!)
- 1 cup powdered sugar
- 1 teaspoon vanilla extract
- 1/4 cup heavy cream
Then, for the payoff, we need the apple and caramel components later: 1 (21 ounce) can of apple pie filling and 1/2 cup of salted caramel sauce, plus a little extra for drizzling at the very end. If you’re feeling extra fancy, grab some chopped pecans for topping!
How to Make No Bake Apple Pie Cheesecake Step-by-Step
This is the part where all our prep pays off! Since we aren’t turning on the oven, the structure of this **apple pie cheesecake** depends entirely on how well we mix and how patiently we chill. Don’t rush these steps—they ensure you get that perfect, sliceable result. Take a peek at my guide for some easy breakfast ideas later, but for now, let’s focus on this gorgeous dessert!
Creating and Chilling the Crust Base
First things first, we build the foundation. Take that graham cracker and butter mix we made and press it right into the bottom of your springform pan. And when I say press, I mean *press*! Use the bottom of a flat measuring cup or glass to really pack it down firmly. A dense crust prevents sogginess later. Once it’s tightly packed, pop that pan into the fridge for at least 15 minutes while we get the filling whipped up.
Whipping Up the Smooth Cheesecake Filling
Time to make this super creamy! Grab your mixer. Start with the softened cream cheese until it’s velvety smooth—no lumps allowed! Slowly add the powdered sugar, making sure it incorporates well. Then, drizzle in the vanilla and heavy cream. Whip it until you see light, airy ribbons form. That light, creamy texture is exactly what we want for a dreamy no-bake filling!
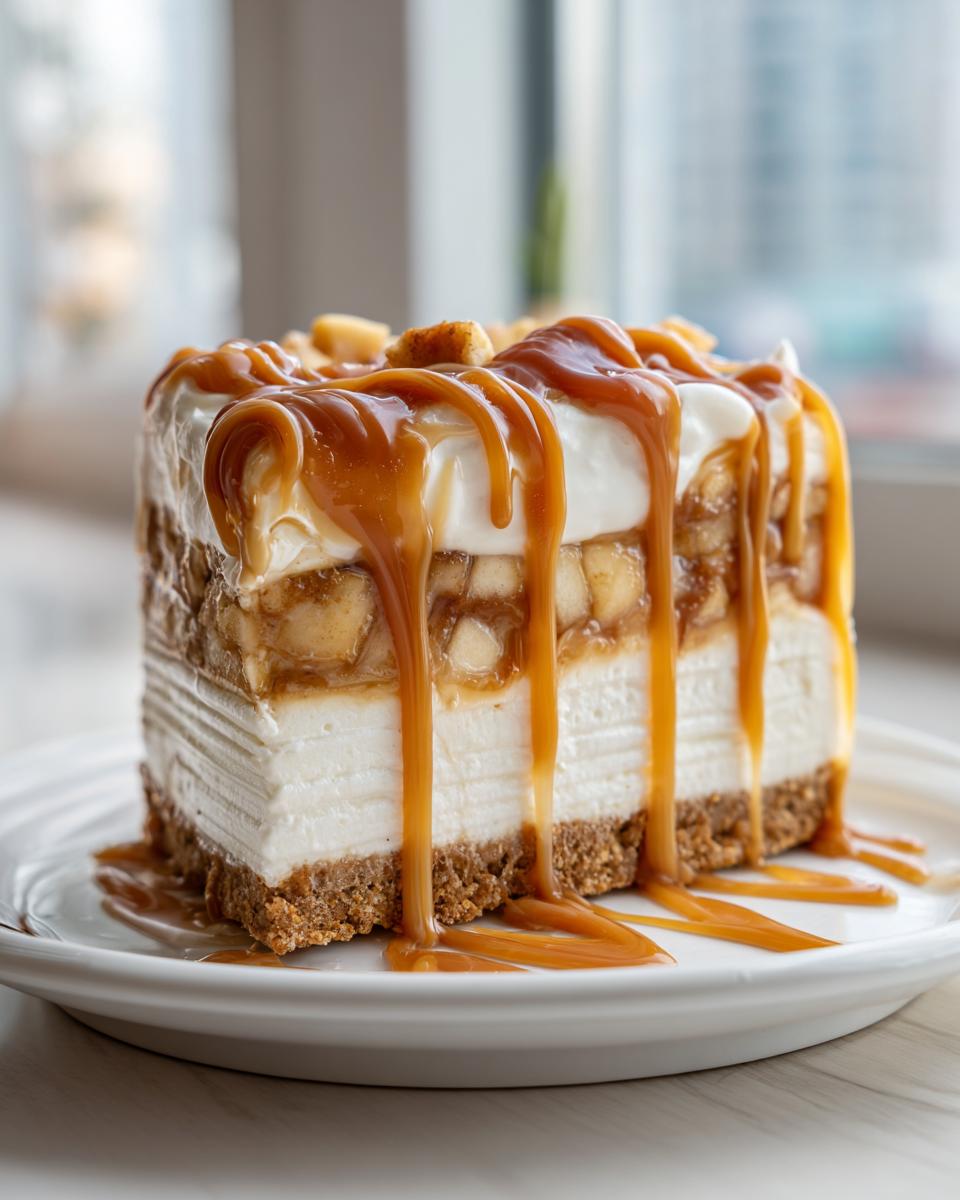
Layering the Apple Pie Cheesecake Components
Now for the fun part! Take half of that glorious filling and spread it carefully over your chilled crust. Next, grab half of your canned apple pie filling and spoon it right over that first layer of cheese. Don’t forget to drizzle half of that liquid gold—the salted caramel sauce—over the apples. Repeat that process exactly: remaining filling, then remaining apples, and finally, the last drizzle of caramel.
Setting and Serving Your Apple Pie Cheesecake
This is the hardest step, honestly, because it requires patience! Cover the pan loosely so nothing touches the surface, and get it into the refrigerator. You absolutely must let this chill for a minimum of 6 hours. Seriously, overnight is best if you can swing it! The long chill time is what firms everything up just right. When it’s finally set, release the springform ring, top with your pecans or toffee bits, and go get a slice!
Tips for the Best Homemade Cheesecake Texture
Making the absolute best homemade cheesecake often comes down to tiny details, especially since we skipped the oven in this recipe. We want that perfect, ultra-smooth finish, right? Don’t worry, I’ve gathered the secrets to guarantee your **creamy apple cheesecake** sets up like a dream without any greasiness or lumps.
Ingredient Temperature Matters for Creamy Apple Cheesecake
If you only remember one thing about no-bake desserts, make it this: your cream cheese cannot be cold! If it’s only slightly cool to the touch, you’re going to end up with little, annoying white streaks in your filling that won’t blend away, no matter how long you mix. Pull those blocks out at least an hour before you start. It should yield easily to a gentle poke.
Choosing Quality Apple Pie Filling
Because this is the main ‘pie’ element, its quality truly impacts the whole dessert. Remember that note I mentioned earlier? You want high-quality, nice and thick apple pie filling. Thin, watery filling will just seep into the cheesecake layer and make it soupy instead of providing that wonderful, spiced flavor contrast against the tang of the cheese.
Variations on the Salted Caramel Apple Pie Cheesecake
While I absolutely adore this no-bake version with its swirls of salted caramel, the beauty of these apple pie inspired desserts is that you can totally make them your own! If you love texture, think about switching up the topping before you chill it. Instead of just nuts or toffee bits, consider sprinkling on a layer of prepared apple crisp right before the final chill. This instantly turns it into a stunning **apple crumble cheesecake** experience!
Another fun swap is playing with the base. If you’re feeling extra autumnal, ditch the graham crackers and use gingersnap cookies for the crust! The spicy snap of gingersnaps pairs so wonderfully with the cinnamon apples. Or, for an even richer flavor profile, try swapping the regular salted caramel drizzle for a homemade brown butter caramel sauce. It adds such a nutty depth that just screams cozy fall baking!
Serving Suggestions for Your Apple Pie Cheesecake
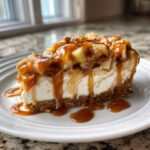
This **apple pie cheesecake** isn’t just dessert; it’s a centerpiece! Since it’s so decadent, you don’t need much else on the plate, but I always love a beautiful little accent. This definitely belongs on your list for top-tier Thanksgiving dessert ideas because it breaks up the heavy pies.
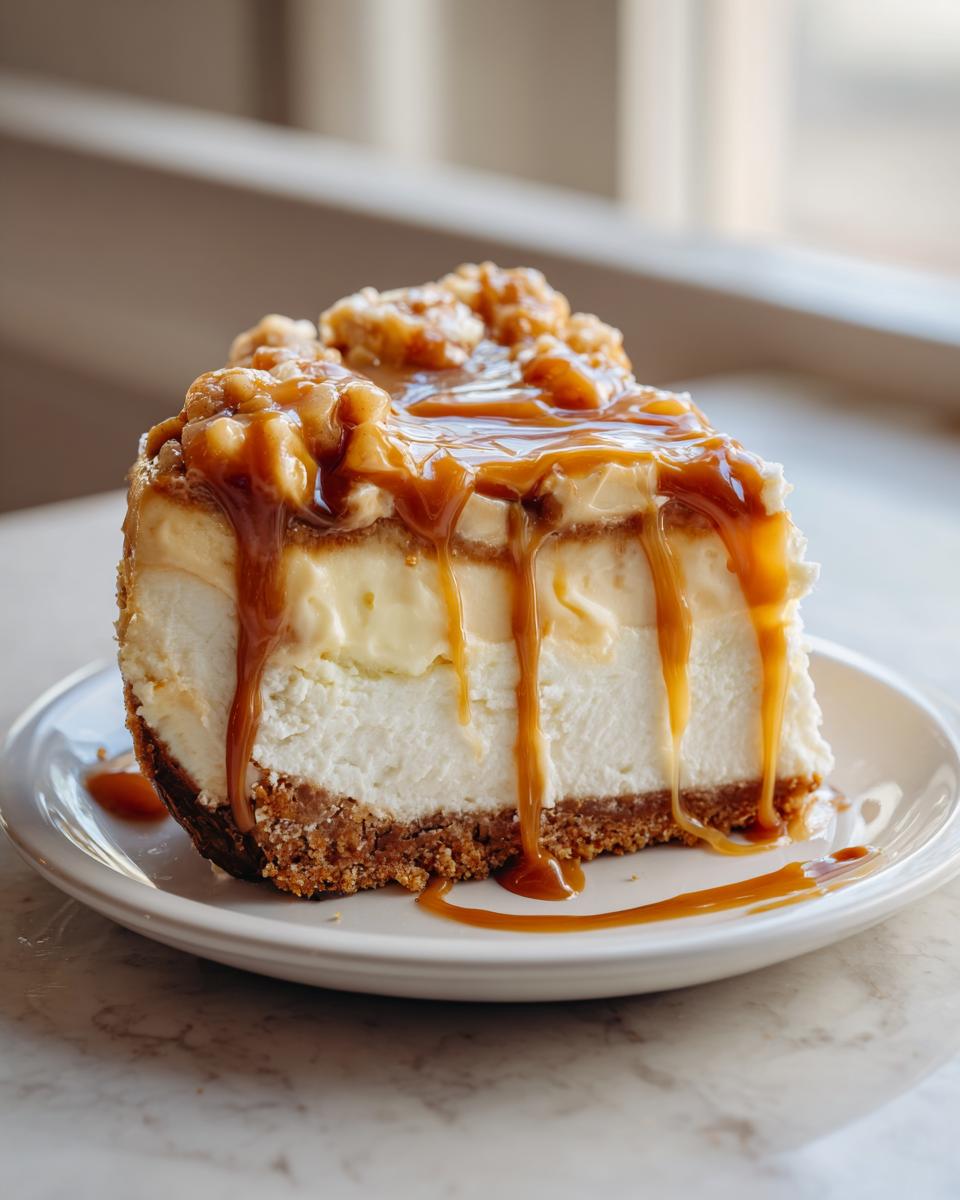
To really lean into that ‘showstopper dessert’ status, serve each slice with a tiny dollop of freshly whipped cream—I mean *real* whipped cream, not the aerosol can stuff! A light dusting of ground cinnamon over the top plate really enhances the baked apple spice notes. It’s an unbelievably rich treat that feels perfectly suited for all those cozy, indulgent fall treats we crave this time of year.
Storage and Reheating Instructions for Apple Pie Cheesecake
Since this incredible **apple pie cheesecake** skips the oven, storage is beautifully straightforward, but texture maintenance is key! You absolutely must keep this covered tightly in the refrigerator. Cold air is the enemy of smooth surfaces, so wrap the whole pan or individual slices well with plastic wrap or aluminum foil. If you made it the right way—by chilling it overnight—it should stay perfectly firm and creamy for 3 to 4 days. Honestly, though, I’ve never had leftovers last that long!
Frequently Asked Questions About Apple Pie Cheesecake
I know you’ve got questions! When you’re merging two legendary desserts into one, it’s totally normal to want to double-check a few things. Don’t worry; I’ve tried to cover all the practical points here so you feel confident moving forward with this amazing dessert. If you need to get in touch about anything else, you can always reach out on my contact page!
Can I make this apple pie cheesecake recipe ahead of time?
Oh, yes, you absolutely can! This is exactly why I love this **no bake apple pie cheesecake** recipe for holidays and parties. In fact, it’s better if you make it ahead! Because it needs that long chill time—ideally overnight—to set up beautifully, making it the day before ensures it’s firm and ready to slice when company arrives. It’s the ultimate make-ahead treat for your **holiday baking recipes**!
What if I want a baked cheesecake with apple filling instead?
That’s a fair request! If you really prefer a traditional baked version, the recipe notes give you the exact specs. You would pour that batter (using the same ingredients, minus the heavy cream for structure, typically) into your pan and bake it at 325°F for about 50 to 60 minutes. Just remember that the **baked cheesecake with apple filling** requires slow cooling and then chilling time too, so plan accordingly!
How do I prevent the apple layer from sinking in my apple pie cheesecake?
That’s a great question about keeping those layers distinct! Since we aren’t baking this, gravity and texture matter even more. My big trick is to make sure that very first layer of cheesecake filling is spread out perfectly evenly across the crust—really smooth it out! That layer acts like a sturdy base wall. When you add the apple filling on top of that, it should just sit there, happy and separate, before you add the final layer of cream cheese.
Nutritional Estimates for This Indulgent Fall Treat
Now, I always keep things real with you here on MayaPlate. Since this **indulgent fall treat** recipe uses canned pie filling and salted caramel sauce, exact numbers can shift based on the brands you buy. These estimates are based on the recipe ingredients provided, aiming for a standard slice size. As a quick guide, one slice is roughly 450 calories, but what matters most is how unbelievably delicious every single bite is!
- Serving Size: 1 slice
- Calories: 450
- Fat: 28g
- Carbohydrates: 45g
- Protein: 6g
Keep in mind these numbers are estimates! If you swap out the graham crackers for cookies, the nutrition will change. But please, don’t stress too much about the numbers when you’re enjoying such a perfectly satisfying dessert.
PrintEasy No-Bake Salted Caramel Apple Pie Cheesecake
Make this creamy, indulgent dessert that combines classic apple pie flavor with smooth cheesecake, all without turning on your oven. This recipe is simple to prepare and perfect for fall gatherings or holiday desserts.
- Prep Time: 20 min
- Cook Time: 0 min
- Total Time: 6 hr 20 min
- Yield: 10 servings 1x
- Category: Dessert
- Method: No-Bake
- Cuisine: American
- Diet: Vegetarian
Ingredients
- 1 1/2 cups graham cracker crumbs
- 1/4 cup granulated sugar (for crust)
- 6 tablespoons unsalted butter, melted
- 2 (8 ounce) packages cream cheese, softened
- 1 cup powdered sugar
- 1 teaspoon vanilla extract
- 1/4 cup heavy cream
- 1 (21 ounce) can apple pie filling
- 1/2 cup salted caramel sauce (plus extra for drizzling)
- 1/4 cup chopped pecans or toffee bits (optional topping)
Instructions
- Prepare the crust: Mix graham cracker crumbs, 1/4 cup granulated sugar, and melted butter until combined. Press the mixture firmly into the bottom of a 9-inch springform pan. Chill the crust for at least 15 minutes while you prepare the filling.
- Make the cheesecake filling: In a large bowl, beat the softened cream cheese with an electric mixer until smooth. Gradually beat in the powdered sugar until fully incorporated. Mix in the vanilla extract and heavy cream until the mixture is light and creamy.
- Assemble the layers: Spread half of the cheesecake filling evenly over the chilled crust. Spoon half of the apple pie filling over the cream cheese layer. Drizzle with half of the salted caramel sauce.
- Add the second layer: Gently spread the remaining cheesecake filling over the apple layer. Top with the remaining apple pie filling and drizzle with the remaining salted caramel sauce.
- Chill: Cover the pan loosely with plastic wrap and refrigerate for at least 6 hours, or preferably overnight, until the cheesecake is firm.
- Serve: Before serving, carefully remove the sides of the springform pan. Top with chopped pecans or toffee bits, if using, and drizzle with extra salted caramel sauce.
Notes
- For a firmer set, you can use a 9-inch pie plate lined with plastic wrap instead of a springform pan.
- If you prefer a baked version, bake at 325°F for 50-60 minutes, then cool completely before chilling.
- Use high-quality, thick apple pie filling for the best flavor contrast against the creamy cheese.
Nutrition
- Serving Size: 1 slice
- Calories: 450
- Sugar: 35g
- Sodium: 280mg
- Fat: 28g
- Saturated Fat: 17g
- Unsaturated Fat: 11g
- Trans Fat: 0.5g
- Carbohydrates: 45g
- Fiber: 1g
- Protein: 6g
- Cholesterol: 95mg