
If you’ve ever attempted homemade sushi only to feel like you’re wrestling with a pile of mushy, bland grains, you’re definitely not alone! That’s where MayaPlate comes in. I know life gets busy, and sometimes those restaurant-quality meals feel impossibly far off. But let me tell you a secret: the secret to amazing sushi isn’t the fancy fish; it’s mastering the foundation—perfect sushi rice. This isn’t about complicated processes; it’s about smart, practical techniques that bring delicious simplicity right to your counter. We’re going to tackle this staple and prove that achieving that authentic, perfectly seasoned texture is completely achievable, even on a Tuesday night. You don’t need hours; you just need the right method! If you want to check out one of my other simple rice secrets while you’re here, I highly recommend my stovetop creamy rice!
- Why Perfect Sushi Rice is the Homemade Sushi Foundation
- Essential Ingredients for Authentic Sushi Rice Recipe
- Step-by-Step: How to Cook Sushi Rice Perfectly
- Seasoned Rice for Rolls: Mixing and Cooling Techniques
- Tips for Success: Achieving Perfect Texture Sushi Rice Tips
- Storage and Reheating Instructions for Leftover Sushi Rice
- Troubleshooting Common Sushi Rice Issues
- Quick Facts on Your Homemade Sushi Rice
- Share Your Perfect Sushi Rice Creations
Why Perfect Sushi Rice is the Homemade Sushi Foundation
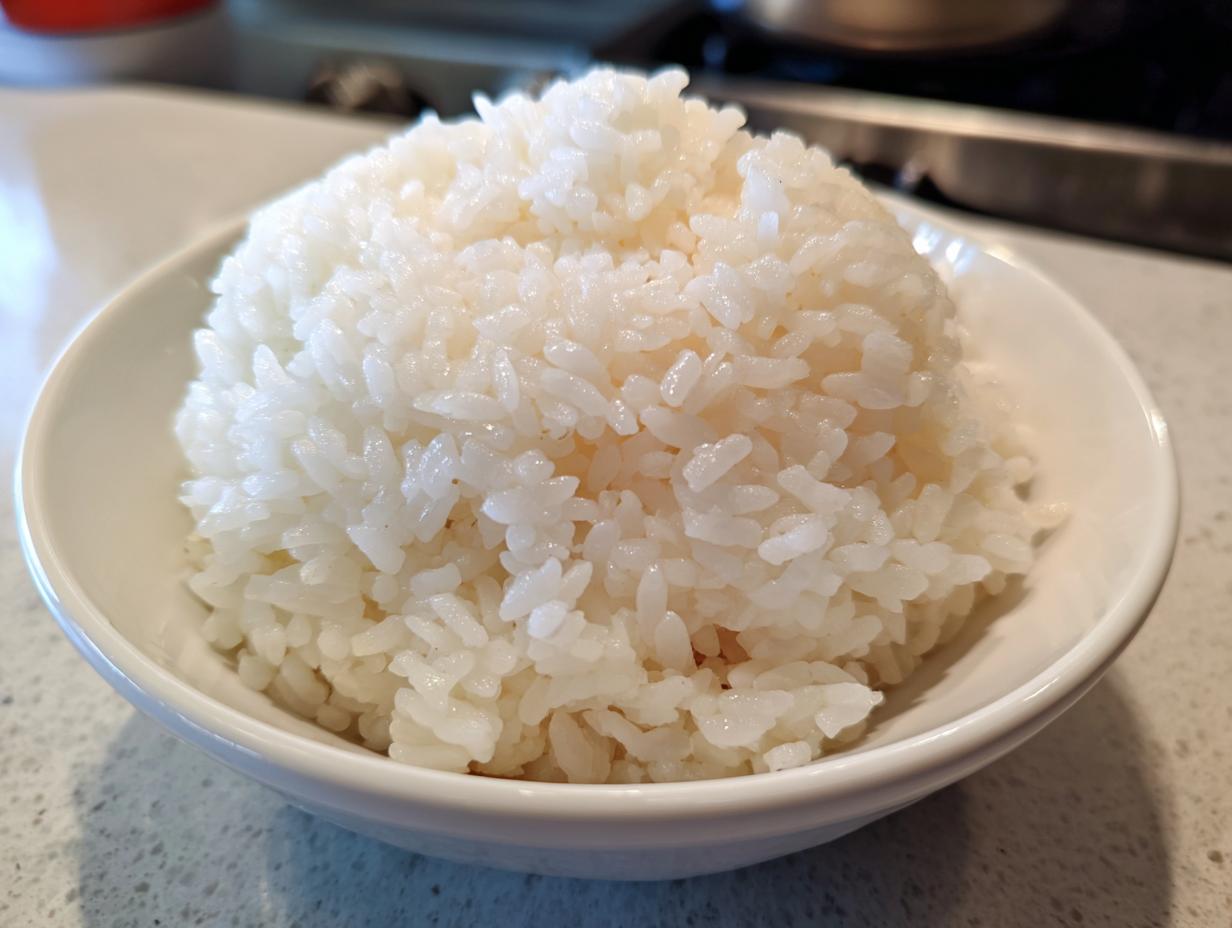
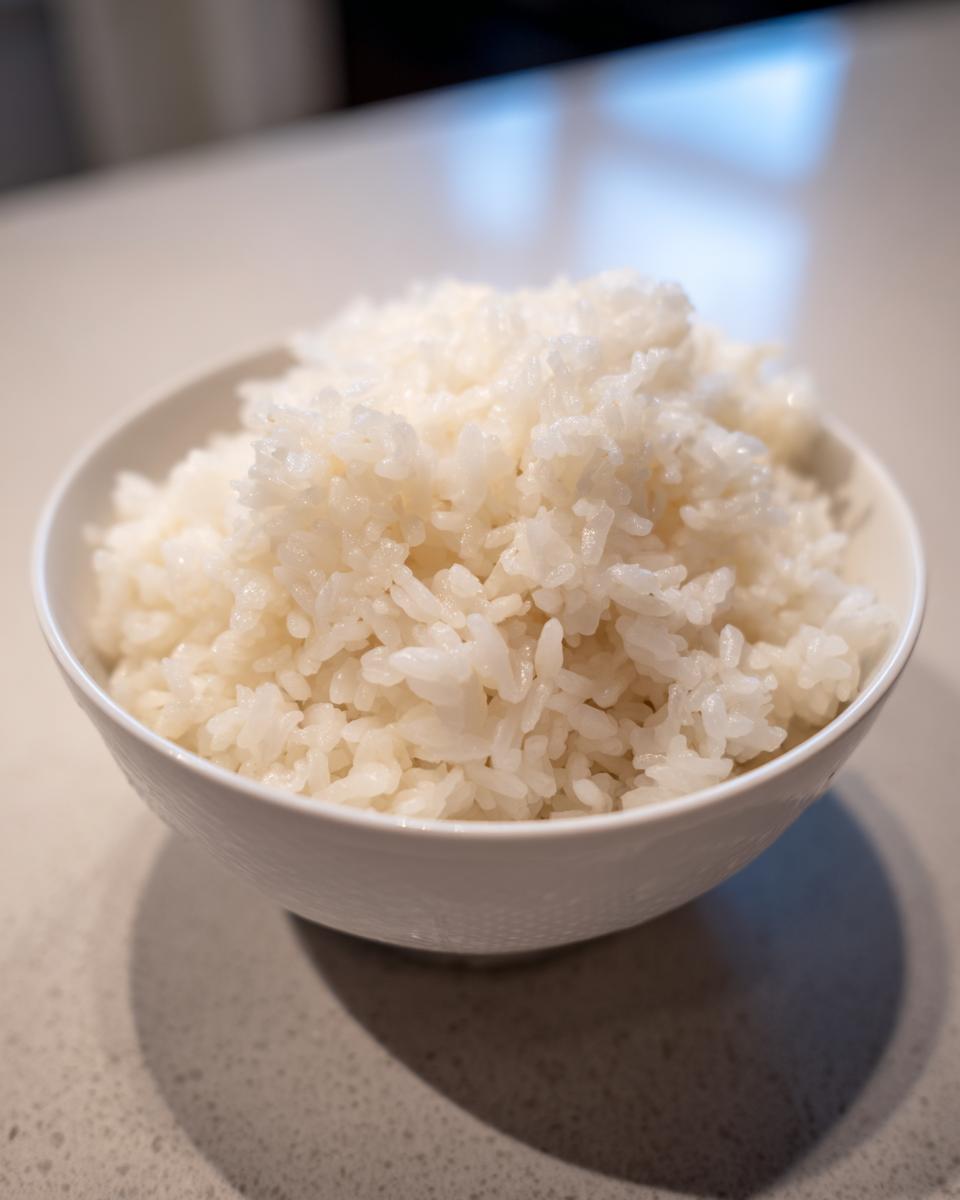
Look, you can buy the freshest tuna in the world, but if your rice falls apart when you pick up your roll, you’ve lost the battle! The rice is truly the homemade sushi foundation. We aren’t aiming for plain steamed rice; we need that specific balance: sticky enough to hold everything together, but fluffy enough that each bite isn’t a gummy paste. That’s how you get restaurant quality sushi rice at home! Getting the texture right means the seasoning shines through, creating that beautiful, slightly tangy flavor that makes sushi so addictive.
Selecting the Best Rice for Sushi Making
This is non-negotiable, I learned this the hard way! Forget the long-grain stuff you use for stir-fries; those grains are too long and won’t stick. You absolutely need short-grain rice. I always grab Japanese short-grain rice, and Calrose is a super accessible second choice. If you need a sturdier side dish sometimes, my chicken and rice casserole uses a different technique, but for sushi, stick to these short grains! These grains have the right starch content—amylopectin—which is what gives you that amazing, slightly tacky texture when cooked correctly. Trust me, using the right grain is half the battle when it comes to the best rice for sushi making.
Essential Ingredients for Authentic Sushi Rice Recipe
Okay, gathering your ingredients is just like setting up my slow cooker pear butter—it needs to be precise upfront so the result is perfect later on. For this authentic sushi rice recipe, grab 2 cups of those Japanese short-grain rice beauties and 2 cups of cold water for cooking. That’s it for the rice itself! The magic, of course, comes from the dressing. Remember, we are aiming for that perfect, slightly vinegary pop that contrasts the filling.
Understanding the Sushi Rice Vinegar Dressing Ratio
This is where we nail the flavor profile! For every two cups of dry rice you use, you need 1/2 cup of good rice vinegar, 3 tablespoons of granulated sugar, and 1 teaspoon of fine sea salt. That specific sushi rice vinegar dressing ratio is key—it’s what pulls the rice from being plain to being *sushi* rice. Don’t skimp on dissolving that sugar and salt completely; it’s crucial for an even flavor distribution across all your grains.
Step-by-Step: How to Cook Sushi Rice Perfectly
Now we get down to the actual cooking, and this is where you move from a good cook to someone who truly understands the process! Whether you’re using your trusty rice cooker or sticking to the stovetop—which I love for its control—the prep work here guarantees you nail those perfect texture sushi rice tips. We aren’t rushing this; that’s the secret to flavor!
Crucial First Steps: Rinsing and Soaking the Rice
The single most important thing you can do before cooking is washing the rice. You need to put your 2 cups of rice in a sieve and rinse it under cold water. You’ll stir it gently with your hand, dump the cloudy water, and repeat. Keep going until that water runs totally clear! If you skip this, the extra starch turns your final product into glue. After you drain it completely, transfer it to your pot or cooker insert and add 2 cups of cold water. Now, the non-negotiable step: let it soak for a good 30 minutes. This hydration step is why your rice will be cooked evenly through, not hard in the middle.
Stovetop Sushi Rice Cooker Method Instructions
If you’re on the stovetop (my preferred way for an easy Mexican rice challenge, haha!), cover that pot tight and bring the heat up to medium-high until it hits a rolling boil. Then, drop that heat down to the absolute lowest simmer possible for 15 minutes. You must, I repeat, *must not* lift that lid! Once the time is up, turn off the heat and let it sit, still covered, for 10 extra minutes. That’s the rest period! If you’re using your rice cooker, just follow its standard white rice setting with the measured water. While a lot of people swear by instant pot sushi rice instructions, these two methods are the gold standard for getting that fantastic sushi rice cooker method result.
Seasoned Rice for Rolls: Mixing and Cooling Techniques
Okay, the rice is cooked perfectly—hot, fragrant, and just waiting for its flavor bath! This is the final, critical stage where you turn good rice into excellent, how to make sticky rice for sushi material. Transfer that gorgeous, hot rice into a large, wooden or glass bowl. Please, no metal bowls! I made that mistake once, just mixing my seasoning in a stainless steel bowl, and I swear the rice came out tasting faintly metallic. Yuck! Never again! If you’re doing a more savory rice dish, like my quick creamy cheesy rice, the bowl material isn’t as crucial, but for sushi rice, stick to wood or glass.
Gently pour that cooled vinegar dressing evenly over all the rice. Now, stop! Don’t stir it like you’re making gravy! You need to use a wooden spoon or a rice paddle and slice down through the rice, then fold it over. We are trying to coat every grain without smashing it. This slicing motion keeps the texture intact, which is vital for that authentic sushi rice recipe finish. You want that perfect, glossy look you see in the restaurants; for more on achieving that look, check out this great resource on mastering Japanese rice.
My favorite part? While you’re folding, grab a small hand fan—or honestly, just a piece of cardboard if you’re feeling resourceful like my grandma—and fan the rice quickly! This cooling process evaporates some of the surface liquid and gives the sushi rice that signature glossy sheen. Keep folding and fanning until the rice cools down to about body temperature. Then, cover it with a damp, clean towel until you’re ready to roll!
Tips for Success: Achieving Perfect Texture Sushi Rice Tips
We’ve done the hard work of cooking, and now we need to protect that masterpiece! If you are serious about getting those perfect texture sushi rice tips down pat, there are a couple of final rules you just can’t break. I already mentioned the bowl material—always use wood or glass when seasoning the rice. Seriously, I once used a metal bowl, and I swear the rice tasted faintly metallic, like licking a penny. That mistake is now permanently etched in my brain! It ruins the delicate flavor every time.
Another huge mistake I see beginners make is shoving that beautiful, freshly seasoned rice into the fridge. Don’t do it! Refrigeration is the enemy of perfect sushi rice. When the starch gets cold, it hardens up, and you’re left with a brick that crumbles when you try to form a roll. Keep it at room temperature, covered with a damp cloth, until you’re ready to use it. If you want to keep it longer, aim for a quick reheat later, perhaps by steaming it lightly. For more fantastic pointers on getting things perfect from scratch, take a peek at this helpful guide on mastering rice.
Remember, this rice is going to be part of a balanced meal, just like my artisan no-knead bread, where technique matters just as much as the ingredients. Patience here pays off big time!
Storage and Reheating Instructions for Leftover Sushi Rice
So, what happens if you actually have leftover sushi rice? This is where I need you to listen closely because messing up the storage can ruin all your hard work! You absolutely want to avoid the refrigerator. I know, I know, we put everything in the fridge, but cold temperatures make that perfectly sticky rice turn hard and dry almost instantly. It totally messes up the texture we worked so hard to achieve!
For short-term storage—say, you just need it for leftovers the next day—the best method is to just let it cool down to room temperature. Once it’s cool (but not fridge-cold), you need to keep it covered! Grab a clean, lint-free kitchen towel, dampen it slightly with water, and lay it right over the bowl of rice. This keeps it from drying out without letting it get soggy. It stays perfect like this for several hours.
If you must store it longer, put it in an airtight container at cool room temperature. If it does seize up a little overnight, don’t throw it out! You can often revive it by steaming it briefly or microwaving it covered with a tiny splash of water. A quick steam will bring back the moisture and make it soft enough to use in a vegetable bowl or maybe even try it in something different like my old-fashioned beef soup tomorrow!
Troubleshooting Common Sushi Rice Issues
Okay, even with the best instructions, sometimes things go a tiny bit sideways, right? That’s totally normal in the kitchen, and it’s why I always offer this quick easy sushi rice tutorial for emergencies. Don’t panic if your rice isn’t immediately perfect; we just need to backtrack a little based on what went wrong. It’s all fixable!
If your rice is too mushy—like actual sticky soup—the biggest culprit is usually that you didn’t rinse the starch off completely in the beginning, or you added too much water during cooking. If you’re using the stovetop method, you probably cooked it on too high of a heat even after reducing it. For a quick fix, try spreading the rice very thinly on a baking sheet for about 15 minutes to let some moisture evaporate. If you need to salvage a big batch, maybe pivot and turn it into a delicious chicken fried rice later!
Now, if your rice is too hard or seems dry, you likely skipped the mandatory soak time, or you didn’t let it steam for the full 10 minutes after turning the heat off. That resting phase is just as important as the cooking! If it feels too dry *after* seasoning, you can gently steam it back to life. Just put it in a steamer basket over barely simmering water for five minutes so it can reabsorb some humidity. Don’t soak it, just steam it lightly.
What if the seasoning didn’t absorb? This usually happens when the rice cools down too much before you mix in the vinegar dressing. The goal is to pour the dressing over hot rice. If it’s barely warm, the vinegar mixture sits on top and doesn’t penetrate. If this happens, gently transfer the rice back into the warm pot (off the heat!) and fold in the dressing very gently. You might need to apply a little gentle heat underneath for just a minute or two while continuously folding to help it absorb better. When in doubt, check out how my friends over at Umami Girl handles her rice consistency; sometimes seeing it done again helps!
Quick Facts on Your Homemade Sushi Rice
I know we’re busy and sometimes need the macro breakdown, right? While this sushi rice recipe is all about flavor and texture for me, I pulled the numbers together for you. Remember, these are estimates since the exact type of rice can change things up, so take these figures as a helpful guide for your quick healthy lunch planning!
Here’s what you can generally expect per serving (about 1/2 cup cooked):
- Calories: 180
- Carbohydrates: 39g
- Sugar: 7g
- Protein: 3.5g
See? It’s perfectly reasonable fuel to keep you going until dinner!
Share Your Perfect Sushi Rice Creations
Whew! We did it! You’ve officially mastered the backbone of sushi—the rice! Honestly, making this simple, flavorful sushi rice is the biggest hurdle, and you cleared it. My heart just swells when I think about you taking control of your kitchen and making something this foundational yourself, right from the recipe card here.
I love knowing that I’ve equipped you with the tools to bring that joyful, comforting feeling from my grandmother’s kitchen—that MayaPlate philosophy of delicious simplicity—right into your own home. Now, tell me about it!
Did the vinegar ratio hit just right? Did you get that beautiful glossy sheen after fanning? Please, take a moment and drop a comment below. I read every single one, and hearing how this recipe worked for your family dinner is truly what keeps me energized!
If you snapped a photo of your perfectly seasoned rolls or your beautiful sushi bowls, tag me on social media! Seeing your creations makes my entire week. If you have any final questions about your technique, don’t hesitate to pop over to my contact page. And if you want to see another great take on rice foundations, check out this guide on how to make sushi rice!
Thanks for cooking with me today. Now go enjoy that perfect batch of rice!
PrintThe Ultimate Guide to Perfect Sushi Rice: Stovetop and Rice Cooker Methods
Learn how to make restaurant-quality sushi rice at home. This guide provides the exact seasoning ratio and cooking steps for achieving the perfect sticky yet fluffy texture for your homemade sushi rolls and bowls.
- Prep Time: 30 min (plus 30 min soaking)
- Cook Time: 25 min
- Total Time: 85 min
- Yield: About 4 cups cooked rice (4 servings) 1x
- Category: Side Dish
- Method: Stovetop or Rice Cooker
- Cuisine: Japanese
- Diet: Vegetarian
Ingredients
- 2 cups Japanese short-grain rice (or Calrose rice)
- 2 cups cold water (for cooking)
- 1/2 cup rice vinegar
- 3 tablespoons granulated sugar
- 1 teaspoon fine sea salt
Instructions
- Rinse the rice: Place the rice in a fine-mesh sieve or bowl. Rinse under cold running water, gently stirring with your hand, until the water runs clear. This removes excess starch. Drain the rice completely.
- Soak the rice: Transfer the rinsed rice to a heavy-bottomed pot or your rice cooker insert. Add 2 cups of cold water. Let the rice soak for at least 30 minutes. This step is key for perfect texture.
- Cook the rice (Stovetop Method): Cover the pot tightly. Bring the water to a boil over medium-high heat. Once boiling, immediately reduce the heat to the lowest setting and cook for 15 minutes without lifting the lid.
- Rest the rice (Stovetop Method): Remove the pot from the heat and let it stand, covered, for another 10 minutes. Do not lift the lid during this resting period.
- Cook the rice (Rice Cooker Method): If using a rice cooker, follow the manufacturer’s instructions for white rice, using the 2 cups of water specified above.
- Prepare the seasoning (Sushi Vinegar Dressing): While the rice cooks, combine the rice vinegar, sugar, and salt in a small saucepan. Heat gently over low heat, stirring until the sugar and salt completely dissolve. Do not boil the mixture. Let the seasoning cool slightly.
- Season the rice: Transfer the hot, cooked rice to a large, non-metallic bowl (wood or glass is best). Pour the prepared sushi vinegar dressing evenly over the rice.
- Mix and cool: Using a slicing or folding motion with a rice paddle or wooden spoon, gently incorporate the seasoning into the rice. Avoid stirring or mashing the grains. Fan the rice as you mix to help it cool quickly to body temperature. This creates the signature glossy finish.
- Use immediately or store: Use the seasoned sushi rice immediately for rolls or bowls, or cover it with a damp cloth and let it cool to room temperature before using. Do not refrigerate, as this hardens the rice.
Notes
- Use Japanese short-grain rice or Calrose rice for the best sticky texture required for sushi making.
- Always use non-reactive bowls (wood or glass) when mixing the seasoning into the rice to prevent flavor changes.
- The ratio of 1 part rice to 1 part water (by volume) works well for these cooking methods, but check your specific rice cooker manual.
- For restaurant quality sushi rice, cooling the rice quickly while mixing is essential for achieving the proper sheen and texture.
Nutrition
- Serving Size: 1/2 cup cooked
- Calories: 180
- Sugar: 7
- Sodium: 150
- Fat: 0.3
- Saturated Fat: 0.1
- Unsaturated Fat: 0.2
- Trans Fat: 0
- Carbohydrates: 39
- Fiber: 0.5
- Protein: 3.5
- Cholesterol: 0