
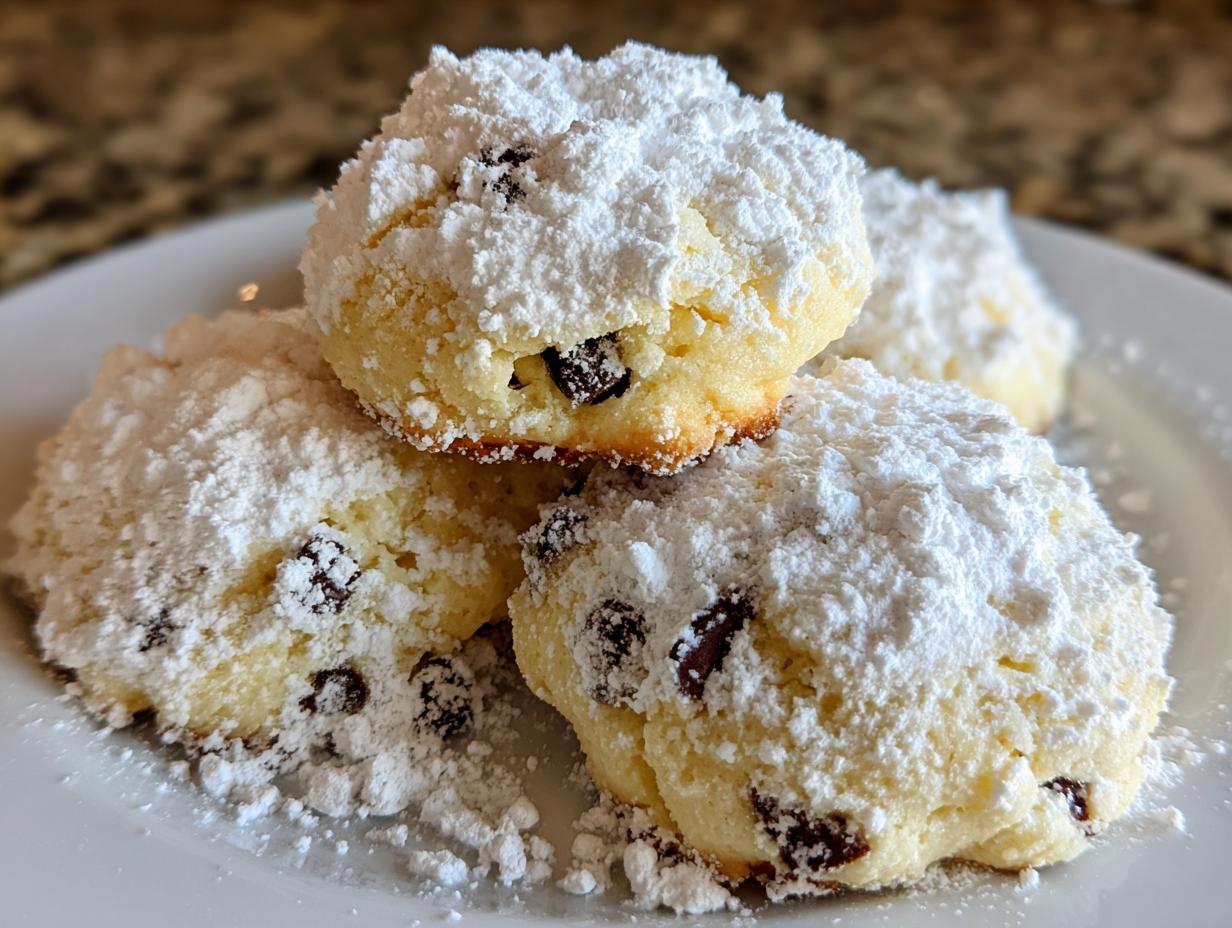
If you’re like me, you dream of that perfectly crisp, shell-shattering texture of a traditional cannoli, but let’s be honest: who has the time (or the patience!) to fry up those shells when a sweet craving hits on a Tuesday evening? That’s exactly why I developed these incredible cannoli cookies. They bring all the joy—the creamy, sweet ricotta filling, those lovely little dark chocolate bursts—into one easy, handheld package.
This recipe truly embodies the MayaPlate philosophy: taking those rich, cherished flavors we all love and making them genuinely practical for modern life. We aren’t sacrificing that distinct slow-food flavor just because we’re short on time. These soft ricotta cookies deliver that bright, Sicilian dessert feeling in about 30 minutes total. Trust me, these are about to become your new favorite cookie exchange treat!
- Why These Are the Best Cannoli Cookies You Will Make
- Gathering Ingredients for Your Cannoli Cookies
- Step-by-Step Instructions for Perfect Cannoli Cookies
- Tips for Success Making Soft Ricotta Cookies
- Ingredient Notes and Substitution Options
- Make Ahead Christmas Cookies and Storage for Cannoli Cookies
- Serving Suggestions for These Italian Cookies
- Frequently Asked Questions About Cannoli Cookies
- Share Your Experience with These Cannoli Cookies
Why These Are the Best Cannoli Cookies You Will Make
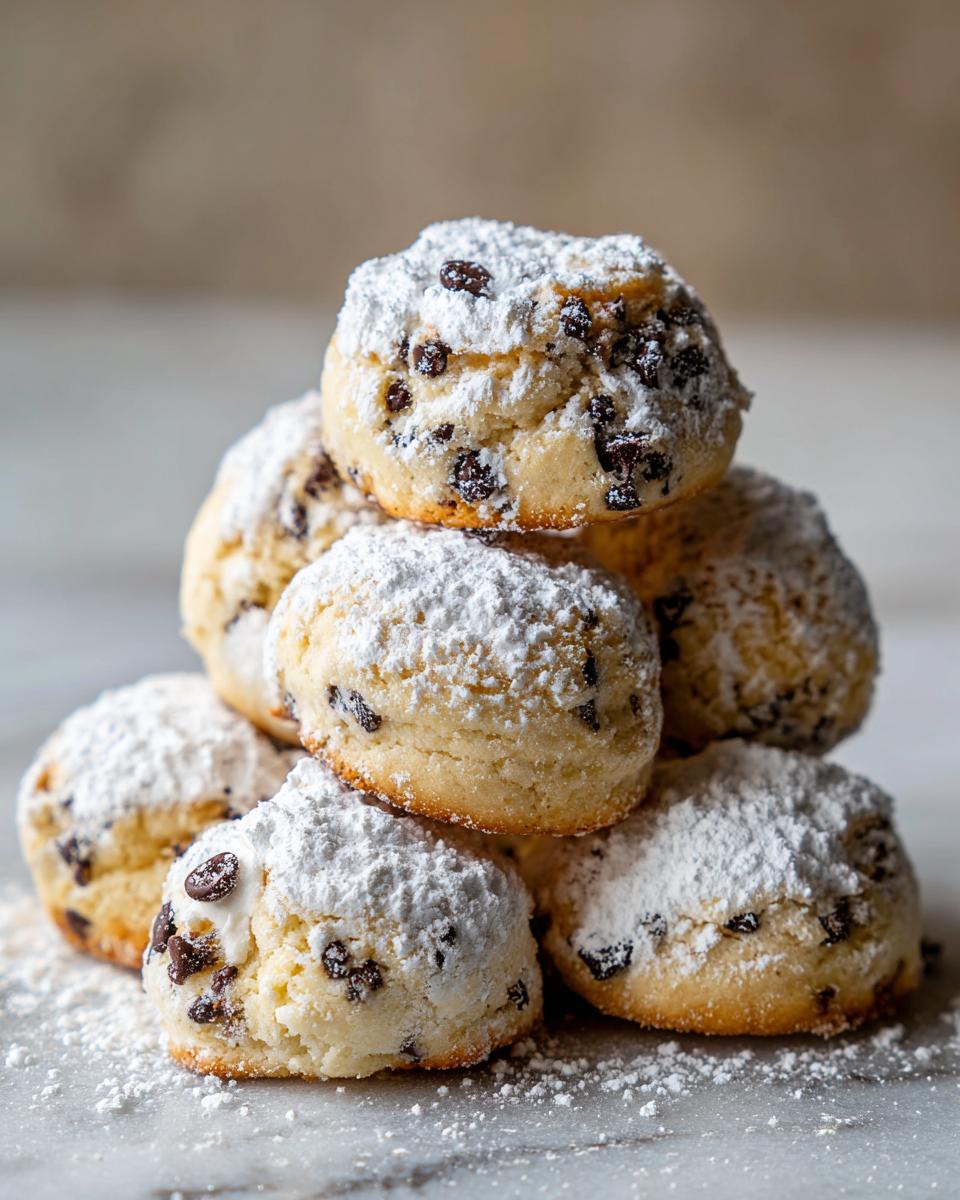
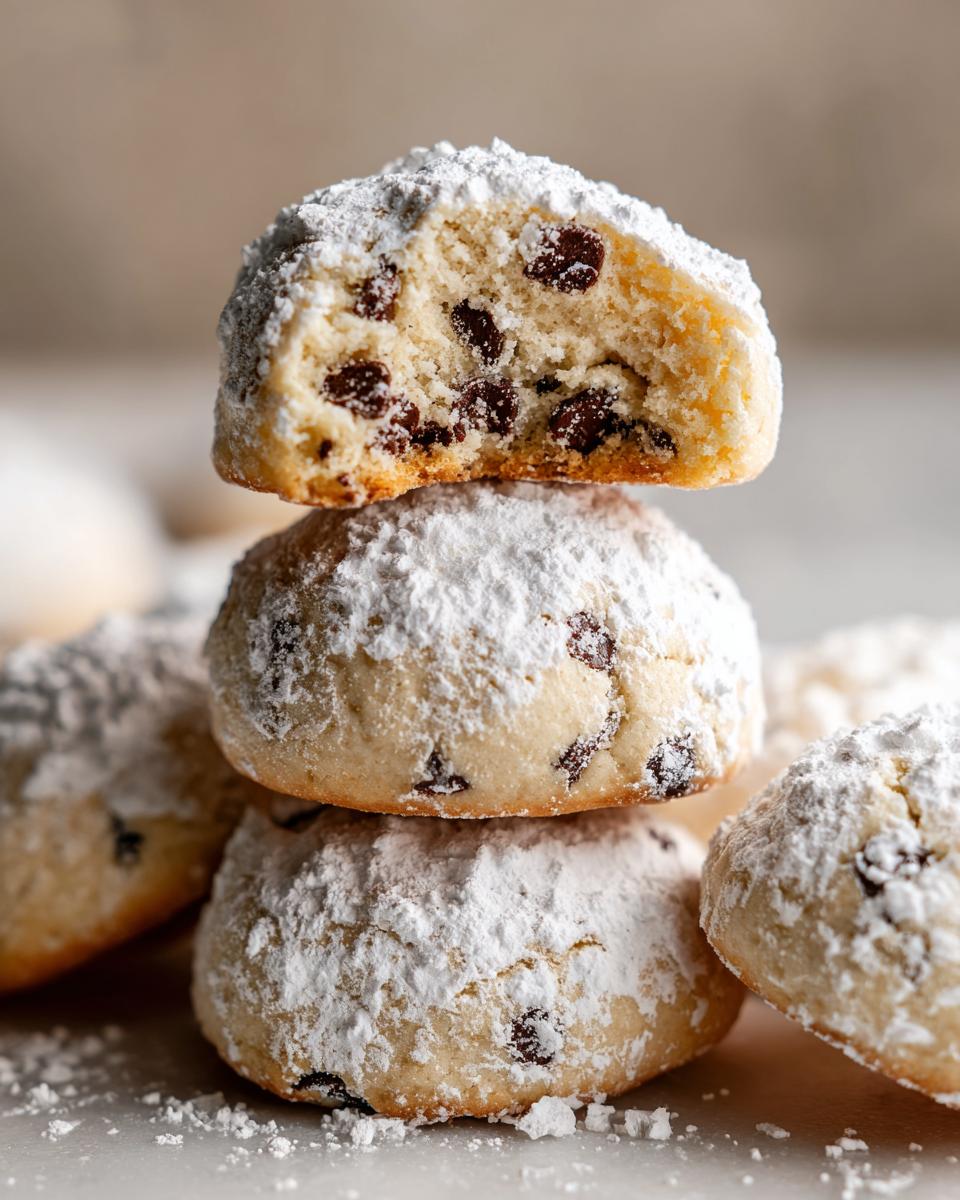
When I test a cookie recipe, I’m looking for that perfect blend of authentic flavor and real-world ease. These cannoli cookies nail it. They bypass the mess of cannoli shells completely but capture that incredible filling flavor. You get that soft, melt-in-your-mouth texture every single time.
- They are incredibly straightforward—no tricky piping needed!
- The texture remains wonderfully soft, even the next day.
- We use simple ingredients to pack a flavor punch.
Capturing Authentic Homemade Cannoli Flavor
It’s the ricotta, folks, that does all the heavy lifting here! That creamy texture, combined with a whisper of orange zest, gives you that genuine homemade cannoli flavor you can’t fake with store-bought frosting. Forget dealing with bubbling oil and breaking shells; this is the Sicilian dessert magic in cookie form.
Quick Prep for Party Dessert Ideas
In the spirit of giving you back time, these are phenomenal for last-minute needs. They come together fast enough to be quick dessert ideas, but they look fancy enough for any holiday tray. That makes them top-tier party dessert ideas, hands down.
Gathering Ingredients for Your Cannoli Cookies
Okay, let’s talk about what we need to assemble these wonderful Italian cookies. Since we are prioritizing that creamy, perfect texture that mimics the best part of a cannoli—the filling!—the ricotta cheese is our superstar. But listen to me closely: you absolutely MUST drain that ricotta. I mean it! If it’s wet, your cookies will spread into sad, flat puddles, and nobody wants that. We want soft ricotta cookies, not pancakes.
Because this recipe is so simple, the quality of what goes in really shines through. Here is exactly what you need to pull together these melt-in-your-mouth delights:
- 1 cup (2 sticks) unsalted butter, softened
- 1 cup granulated sugar
- 2 large eggs
- 1 teaspoon vanilla extract
- 1 teaspoon orange zest (optional, for authentic flavor)
- 1 cup whole milk ricotta cheese, well-drained
- 3 cups all-purpose flour
- 1 teaspoon baking powder
- 1/2 teaspoon salt
- 1/2 cup mini chocolate chips
- 1/4 cup chopped pistachios (optional, for topping)
- Powdered sugar, for dusting
Step-by-Step Instructions for Perfect Cannoli Cookies
This is where the magic happens! Grab your baking sheets and let’s get these cannoli cookies into the oven. Remember that well-drained ricotta? It’s time to put it to work. Everything moves quickly once you start creaming that butter, so have everything ready to go! We are aiming for that soft, chewy interior that makes these Italian cookies so addictive.
Preparing the Creamy Dough Base
First things first: fire up your oven to 350°F (175°C) and get those baking sheets lined with parchment paper. You want zero sticking later, trust me! In your mixing bowl, cream that softened butter and sugar until it gets lovely and fluffy. This traps the air we need! Next, beat in your eggs one at a time, then swirl in that vanilla and optional orange zest. Once those are combined, gently mix in your drained ricotta cheese. Stop mixing just as it comes together. If you beat the ricotta too long, you mess with the final texture!
Mixing and Shaping Your Cannoli Cookies
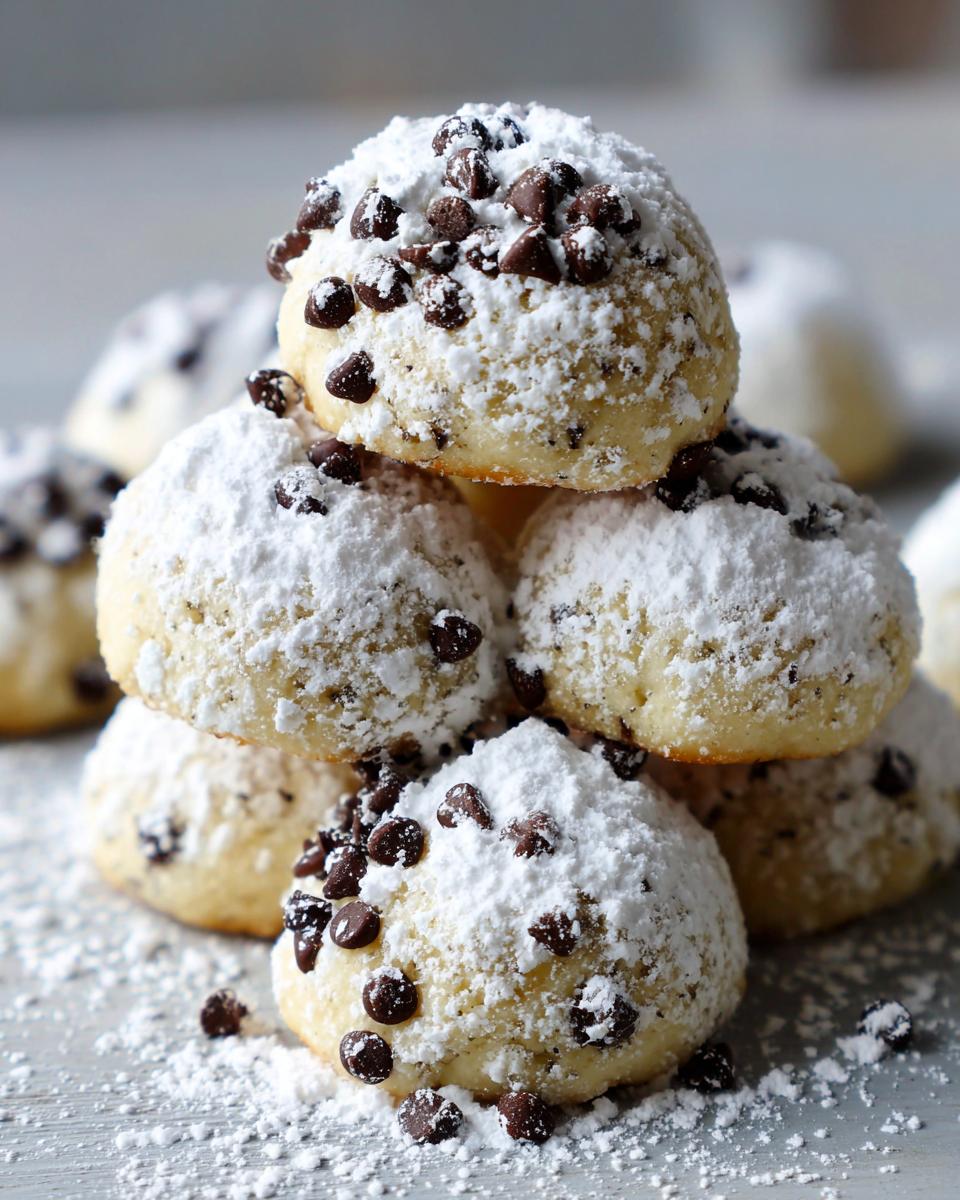
Now for the flour mixture. Whisk your flour, baking powder, and salt together separately. Slowly add those dry ingredients into your wet mix, keeping the mixer on low speed. You want just enough mixing so a soft dough forms—no more! Now, gently fold in those mini chocolate chips. Don’t crush them! Scoop out rounded tablespoons of dough—this recipe usually gives us around 24 cookies—and place them about 2 inches apart on the sheets.
Baking and Finishing Touches
Slide those trays into the oven. They only need 10 to 12 minutes. You’re looking for lightly golden edges, but the center should still look soft. That’s the secret to keeping them tender! Let them sit on the hot pan for five minutes—this lets them firm up slightly—then move them to a wire rack to cool completely. Once cooled? Dust them generously with powdered sugar. If you want that true bite of Sicily, sprinkle on some chopped pistachios now. They look stunning!
Tips for Success Making Soft Ricotta Cookies
I want every batch of these cannoli cookies you make to be absolutely perfect—soft, flavorful, and chewy. Achieving that bakery-style result really boils down to managing moisture. These are destined to be your favorite soft ricotta cookies because we treat the dairy right!
If you want that luxurious texture of creamy filled cookies without the cookies spreading thin, focus on two spots: the ricotta and the flour. We measure the flour without packing it down—a light scoop and level is best. If your dough feels too slack even after draining the ricotta, chill it for 15 minutes before portioning. A slightly chilled dough handles baking much better, keeping that nice dome shape!
Remember, a few extra minutes spent on draining the ricotta cheese saves you the headache of a totally flat cookie later. Don’t skip that crucial step, okay?
Ingredient Notes and Substitution Options
Now that you have made your first batch of glorious cannoli cookies, let’s talk about dialing in those flavors, especially if you need to swap something out. The core flavor profile here leans on the ricotta and whatever bright lift we give it. If you love those subtle fruity notes, keeping that touch of orange zest helps create true citrus cookies that match the authentic pastry.
For example, if you don’t have pistachios for the topping, chopped toasted almonds work just as beautifully! If you can’t find orange zest, use just 1/4 teaspoon of pure almond extract mixed in with the vanilla for a different, but still delicious, aromatic touch.
Ricotta Drainage: The Key to Perfect Cannoli Cookies
I know I sound like a broken record here—and I’ll apologize for that later—but we have to talk about the ricotta one more time! This isn’t just a fussy recommendation; it’s the structural secret to these cookies. Whole milk ricotta is usually thicker, so if you can find that, go for it. But no matter what kind you buy, you must drain it.
Why? Well, ricotta is essentially fresh cheese suspended in liquid whey. If you throw that liquid right into your cookie dough, the extra water gets released while baking. Instead of setting up into that perfectly soft, slightly dense cookie we want, the water leaches out, weakening the structure. The result? The cookies spread way too far, bake unevenly, and end up feeling gummy or just plain flat. We want that beautiful, creamy bite, and that only happens when the wet ingredients are thick and stable!
Make Ahead Christmas Cookies and Storage for Cannoli Cookies
The best part about having amazing cannoli cookies is that you don’t have to eat them all right away! Because these are already dairy-based cookies, they store beautifully, which is perfect when you’re trying to tackle your holiday baking list early. I know I love having ready-to-go treats stashed away for the season.
The recipe notes confirmed that the *dough* freezes wonderfully, making these prime candidates for make ahead Christmas cookies. You can scoop the dough balls, freeze them on a baking sheet until solid, and then transfer them to a large freezer bag. When guests pop over unexpectedly in December, you just toss a few frozen dough balls right onto a prepared sheet and add a few extra minutes to the bake time. How practical is that?
Once they are baked, these cannoli cookies are quite sturdy. They do well at room temperature for a few days in an airtight container, but if you want them around longer or you are worried about humidity (which can soften them up too fast), freezing the *finished* cookies works great too! Just make sure you separate the layers with wax paper, as I mentioned in the notes, so that beautiful dusting of powdered sugar doesn’t stick to the cookie below it. Keeping these cannoli cookies fresh means you always have a taste of Italy on hand!
Serving Suggestions for These Italian Cookies
Since these Italian cookies already capture that authentic, sweet center of a cannoli, they pair wonderfully with something slightly bitter or earthy to balance that richness. Honestly, a strong cup of espresso or a robust black coffee is my first choice—it really sings with the optional orange zest!
But when you’re serving a crowd, these Sicilian dessert recipes shine on a mixed platter. Mix them with some biscotti or maybe some fresh berries for color. They are soft enough to feel indulgent but sturdy enough that they won’t crumble all over your serving tray. A simple, stunning way to serve these cannoli cookies is alongside a bowl of thinly sliced fresh oranges for those who want an extra citrus boost!
Frequently Asked Questions About Cannoli Cookies
If you’re looking for answers to keep your batch of cannoli cookies absolutely perfect, you’ve come to the right place! Even when making what seems like one of the best cookie recipes, questions always pop up. Since these are a hybrid dessert, they sometimes need a little extra clarification, but don’t worry, they are still fantastic quick dessert ideas!
Can I skip the orange zest in these cannoli cookies?
You absolutely can skip the orange zest if you don’t have any on hand or aren’t a big citrus fan! It’s 100% optional, as noted in the ingredients. However, I have to tell you, that tiny bit of zest is what really transports you straight to Sicily. It cuts through the richness of the ricotta and complements the chocolate chips beautifully. Without it, you just have a really wonderful, rich ricotta cookie, but with it? That’s the authentic *cannoli* flavor coming through!
How do I get bakery style cookies texture?
Ah, aiming for that flawless, slightly dome-shaped, soft-but-set texture that the fancy bakeries have? That comes down to two things, my friend! First, you must measure your flour correctly—don’t pack the cup! Just scoop it lightly and level it off. Second, and this is the big one for all my cannoli cookies: you must ensure your ricotta is fully drained. If the ricotta is wet, the dough slumps in the oven, preventing that light, cake-like structure we are aiming for. A dry dough equals a perfect cookie!
Share Your Experience with These Cannoli Cookies
I truly hope you love making these cannoli cookies as much as I love perfecting them! They are such a fun, simple way to bring a little taste of Italian celebration into your own kitchen, no fancy equipment needed. Now that you’ve baked a batch, I really want to know what you think!
Did you try adding those chopped pistachios on top? Honestly, the slight crunch against that soft ricotta cookie is just divine—let me know in the comments if you experimented with any toppings or mix-ins!
- Did you find the drainage process for the ricotta was as important as I claim? (Spoiler: It is!)
- How quickly did these disappear at your house?
- What other classic Italian desserts should I try to turn into an easy cookie format next?
Please rate this recipe using the star system below—your feedback helps me keep delivering recipes that are delicious, intelligently nourishing, and genuinely practical for your busy life. And if you snap a picture while they are covered in that lovely powdered sugar dust, tag me! I love seeing your bakes. Happy cooking, everyone!
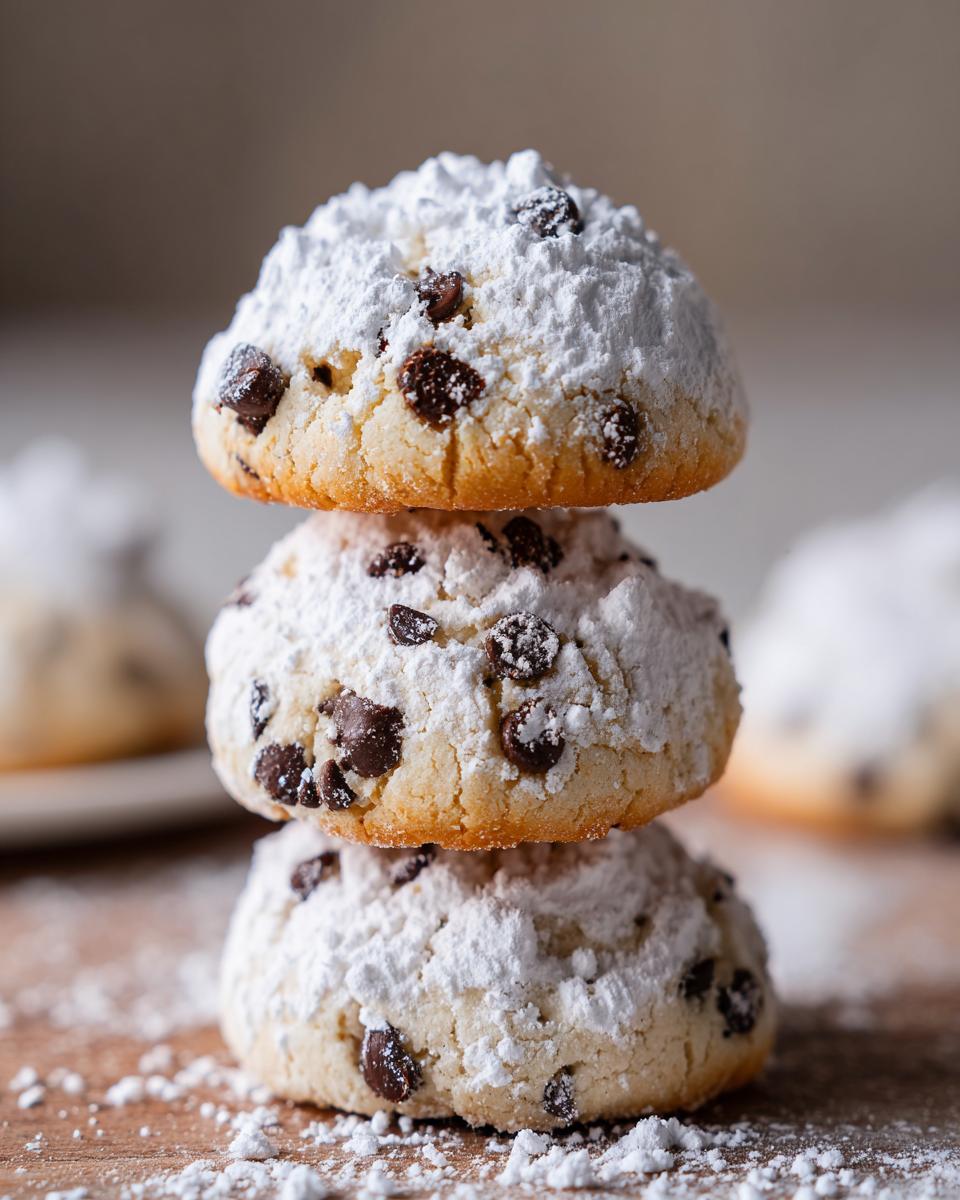
PrintEasy Ricotta Cannoli Cookies with Chocolate Chips

Make these easy ricotta cannoli cookies for a handheld Italian dessert experience. These soft cookies capture the classic cannoli flavor with creamy ricotta, mini chocolate chips, and a hint of citrus.
- Prep Time: 20 min
- Cook Time: 12 min
- Total Time: 32 min
- Yield: 24 cookies 1x
- Category: Dessert
- Method: Baking
- Cuisine: Italian
- Diet: Vegetarian
Ingredients
- 1 cup (2 sticks) unsalted butter, softened
- 1 cup granulated sugar
- 2 large eggs
- 1 teaspoon vanilla extract
- 1 teaspoon orange zest (optional, for authentic flavor)
- 1 cup whole milk ricotta cheese, well-drained
- 3 cups all-purpose flour
- 1 teaspoon baking powder
- 1/2 teaspoon salt
- 1/2 cup mini chocolate chips
- 1/4 cup chopped pistachios (optional, for topping)
- Powdered sugar, for dusting
Instructions
- Preheat your oven to 350°F (175°C). Line baking sheets with parchment paper.
- In a large bowl, cream together the softened butter and granulated sugar until light and fluffy.
- Beat in the eggs one at a time, mixing well after each addition. Stir in the vanilla extract and orange zest, if using.
- Mix in the drained ricotta cheese until just combined. Do not overmix.
- In a separate bowl, whisk together the flour, baking powder, and salt.
- Gradually add the dry ingredients to the wet ingredients, mixing on low speed until a soft dough forms. Fold in the mini chocolate chips.
- Drop rounded tablespoons of dough onto the prepared baking sheets, leaving about 2 inches between each cookie. You can gently roll them into balls first.
- Bake for 10 to 12 minutes, or until the edges are lightly golden. The centers should remain soft.
- Let the cookies cool on the baking sheet for 5 minutes before transferring them to a wire rack to cool completely.
- Once cool, dust generously with powdered sugar before serving. Add chopped pistachios if desired.
Notes
- Drain your ricotta cheese well using a fine-mesh sieve lined with cheesecloth for at least 30 minutes to prevent overly soft cookies.
- For a make-ahead Christmas cookie option, the dough can be chilled for up to 3 days before baking.
- These cookies freeze well after baking; store them in an airtight container between layers of wax paper.
Nutrition
- Serving Size: 1 cookie
- Calories: 190
- Sugar: 14g
- Sodium: 95mg
- Fat: 10g
- Saturated Fat: 6g
- Unsaturated Fat: 4g
- Trans Fat: 0g
- Carbohydrates: 22g
- Fiber: 1g
- Protein: 4g
- Cholesterol: 35mg