
Oh, I know this pain! You spend hours cutting out perfect little shapes, baking them, and then you finally get to the fun part—decorating—only to watch your beautiful design turn into a sticky, smudgy mess hours later. It is the *worst*, right? Well, trust me here today because I finally nailed the solution. I’m sharing what I call The Ultimate Sugar Cookie Icing Recipe That Dries Firm and Glossy. As someone who is building a life around practical, delicious results, like everything here at MayaPlate, this philosophy is designed to work perfectly without fuss. You deserve a sugar cookie icing recipe that sets solid so you can stack those holiday cookies or bring them to a party without worrying about ruining the design!
- Why This Sugar Cookie Icing Recipe Sets Firm and Glossy
- Gather Your Ingredients for the Perfect Sugar Cookie Icing Recipe
- Step-by-Step Instructions for This Easy Cookie Icing Recipe
- How to Make Sugar Cookie Icing Set: Drying and Finishing
- Tips for Success with Your Sugar Cookie Icing Recipe
- Serving Suggestions for Decorated Cookies Using This Icing for Cut Out Cookies
- Frequently Asked Questions About This Glossy Sugar Cookie Glaze
- Estimated Nutritional Data for Powdered Sugar Icing Recipe Hardening
- Share Your Masterpiece: Rate This Simple Cookie Frosting Recipe
Why This Sugar Cookie Icing Recipe Sets Firm and Glossy
Let’s talk about the biggest frustration in cookie decorating: the stickiness! If you’ve ever had icing that just refused to dry, leaving you with half-finished cookies that smear the moment you look at them, I totally get it. That won’t happen here. My goal was to create an easy cookie icing recipe that delivers that crisp, professional finish you see in bakeries, without any of the fuss of complicated techniques.
The reason this particular cookie frosting that hardens works so reliably comes down to one magical ingredient: meringue powder. It’s the binder that turns simple powdered sugar into something durable.
The Secret to a Professional Cookie Frosting That Hardens
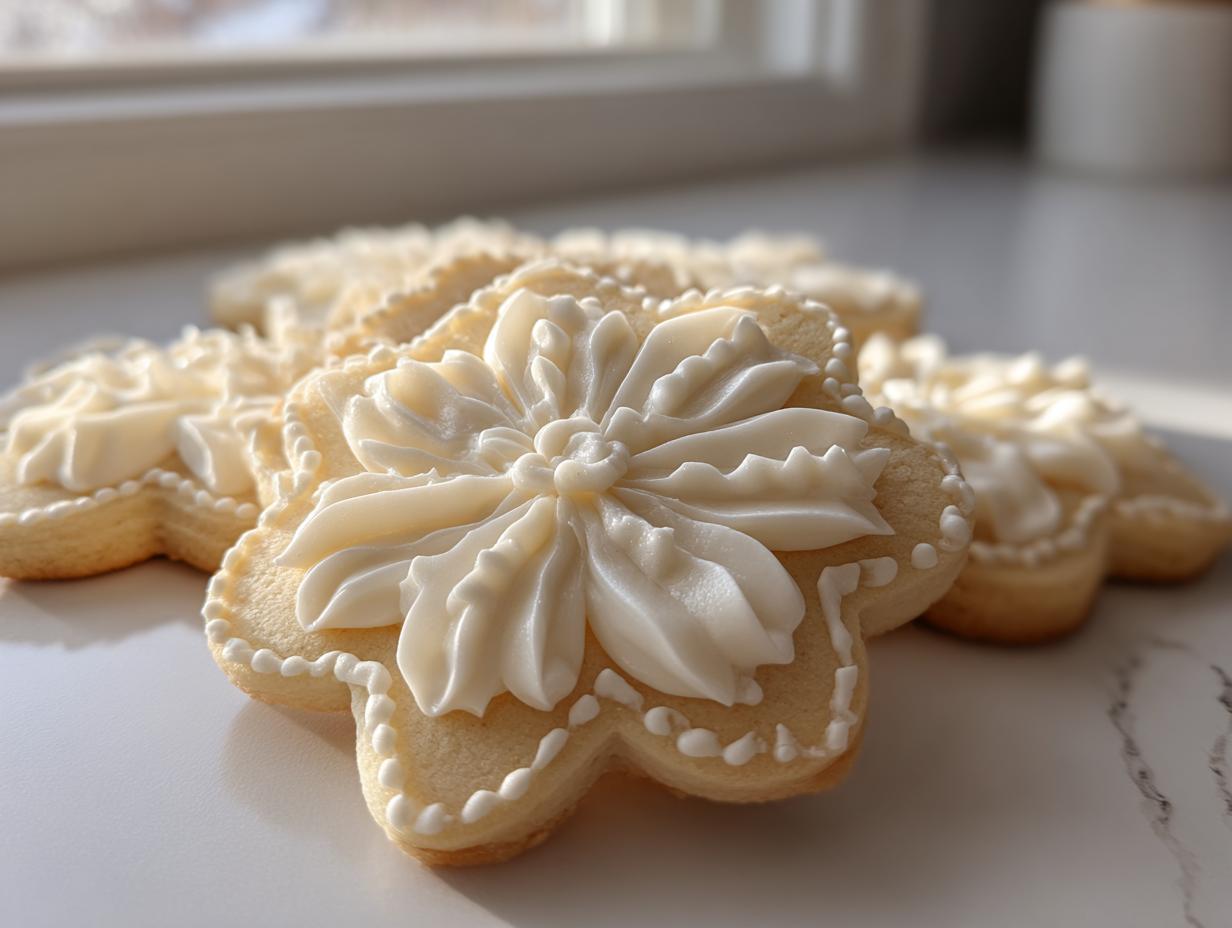
Meringue powder is the key component that makes this icing set solid. Think of it as a simplified version of the famous royal icing recipe for cookies. While traditional royal icing uses raw egg whites—which can make some folks nervous—meringue powder gives us that glorious stabilization and structure. It dries beautifully hard and glossy, meaning those detailed edges you pipe will stay exactly where you put them!
Gather Your Ingredients for the Perfect Sugar Cookie Icing Recipe
Alright, let’s get these simple ingredients out on the counter! Preparing this powdered sugar icing recipe hardening is almost faster than brewing coffee. The beauty of this recipe is that it uses staple pantry items, but the quantities are exactly what you need for that firm structure.

Make sure you have everything ready before you start mixing; once you add the water, you need to get moving! Remember, precision matters here, just like in any good baking project.
Ingredient Notes and Substitutions for Cookie Frosting That Hardens
First up: That powdered sugar needs to be sifted! I cannot stress this enough. If you skip sifting, you’ll end up with little lumps that fight you later when you’re trying to get that smooth cookie frosting technique.
The meringue powder is absolutely non-negotiable if you want that perfect dry finish. It’s what gives this frosting the ability to set solid—it’s our main tool for making sure this isn’t just some sticky glaze. If you’re new to a few of these techniques, you might want to check out some general baking tips before you start. Oh, and for liquids? Use water if you can. While milk results in a slightly softer set, water gives you that crisp finish every time.
Step-by-Step Instructions for This Easy Cookie Icing Recipe
Getting this amazing icing for cut out cookies ready is straightforward, but pay attention to those whipping times! When you are aiming for an easy cookie icing recipe that actually sets hard, you can’t just stir it gently. We need to whip the air in! Grab your mixer—a hand mixer works fine, but if you have a stand mixer, use that. Start slow so you don’t end up with a powdered sugar cloud floating around your kitchen! We are aiming for that great end result, similar to some of the balanced meals you find for quick help during the week, like those simple weeknight dinners I’ve shared.
You’ll combine the dry stuff first, then add the vanilla and the starting amount of water. That initial low-speed mix is just to incorporate everything without making a huge mess. We are building towards that perfect, smooth icing that shows off great technique.
Achieving Piping Consistency for Outlining
Once everything is barely mixed, crank that mixer up to medium-high speed and let it churn for about three to five minutes. This is where the magic happens! You’re looking for what we call ‘piping consistency.’ Visually, this means the icing should look smooth, glossy, and hold a soft peak when you lift the whisk. If you pull the whisk out, the peak should stand up but maybe curl over just a tiny bit at the very top. This stiffness is what gives you those sharp, clean outlines on your cookies, perfect for professional results!
Thinning the Icing to Flooding Consistency for a Smooth Cookie Frosting Technique
If you’re just doing borders, you might be done here, but for that beautiful, smooth finish you want, we need to thin some of it out for flooding. To switch to ‘flooding consistency,’ you slowly add water, usually one teaspoon at a time. Keep mixing until that icing slowly drips off your spoon in one long, unbroken ribbon. If that ribbon sinks back into the bowl and disappears in about 10 seconds? Perfect! That’s the consistency crucial for that smooth cookie frosting technique that fills in gaps beautifully and ensures the base layer dries hard.
How to Make Sugar Cookie Icing Set: Drying and Finishing
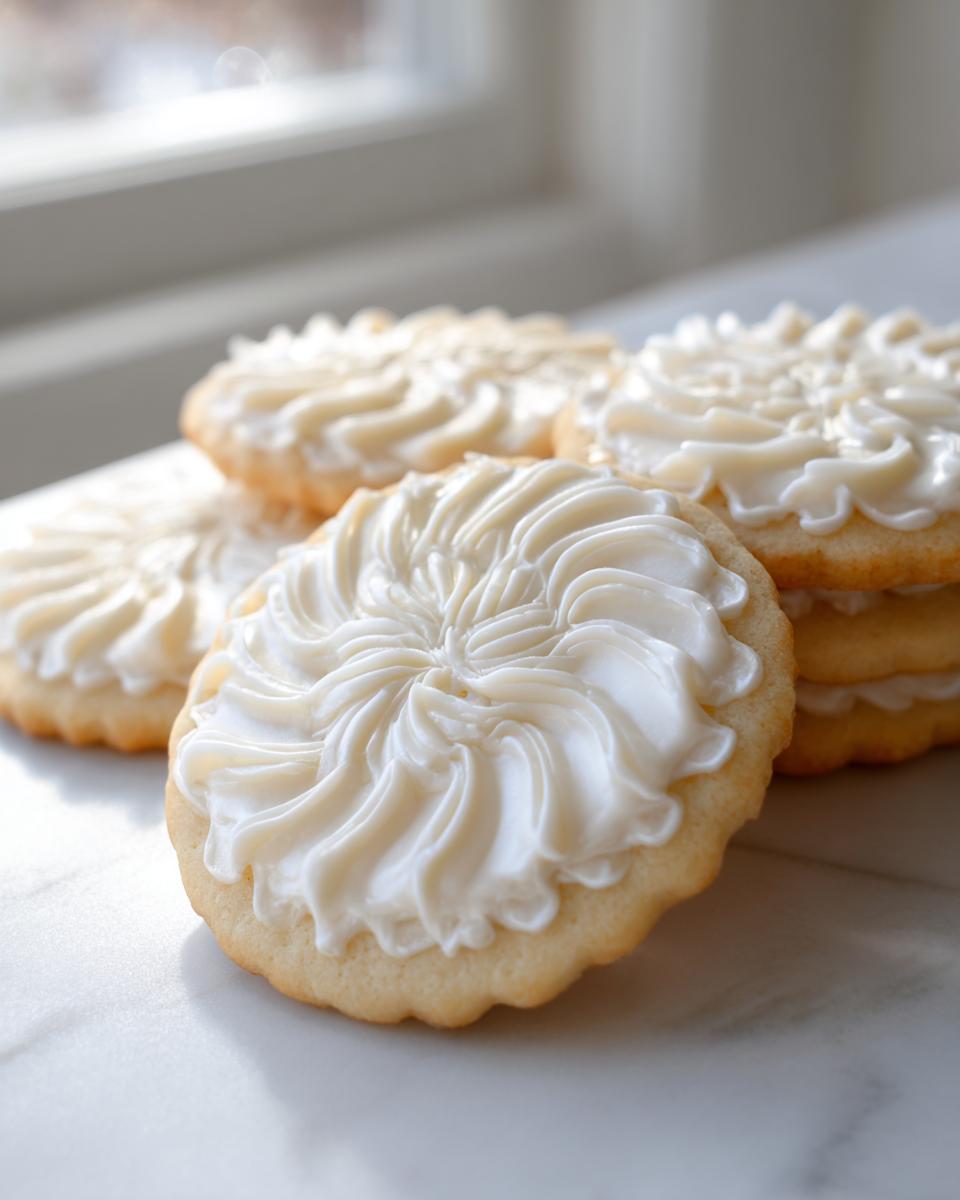
Okay, you’ve outlined, you’ve flooded, and now comes the agonizing wait! But because we used that meringue powder magic, this waiting game is much easier than with standard powdered sugar icing. We aren’t aiming for tacky like drying paint; we want that rock-solid, slightly shiny surface. Typically, I line my decorated cookies up on a baking sheet, leaving them completely uncovered at room temperature. If you’re working in low humidity, they might be dry enough to stack in just four or five hours, but honestly? I always wait overnight.
Seeing that final result is the best part. I remember the first time I tried a recipe that promised to harden and actually delivered—it was a game-changer! When you press lightly on the surface the next morning and it feels like glass, completely firm with that lovely, satisfying, glossy sugar quality? That’s when you know you’ve succeeded with an icing that sets solid!
Tips for Success with Your Sugar Cookie Icing Recipe
Even with the best sugar cookie icing recipe, sometimes things don’t turn out exactly how we hoped, right? Don’t sweat it! These little troubleshooting pointers should help you nail that professional look every single time so you won’t have to contact me over there at MayaPlate asking for help!
If you notice your icing starts looking a little sad or weepy a day later, it usually means you added just a tiny bit too much liquid when you were thinning it the first time around. That’s why I always preach adding water *one teaspoon* at a time! When dealing with humidity, you might need less liquid than the recipe calls for.
Coloring and Storing Leftover Icing That Dries Hard
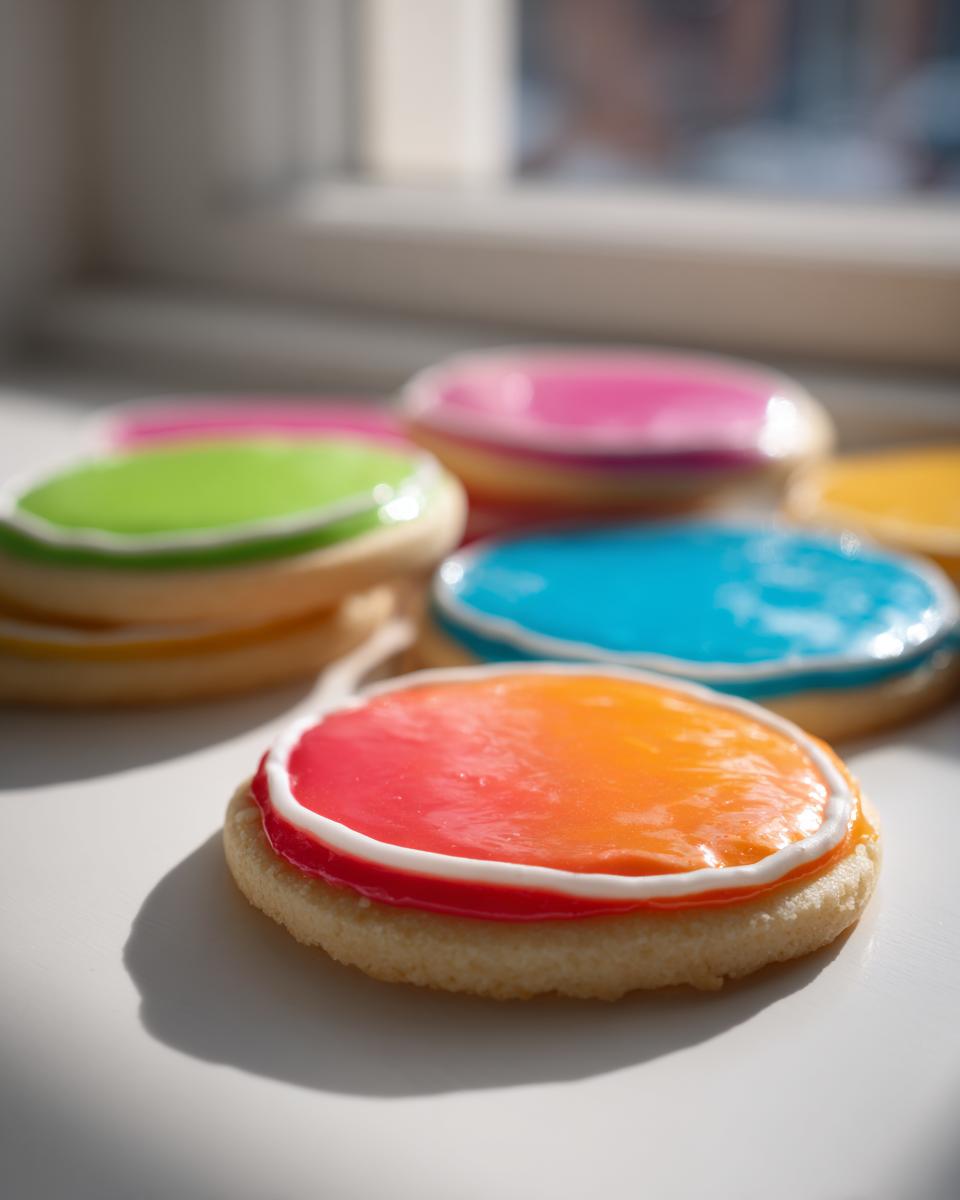
If you plan on coloring your icing—and who doesn’t?—please use gel food coloring, not the liquid drops you stir into cake batter. Those liquid drops sneak in far too much water, which messes up our goal of getting a frosting that hardens perfectly. A toothpick dipped into a gel paste gives you intense color without compromising the structure.

When you have leftovers, keep the icing airtight at room temperature for up to two days. Seriously, do NOT put this icing in the fridge! The condensation that builds up when you bring it back out is what causes that dreaded weeping where little beads of moisture form on your gorgeous, hard icing.
Serving Suggestions for Decorated Cookies Using This Icing for Cut Out Cookies
Because this icing dries firm, these decorated cookies are truly party-ready! You don’t have to worry about them sticking together when you stack them up for transport or storage. This is where using this specific icing for cut out cookies really pays off.
I love making these extra-sturdy cookies for gifting during the holidays; just slide them into cellophane bags tied with a pretty ribbon, and they look so professional. They also hold up beautifully when you need to ship cookies across the country! If you’re looking for the perfect cookie base to decorate with this amazing frosting, make sure you check out my favorite classic sugar cookie dough recipe over in my delicious dessert recipes section.
Frequently Asked Questions About This Glossy Sugar Cookie Glaze
I always get so many questions about this icing because once you nail the technique, you’ll never go back! People want to know how to get that beautiful, professional edge without the mess. Here are some of the questions I hear most often about making this glossy sugar cookie glaze work perfectly.
Can I use milk instead of water in this sugar cookie icing recipe?
That’s a great question! You absolutely can technically swap the water for milk in this sugar cookie icing recipe, especially if you prefer a slightly richer base flavor for your frosting. But, and this is important for the goal of hardening, water generally yields a harder, glossier finish typical of true royal icing. Milk sometimes introduces a little more fat and moisture that can keep the surface slightly softer.
How long does it take for this cookie frosting that hardens to dry completely?
Drying time always depends on the weather in your kitchen—humidity is the enemy here! If the air is dry, you might see a firm, hard shell in just a few hours at room temperature. But I always recommend leaving them out undisturbed for at least eight hours or, ideally, overnight. Giving it that full time ensures your cookie frosting that hardens is ready for stacking and gifting without any worry of smudging!
What is the best way to thin this icing for detailed cookie decorating?
Thinning is all about patience! If you need to switch from the piping consistency (for outlining) to the filling consistency—what we call flooding—the best way is methodically. You add water, which is the thinning agent, one teaspoon at a time, mixing slowly after each addition. You stop when the icing drips off your spoon in that slow, continuous ribbon. That specific flow means you’ve achieved the perfect texture for filling large areas without creating weak spots that prevent it from setting solid—that’s the secret to smooth centers!
Estimated Nutritional Data for Powdered Sugar Icing Recipe Hardening
Now, I know that when we’re whipping up batches of gorgeous, glossy icing, nutrition isn’t usually the first thing on our minds, but since we’re all about making informed choices here at MayaPlate, I wanted to include the estimated numbers for this powdered sugar icing recipe hardening. I always use my background in nutrition to create recipes that taste indulgent but are built on whole, transparent ingredients!
Keep in mind these figures are just an estimate based on the core ingredients in this sugar cookie icing recipe. If you use a different brand of meringue powder or maybe swap out some of the vanilla, the numbers will shift a little bit. But this gives you a great, honest starting point so you know exactly what you’re serving up!
- Serving Size: 1/4 cup
- Calories: 180
- Sugar: 45g
- Sodium: 5mg
- Fat: 0g
- Saturated Fat: 0g
- Unsaturated Fat: 0g
- Trans Fat: 0g
- Carbohydrates: 45g
- Fiber: 0g
- Protein: 1g
- Cholesterol: 0mg
If you’re looking at ways to balance this sweet treat, pairing it with one of my less sweet cookie bases or perhaps serving it alongside some fresh fruit can work wonders. It’s all about balance, right?
Share Your Masterpiece: Rate This Simple Cookie Frosting Recipe
Now that you have the secret to that beautifully glossy, perfectly hard sugar cookie icing recipe, I really want to see what you create! Seriously, when you see that icing set rock-solid for the first time, you’ll be glowing, and I want to share in that win with you. Whether you made a complex holiday design or just a simple colorful border, your work deserves to be shown off!
Please take a moment to leave a star rating for this simple cookie frosting recipe right underneath this post. Every rating helps other home bakers who are tired of sticky messes feel confident enough to try this method. Did it set hard on the first try? Did you love how easy it was? Let me know!
If you’re looking for more practical, flavor-packed recipes developed for busy lives—because who has time for fussy food anyway?—dive into my collection of simple weeknight dinners. But first, tell me about your cookies! Tag me on social media with your finished treats so I can share your professional-looking results!
PrintThe Ultimate Sugar Cookie Icing Recipe That Dries Firm and Glossy

Make professional-looking sugar cookies with this easy recipe for icing that hardens perfectly. This smooth, glossy frosting sets solid, making it ideal for cut-out cookies and detailed decorating.
- Prep Time: 10 min
- Cook Time: 0 min
- Total Time: 10 min
- Yield: Enough icing for 2 dozen medium cookies
- Category: Dessert
- Method: Mixing
- Cuisine: American
- Diet: Vegetarian
Ingredients
- 4 cups powdered sugar, sifted
- 3 tablespoons meringue powder
- 1 teaspoon vanilla extract
- 6 to 8 tablespoons water (or milk)
Instructions
- In a medium bowl, whisk together the sifted powdered sugar and meringue powder until fully combined.
- Add the vanilla extract and 6 tablespoons of water to the dry ingredients.
- Beat the mixture with an electric mixer on low speed until the ingredients are just combined. Scrape down the sides of the bowl.
- Increase the mixer speed to medium-high and beat for 3 to 5 minutes until the icing is smooth and holds medium peaks. This consistency is known as ‘piping consistency.’
- If the icing is too thick to pipe easily, add water, one teaspoon at a time, until you reach the desired flow. If it is too thin, add a small amount of sifted powdered sugar.
- To achieve a thinner ‘flooding consistency’ for filling in large areas, add 1 to 2 teaspoons more water until the icing slowly drizzles off a spoon in a continuous stream.
- Color the icing using gel food coloring, if desired.
- Use the icing immediately for outlining and flooding your sugar cookies. Allow the first layer to dry completely before adding details.
- Let the decorated cookies sit uncovered at room temperature for several hours, or overnight, until the icing sets completely hard and glossy.
Notes
- For a professional, glossy finish that hardens completely, meringue powder is key; it acts as a stabilizer, similar to traditional royal icing.
- If you skip the meringue powder, your icing may remain soft or sticky.
- To store leftover icing, place it in an airtight container at room temperature for up to two days. Do not refrigerate, as this can cause the icing to weep.
- If you need to thin the icing for flooding, use water sparingly. Too much liquid prevents the icing from setting hard.
Nutrition
- Serving Size: 1/4 cup
- Calories: 180
- Sugar: 45
- Sodium: 5
- Fat: 0
- Saturated Fat: 0
- Unsaturated Fat: 0
- Trans Fat: 0
- Carbohydrates: 45
- Fiber: 0
- Protein: 1
- Cholesterol: 0