
There is nothing—and I mean *nothing*—quite like pulling a loaf of crusty, homemade bread out of your oven. It smells like history and health mixed together! Getting that beautiful loaf starts with one tiny, magical thing, and that’s where we begin in the MayaPlate kitchen: creating your very own sourdough starter. For years, I thought this process was too mysterious or too demanding for my busy schedule, but after studying nutrition and finding ways to bring goodness back to my table practically, I cracked the code. Forget anything complicated; this is the easiest, most reliable way to build a strong, wild yeast culture from just flour and water. You’re going to see that the foundation for amazing bread is much simpler than you think. Ready to start your baking journey? We’ll be using simple ingredients perfect for that no-knead bread you’ll make next!
- Why Creating Your Own Sourdough Starter is Essential for Beginners
- Ingredients and Equipment for Your Sourdough Starter
- Step-by-Step Guide: How to Make Sourdough Starter From Scratch
- Tips for Success When Developing Your Sourdough Starter
- Maintaining Your New Active Sourdough Starter: Sourdough Starter Care
- Sourdough Starter Troubleshooting: Solving Common Beginner Issues
- Understanding Different Types of Sourdough Starter
- Frequently Asked Questions About Your Sourdough Starter
- Nutritional Snapshot of Your Homemade Sourdough Starter
- What to Bake Next With Your New Sourdough Starter
Why Creating Your Own Sourdough Starter is Essential for Beginners
You might be wondering why I bother making my own sourdough starter when you can often grab one from a friend. Honestly, making it yourself is the best way to understand the process and get a truly vigorous culture going! This is the cornerstone of all good sourdough baking, folks—these are your sourdough basics for beginners. We are capturing that natural wild yeast culture right in your kitchen. It builds confidence because you know exactly how healthy and active your leaven is going to be, which means successful bread later on.
The Sourdough Starter Timeline: What to Expect
Don’t let the idea of ‘culturing’ scare you; it’s mostly just waiting! Generally, you are looking at about seven days for a fully active starter. We’ll track it day by day, which makes that whole week fly by faster than you think. You’ll see changes daily, and trust me, reaching that peak activity feels like a huge win!
Ingredients and Equipment for Your Sourdough Starter
Okay, this is where MayaPlate really shines because we keep things incredibly straightforward. You don’t need fancy starters, exotic flours, or complicated warming mats. Building your sourdough starter from scratch only requires two things: flour and water. But having the right tools makes watching the magic happen so much easier. Clarity in ingredients means trust in the process, so let’s go over exactly what you need before Day One!
Essential Equipment for Creating a Sourdough Starter
Don’t try to eyeball this, especially in the beginning. This whole process relies on ratios, and precision is our friend right now.
- A clean glass jar, at least a quart size. Make sure it’s clear! Watching those bubbles form is half the fun, and you need to see what’s happening at the bottom.
- A small kitchen scale is a must. Measuring by weight is way more accurate than volume for this, trust me on this one.
- A rubber spatula for mixing. It gets all that sticky flour off the sides of the jar really well.
- A breathable cover. You don’t want an airtight seal, or you might end up with a pressurized jar situation—and nobody wants that messy clean-up! A coffee filter or a piece of cheesecloth secured with a rubber band works perfectly.
Ingredient Notes and Best Flour for Sourdough Starter
We are starting with a 50/50 ratio of flour to water, but the type of flour we use first actually matters a lot!
For the very first day, you want to use something hearty. This is where my nutrition background comes into play: whole grain flour, like rye or whole wheat, has more of the natural microorganisms attached to the bran, which wakes up our little culture faster. I recommend 50 grams of whole grain flour for that kickstart.
After Day One, we switch primarily to unbleached all-purpose flour because it’s what you’ll likely use for feeding later. And here’s a big one: water quality! If your tap water is heavy on chlorine, it can actually hurt the yeast trying to grow. If you know your tap water is heavily treated, grab some filtered or bottled water. It just ensures those wild yeast cultures have the friendliest environment possible.
Step-by-Step Guide: How to Make Sourdough Starter From Scratch
Here we go! Following these steps on exactly how to make sourdough starter is the most important part of your whole journey. Don’t stress if things seem slow at first; we are actively encouraging the growth of your wild yeast culture. Remember, this is all about creating a sourdough starter that is robust enough for real baking. We’re using the measurements provided in our ingredient list—consistency is key! For more background on why these ratios work so well, you can always check out my philosophy on practical cooking over on my About Page. If you’re getting stuck on why Day 2 looks different from Day 1, this resource on creating a starter from scratch over at Earth, Food, and Fire is super helpful too.
Days 1 through 3: Initial Activation of Your Sourdough Starter
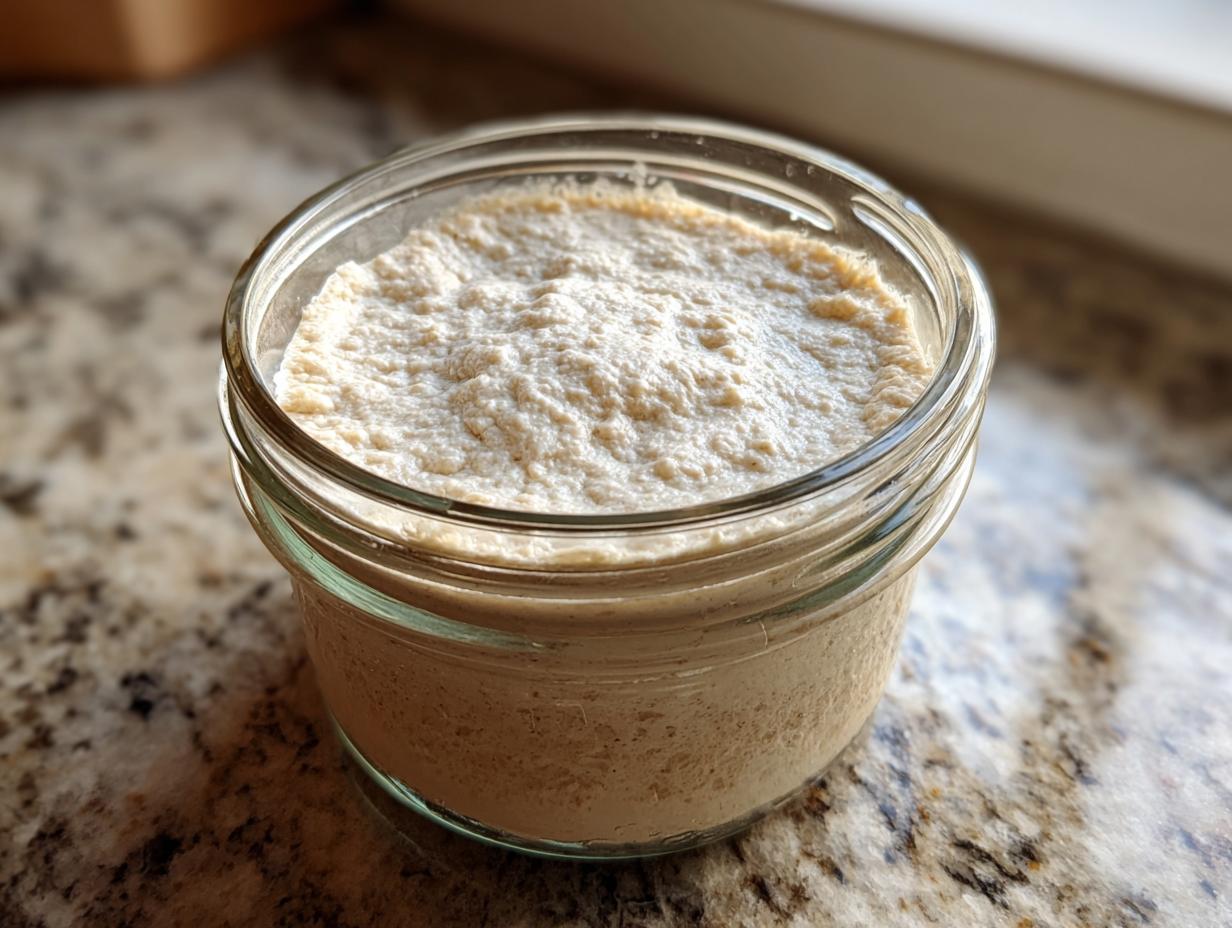
Day 1: Get your jar, dump in 50g of that hearty whole grain flour we talked about and 50g of room-temperature water. Stir it like you mean it until there are no dry bits left. Pop that loose lid on and put it somewhere that stays cozy, ideally between 68° and 75°F. Don’t worry if it smells a little earthy.
Day 2: You might see a few tiny bubbles, or you might see nothing—totally normal! Today, we discard half of what’s in the jar. Then, feed what’s left with 50g of your regular all-purpose flour and 50g of water. Mix it up, cover loosely, and wait another 24 hours.
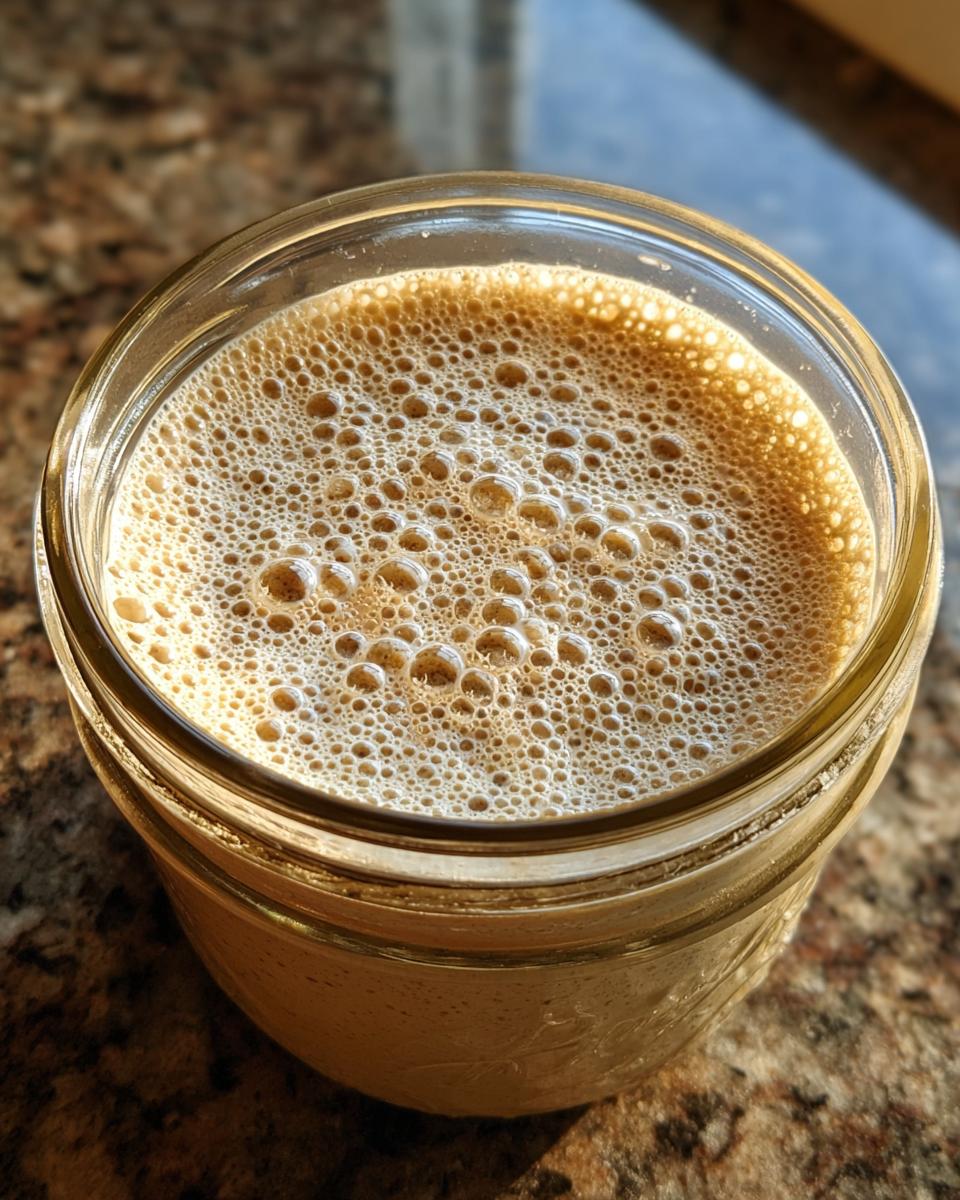
Day 3: By now, you should be seeing some tentative bubbles! Repeat the discard-half and feed-50/50 routine. We are building strength here!
Days 4 through 7: Achieving an Active Sourdough Starter Recipe
Things start getting exciting around Day 4! If you see good bubbles, we switch to a 12-hour feeding schedule—that means feeding twice a day. You’ll discard all but about 50g of your starter, then immediately feed it 50g of white flour and 50g of water.
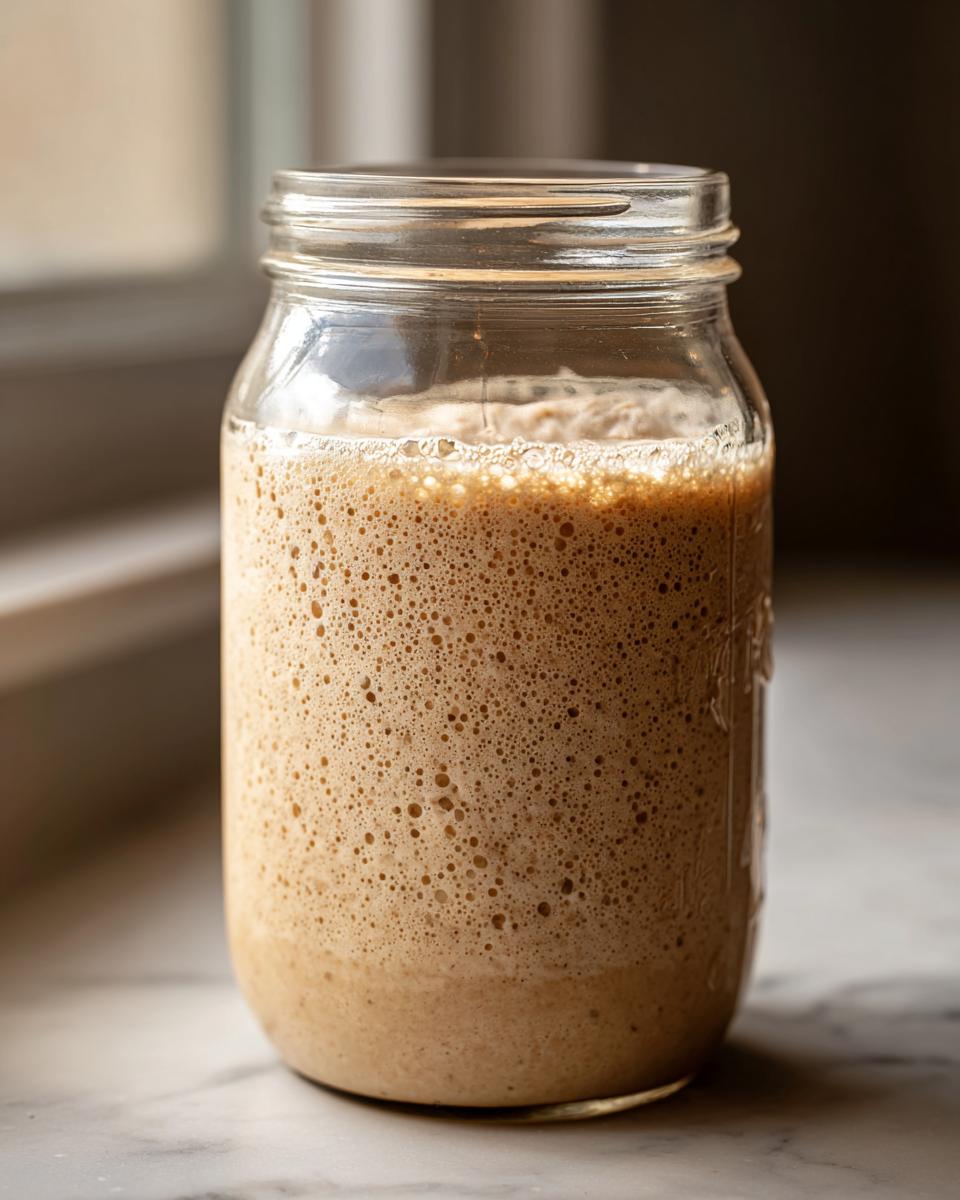
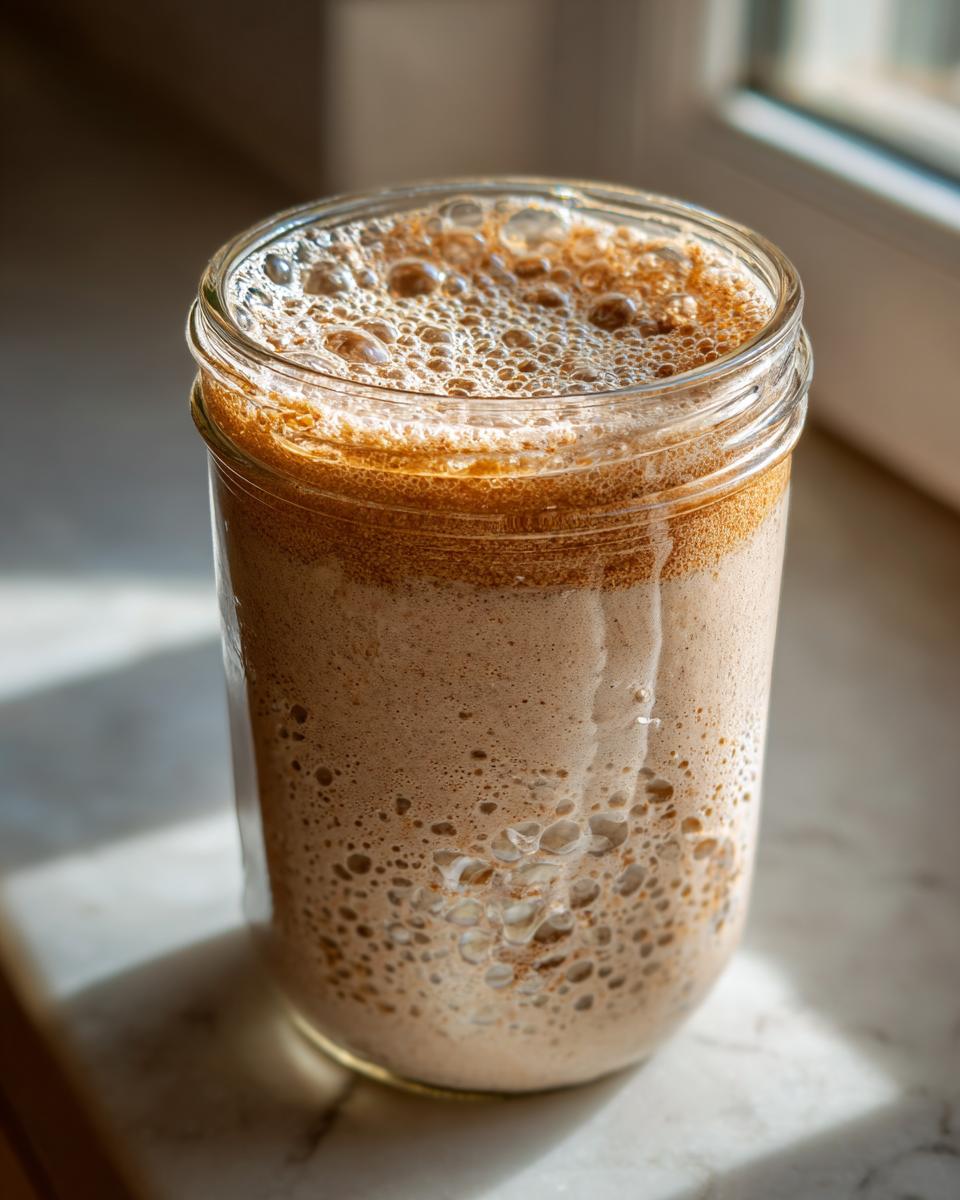
Keep doing this every 12 hours until you hit your goal. Your goal for an active sourdough starter recipe is simple: the starter must reliably double in size within 4 to 8 hours after every feeding. When it’s peaking high and full of beautiful bubbles right before it starts to deflate, *that’s* when you know it’s ready to bake with!
Tips for Success When Developing Your Sourdough Starter
Look, even following the best sourdough starter guide perfectly doesn’t erase the fact that yeast is a living thing! Temperature is probably the biggest factor that throws people off in their first week of creating a sourdough starter. If your kitchen is a little chilly, say below 70°F, your activity will slow way down. Don’t panic and add mounds of flour! Just be patient; it might take 10 full days instead of seven before you see that doubling action. On the flip side, if your kitchen is super warm, things move fast, so you might need to switch to feeding every 12 hours sooner than I wrote!
Now, let’s talk about the dreaded ‘hooch.’ This sometimes shows up around Day 4 or 5. It’s that thin layer of dark, grayish liquid sitting right on top of your starter. People think the starter has gone bad, but nope! That’s just a sign your culture is hungry! It’s a beautiful sign of active fermentation, but it means the yeast has eaten all the food we gave it. My advice is to just stir it right back in, give it a robust feed immediately, and maybe increase your subsequent feeding frequency. If you want some really helpful visual clues on what to look for in a successful starter, this guide is fantastic for troubleshooting those first few days.
Another quick tip for keeping things reliable: always feed with the same ratio once you hit the regular feeding schedule. Whether you’re doing 1:1:1 (equal parts starter:flour:water) or 1:2:2, stick to it once established. Consistency is what convinces those wild yeasts that your kitchen is the best place to live. For an easy, fluffy starter recipe to guide you through the appearance hiccups, check out the great resource I found over at here!
Maintaining Your New Active Sourdough Starter: Sourdough Starter Care
Congratulations! You’ve passed the seven-day hurdle and you now have a vibrant, bubbly starter—your very own wild yeast culture. But now what? You can’t just leave it alone on the counter, or you’ll end up back at square one! Sourdough starter care is mostly about routine, and honestly, it gets easier than making it from scratch. The biggest decision you’ll make now is where it lives: on the counter or in the fridge.
If you plan on baking every day or every other day, keep it on the counter. This means you’ll need to do a daily feeding sourdough starter routine. If you’re busy—which, let’s face it, we all are—the fridge is your best friend! Storing it cold slows down fermentation drastically. You only need to feed it once a week if it’s chilling out in the refrigerator. Just pull it out the day before you plan to bake, give it one or two feeds at room temperature to wake it up, and it’ll be ready to go!
Before you feed it, regardless of where it lives, you’ll want to look at how you can use that discard! I hate waste, so I always try to repurpose the portion I remove. I have a recipe for amazing sourdough pancakes made just from the discard—it’s fantastic for breakfast!
The Essential Discard Rule for Sourdough Starter
This is the part that seems cruel, but it is absolutely necessary for your starter’s health. You have to get rid of most of it before you feed it! Why? It all comes down to ratios, my friends. Your starter is a population of yeast and bacteria living in a small portion of flour and water. If you keep adding fresh food (flour and water) to the same mixture without removing some, the population gets too large, and the food gets spread too thin.
If you don’t discard, you end up with a giant, sluggish, weak culture that takes forever to rise. Removing a significant portion ensures that the small amount you keep has plenty of fresh food to eat and grow strong quickly. It keeps the ecosystem balanced and your sourdough starter happy enough to produce that beautiful lift in your dough later on. You only need to keep about 50g for your next feed!
Sourdough Starter Troubleshooting: Solving Common Beginner Issues
Okay, deep breaths! Even the best laid plans can go slightly wonky when dealing with living things, and that’s where your sourdough starter troubleshooting skills come in. The most common early problem I see people run into is absolute silence—no bubbles, total crickets, especially around Day 2 or 3. If this happens, don’t toss it! Your little culture might just be cold or maybe you’re using heavily chlorinated water. Try moving the jar to a slightly warmer spot—maybe near the fridge motor or on top of the oven while it’s running a low bake. A little extra warmth is usually all it needs to get going.
What about that strange dark liquid? We talked about ‘hooch’ briefly, but if you see a layer of watery scum—sometimes pale, sometimes dark brown/grey—on top, that just means it needs to eat! Pour that liquid off (or stir it in, I’m not too fussy), and give it a good, solid feed right away. That’s a sign it’s healthy but starving!
The one thing you *cannot* ignore is mold. If you see actual fuzzy patches—pink, green, or black—it means contamination got in, and unfortunately, you have to say goodbye to that batch and start fresh. Keep things clean, use clean utensils, and you rarely see mold. But if you do, just start over using the super easy sourdough starter guide we just covered. You’ve got this!
Understanding Different Types of Sourdough Starter
Once you master the basic creation—the one we just went through for your beautiful, bubbly sourdough starter—you might start hearing people talk about different hydration levels. It’s like people who move from making simple cookies to needing three different types of specialized flour! Don’t worry, you don’t need to stress about this right now, but it’s good to know what the terms mean so you don’t get lost in forum conversations.
The culture we just made is called a liquid culture, or 100% hydration starter because the flour and water are perfectly equal by weight. This is the standard for most easygoing beginner sourdough recipes, like the ones I adore using for weeknight loaves. It’s easy to stir, easy to measure, and it consistently doubles.
Then you hear about a ‘stiff levain’ or a stiff starter. This is sometimes called a lower hydration starter, meaning there’s less water used compared to the flour. Think of it as being more like a dense dough than a batter. Bakers use this stiffer starter, often called a levain in certain professional styles, for different fermentation profiles. Some people find it offers a slightly tangier flavor or behaves differently in high-hydration doughs. If you’re dreaming of those famous chocolate chips one day, that might be a different path, but for now, stick to the simple liquid culture! We can tackle the complexity later. For now, enjoy knowing you’ve mastered the foundation, and if you want a peek at what you *can* do with these techniques eventually, check out some of the amazing recipes out there! I found a great resource discussing the different types of sourdough starter so you can see where the rabbit hole goes when you’re ready, check out this guide!
It’s just good to know that your reliable, everyday sourdough starter is the most practical starting point for everyone new to this world. You’ve built the most important ingredient in your pantry! You’ll be amazed at what you can accomplish, maybe even something decadent like those famous cookies—which I always think needs a touch of that homemade tang, even if I’m using a different process for the actual cookie dough itself. You can see how I try to incorporate that flavor profile in my chocolate chip cookies!
Frequently Asked Questions About Your Sourdough Starter
I know once you’ve gone through all those steps to get your sourdough starter going, you’re probably bursting with questions! That’s totally normal. Getting your beginner sourdough journey started should feel exciting, not overwhelming. Here are a few things I hear all the time once people reach this point with their new natural yeast starter. If you’re already thinking about how this starter will fit into your regular schedule, my guide on simple weeknight dinners is a great place to look next!
How long until my starter is actually ready to bake bread?
This is the million-dollar question! You’re ready to bake when that starter is consistently doubling in volume within 4 to 8 hours after you feed it. Seriously, that peak rise is your signal! If you see it doubling reliably for two consecutive feedings, you’re good to go! You don’t have to wait until Day 7; if it hits that benchmark early, start looking at your bread recipes right away. We want that big lift for a successful loaf!
Can I switch to using only All-Purpose flour once my starter is mature?
Absolutely, yes! I actually recommend it for routine feeding sourdough starter when it’s stored in the fridge. Remember how we used whole wheat or rye flour at the very beginning? That was just to give the wild yeast a massive boost of food to kick things off. Once your bubbly sourdough starter is established and happy, sticking to unbleached all-purpose flour is totally fine for maintenance. I usually just do one feeding with whole wheat right before I plan to bake a loaf just to give it that extra kick, but for day-to-day care, AP flour works wonders!
What if I forget to feed my starter? It smells… sharp.
If you forget a feed, especially if it’s sitting on the counter, you’ll probably see a layer of that dark liquid—hooch! That’s your starter yelling, “I’m starving!” Don’t panic at all. Just stir the hooch in (or dump it off if there’s a lot) and give it a really good, hearty feed right away. It’ll perk right back up. As long as you don’t see any fuzzy mold, it’s totally salvageable! We want to keep things reliable for those simple weeknight dinners, and a forgotten feed is easy to fix.
Is this starter the same thing as a stiff levain?
No, they aren’t quite the same, but they are related! The culture we just made is a liquid one—equal parts flour and water, 100% hydration. A stiff homemade levain has much less water, making it feel like a stiff dough rather than a batter. For beginners, the liquid starter is hands-down the easiest path. We stick to this liquid form until you’re comfortable with your basic sourdough 101 skills!
Nutritional Snapshot of Your Homemade Sourdough Starter
Okay, so you’ve got this amazing, bubbly, living thing sitting on your counter, and you’re probably wondering about the nutrition factor. Since our beloved sourdough starter is only made from flour and water, the nutritional profile is pretty straightforward, but it’s good to see the numbers!
I want to stress that this snapshot is just an estimate based on the flour and water we use for a standard 1:1 ratio feeding. Since we are constantly feeding and discarding, you never eat the starter straight, right? This is more about understanding the foundational calories and macronutrients we are dealing with before it gets mixed into that big batch of dough for your artisan bread.
Here is a look at the approximate nutritional breakdown for a 100-gram portion of an *active* starter mixture:
- Calories: About 180 kcal
- Carbohydrates: Roughly 37 grams
- Protein: Around 6 grams
- Fat: Very minimal, about 0.5 grams
- Sugar: Super low, just around 0.5 grams
See? Nothing too wild here! The protein and fiber come from the flour, obviously. The really cool part happens when you bake it into bread. The long fermentation process starts breaking down those carbs, which is why so many people find sourdough easier to digest. But for the starter itself, it’s just the basic building blocks of flour and water mingling, waiting to do their magic in the final loaf!
What to Bake Next With Your New Sourdough Starter
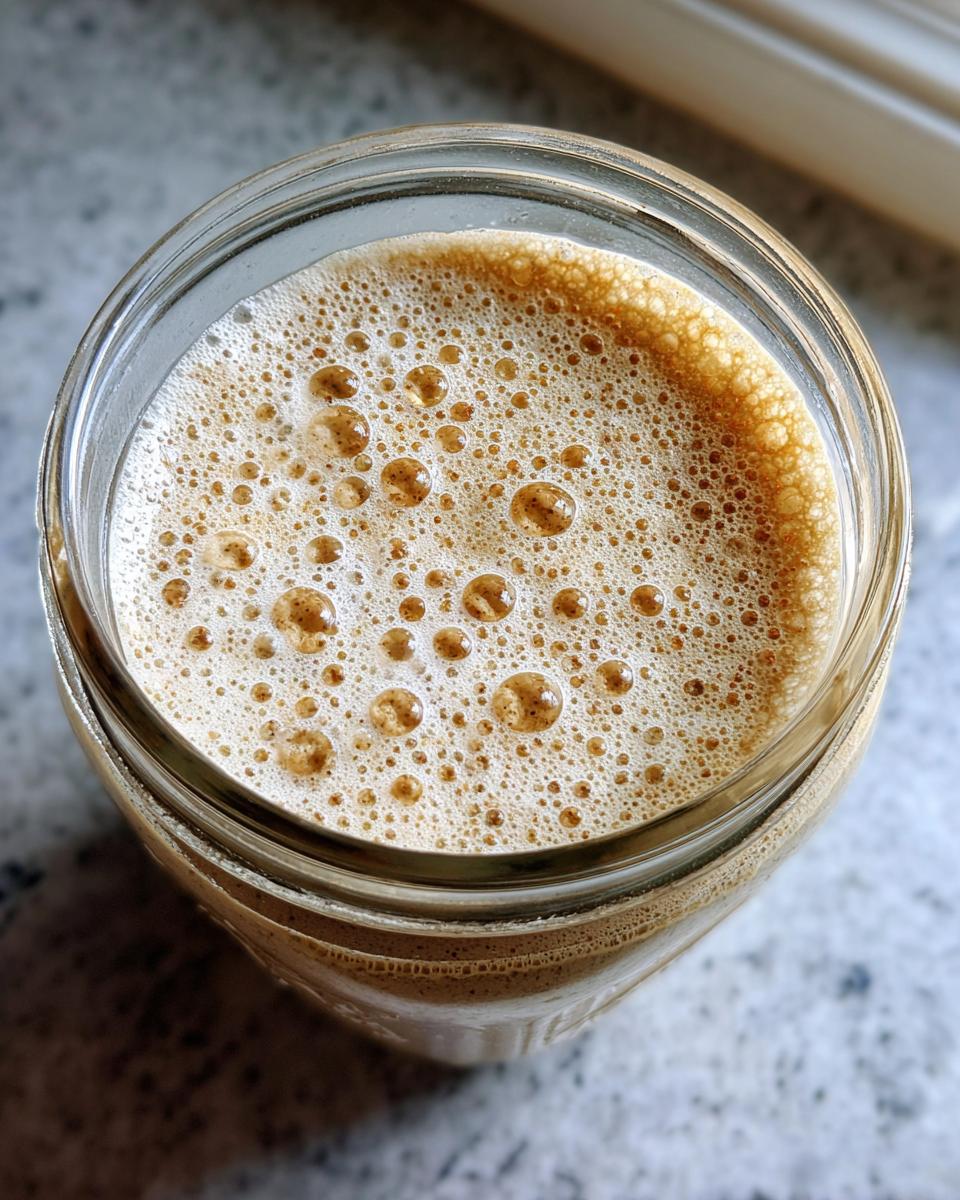
You did it! You’ve nurtured a tiny little mix of flour and water into a thriving, happy, hungry sourdough starter. It’s bubbling up reliably, it smells wonderfully tangy, and now you’re probably looking at it thinking, “Okay, Maya, now what do I *do* with this magnificent creation?” That’s the best part!
Your main goal right now is to bake bread. That’s the reward for all that hard work and patience. If you’ve got a vibrant culture that’s doubling consistently within 4 to 8 hours after a feed, you are officially ready to move past the sourdough 101 phase and into the fun part. You’ve got the active leaven, and now you just need a reliable recipe to put it to work!
I highly recommend you start with something straightforward to build your confidence. Don’t jump straight into a complex country loaf with slashes and fancy scoring techniques. Instead, go for a simple, sturdy sourdough that relies on the strength of your starter. I personally started every new culture with the same recipe because it’s nearly foolproof and lets your starter flavor really shine through. You can grab the full, easy guide right here for my easy artisan bread recipe. It requires no kneading, which is perfect when you’re tired after a week of babysitting your new starter!
Once you see that dough rise beautifully for the first time, you’ll realize just how much power you’ve created right there in that humble jar. Go ahead, feed your starter one more time, let it peak, and then grab your mixing bowl. Happy baking—you’ve earned it!
PrintUltimate Beginner’s Guide: How to Make a Vibrant Sourdough Starter From Scratch
Follow this simple, day-by-day guide to create your own active, bubbly sourdough starter using only flour and water. This is the foundational recipe for all beginner sourdough baking.
- Prep Time: 10 min
- Cook Time: 0 min
- Total Time: 7 days
- Yield: Approx. 100g active starter
- Category: Baking Foundation
- Method: Fermentation
- Cuisine: General
- Diet: Vegetarian
Ingredients
- 100g Whole Grain Flour (Rye or Whole Wheat recommended for initial activation)
- 100g Unbleached All-Purpose Flour
- 100g Unchlorinated Water (room temperature)
Instructions
- Day 1: Mix 50g of whole grain flour and 50g of water in a clean glass jar. Stir until fully combined. Cover loosely and let it sit at room temperature (68-75°F) for 24 hours.
- Day 2: You may see small bubbles or no activity. Discard half of the mixture. Add 50g of all-purpose flour and 50g of water to the remaining starter. Mix well, cover loosely, and wait 24 hours.
- Day 3: You should see some activity. Discard half. Feed with 50g of all-purpose flour and 50g of water. Wait 24 hours.
- Day 4: Discard half. Feed with 50g of all-purpose flour and 50g of water. Wait 12 hours. If you see significant bubbles, proceed to the next step. If not, repeat the feeding schedule.
- Day 5-7 (or until active): Discard all but 50g of starter. Feed with 50g of all-purpose flour and 50g of water. Repeat this feeding every 12 hours. Your starter is ready when it consistently doubles in volume within 4-8 hours after feeding and is full of bubbles. This is your active sourdough starter.
- Maintenance: Once active, maintain your starter by feeding it once every 24 hours if kept at room temperature, or once a week if stored in the refrigerator. Always discard before feeding to maintain a manageable amount.
Notes
- Use filtered or bottled water if your tap water is heavily chlorinated, as chlorine can inhibit yeast growth.
- The best flour for initial activation is whole grain flour because it contains more natural microorganisms.
- Temperature affects speed; warmer rooms (above 75°F) speed up the process, while cooler rooms slow it down.
- If you see dark liquid (hooch) on top, stir it in or pour it off, then feed your starter immediately.
Nutrition
- Serving Size: 100g
- Calories: 180
- Sugar: 0.5
- Sodium: 1
- Fat: 0.5
- Saturated Fat: 0.1
- Unsaturated Fat: 0.4
- Trans Fat: 0
- Carbohydrates: 37
- Fiber: 2
- Protein: 6
- Cholesterol: 0