
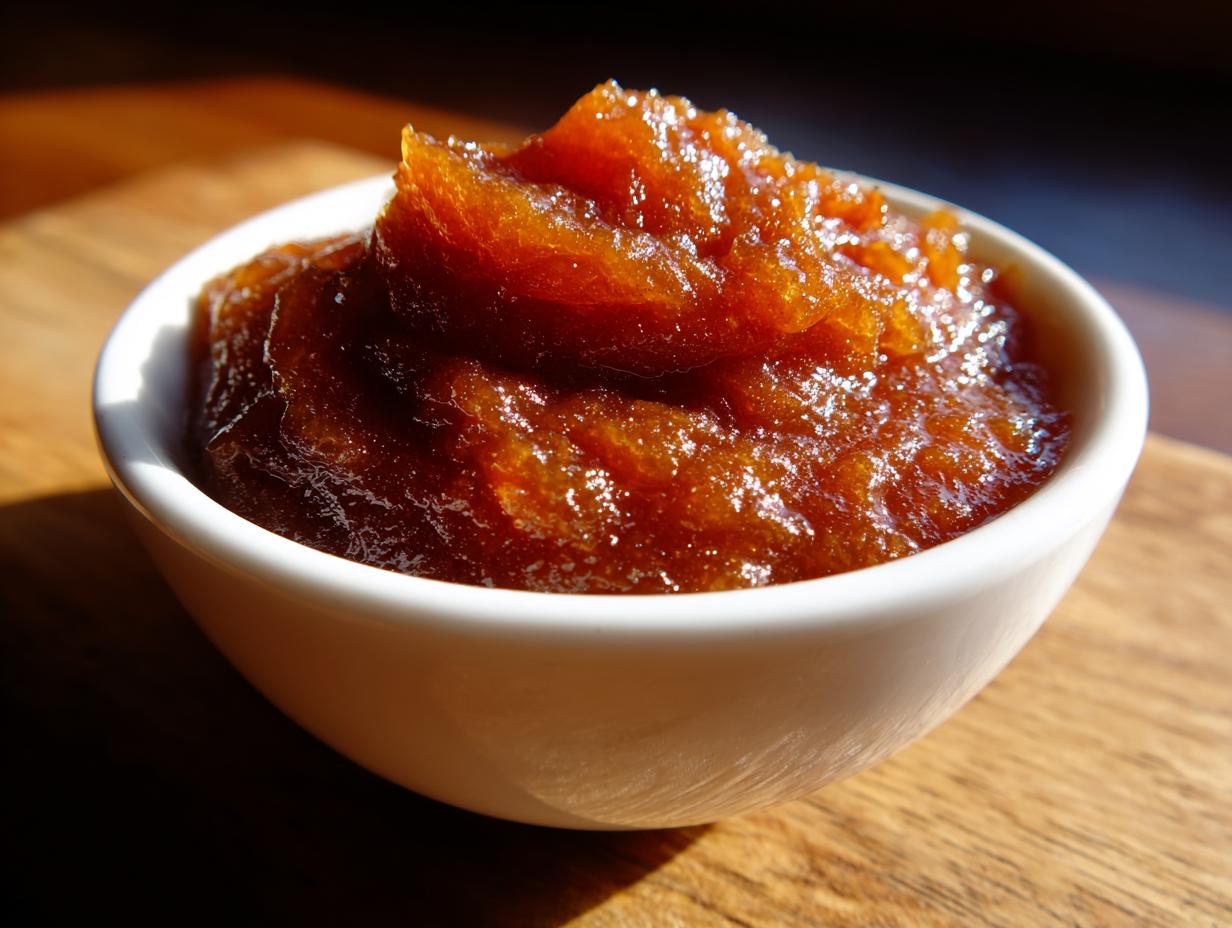
Oh, when the air gets that first crisp snap, I immediately start dreaming of autumn spreads—you know, that cozy, spiced scent that just fills the whole house up? It always takes me right back to my grandmother’s kitchen, even though my life now doesn’t usually allow for hours of hovering over a stovetop. That’s why I’m so thrilled to share my absolute favorite way to capture that feeling effortlessly: our Easy Slow Cooker Spiced Pear Butter. This recipe is truly the key to getting that deep, luscious flavor without the guesswork. We’re talking about transforming simple pears into the best pear butter you’ve ever tasted, all thanks to the magic of the crockpot! And because I believe in making food last, I’m also including my foolproof guide on how to safely can your harvest so you can enjoy these fall flavors well into spring. You’ll want to bookmark this recipe for when you need quick, satisfying options for easy breakfast ideas. Trust me, this approach is foolproof, practical, and tastes incredible slathered on toast!
- Why This Easy Slow Cooker Pear Butter Recipe Works So Well
- Gathering Ingredients for Your Homemade Pear Butter Recipe
- How to Make Pear Butter from Scratch Using the Slow Cooker
- Canning Pear Butter Tutorial for Long-Term Storage
- Tips for Success When Making Homemade Pear Butter Recipe
- Creative Ways to Use Your Sweet Pear Spread Ideas
- Storage and Reheating Instructions for Pear Butter
- Frequently Asked Questions About Making Pear Butter
- Share Your Homemade Pear Butter Creations
Why This Easy Slow Cooker Pear Butter Recipe Works So Well
I know everyone wants that rich, spreadable texture, but who has time to stir fruit on the stove for five hours? That’s the beauty of this homemade pear butter recipe. It’s all about maximizing flavor while minimizing your time actively cooking. It’s one of those easy fruit butter recipes that feels gourmet but is ridiculously simple to put together.
- It’s hands-off! Minimal stirring means less worry for you.
- It concentrates the pear flavor beautifully.
- It’s perfect for making large batches for gifting.
Hands-Off Cooking with the Slow Cooker Pear Butter Method
Honestly, using the crockpot for this slow cooker pear butter is a game-changer. Unlike the stovetop, where you constantly fight scorching and sticking, you just load it up, turn it on low, and walk away. That long, gentle cook time tenderizes the pears until they practically dissolve. When you go in with your immersion blender, you get that silky-smooth texture instantly. It’s pure peace of mind combined with great texture!
Achieving Rich Flavor with Spiced Pear Butter
While the cooking is easy, the flavor profile is complex, which is what makes a great spiced pear butter. I rely on the classic trio: cinnamon, cloves, and nutmeg. These spices don’t overpower the delicate flavor of the pear; they just give it a warm hug. This blend makes the spread smell like the best parts of early fall. It proves you don’t need fancy techniques to deepen flavor—just smart spice placement.
Gathering Ingredients for Your Homemade Pear Butter Recipe
Pulling together the ingredients for this homemade pear butter recipe is almost as fun as eating the final product! The key here, and this is my expert tip from years of making fruit preserves, is getting those pears just right. You want them to be ripe—soft around the edges and fragrant—so they break down beautifully. Don’t worry if you don’t have a specific pear in mind; we work with what we have in the autumn season!
Ingredient Notes and Substitutions for Pear Butter
When picking pears for your pear butter, I always recommend looking for Bartlett or Bosc. Bartlett tends to be sweeter, while Bosc holds its shape a little better at the start, but both yield amazing results once they soften up. My notes say that if you happen to be looking to cut back just a touch on the molasses flavor, you can absolutely swap out some or all of that brown sugar for pure maple syrup. It gives the spread a wonderfully unique top note that I just love.
How to Make Pear Butter from Scratch Using the Slow Cooker
Okay, here’s where the magic happens for anyone wondering how to make pear butter from scratch with minimal fuss. The key to this whole process is trusting the slow cooker to do the heavy lifting. It’s so much better than standing over a boiling pot all afternoon, which is how my grandmother used to do it! We start by loading up the pears and spices, setting it low, and forgetting about it until they are fall-apart tender. Then comes the smooth part.
Initial Slow Cooking and Pureeing the Pear Butter
First things first: toss all those prepared pears, the brown sugar, water, and all those wonderful spices right into your crockpot. Cover it tight and let it go on low for about eight hours—I often put it in before bed, and it’s ready when I wake up! Once it’s all mushy and smelling incredible, you need to blend it smooth. If you’re using an immersion blender right in the cooker, be careful—that steam gets hot! Otherwise, transfer it carefully to your regular blender. You want zero lumps here; it should look like velvet.
Thickening the Spiced Pear Butter for Perfect Consistency
This next step is absolutely non-negotiable if you want a true spreadable butter instead of a loose sauce. After blending, you put it *back* into the slow cooker but take the lid off. You have to cook it uncovered on high for an hour or two until it reduces down. This boiling off of extra liquid is what creates the glossy, thick consistency that holds up perfectly on a piece of toast or inside a jar for gifting. You’ll know it’s done when it’s thick enough to coat the back of a spoon easily. If you’re planning on simple weeknight dinners prep, this step is essential for proper preservation later!
Canning Pear Butter Tutorial for Long-Term Storage
I absolutely love making a big batch of this pear butter because it means I don’t have to feel sad when the pears are gone for the year. If you’ve reached that thick, glorious stage in the slow cooker, you’re halfway to having pantry staples ready to go! Learning the canning pear butter tutorial might sound intimidating, but honestly, for high-acid foods like this—thanks to that little bit of lemon juice—the water bath method is straightforward and incredibly safe. It’s one of the best ways to preserve that incredible, spiced flavor for months on end. Think of all the holiday gifts you can prepare just by doing this one extra step!
Water Bath Processing for Safe Pear Butter Preservation
First, make sure your jars and lids are prepped and sterilized—that’s standard safety 101 for any home preserving. Once your pear butter is piping hot and you’ve filled your jars, leaving exactly 1/4 inch of space at the top (that’s your headspace, folks!), you wipe the rims until they are squeaky clean. Bad contact means no seal, so wipe twice! Then, place those hot jars into your already simmering water bath canner. You need to process them for exactly 10 minutes if you are at sea level. If you are higher up, you absolutely must look up your local altitude adjustment times for safe processing—it’s critical for high-acid foods, and we want zero risks here! After the time is up, pull the jars out very carefully and set them on a towel on the counter. Do not touch them, do not bump them, and do not try to tighten the rings for a full 12 to 24 hours. That cooling period is when you hear those satisfying pings as the lids lock down. If you want to see another great approach to crockpot preservation, you can check out some tips over at Grits and Gouda!
Tips for Success When Making Homemade Pear Butter Recipe
Listen, I want your homemade pear butter recipe experience to be perfect, and sometimes the difference between good and *OMG I could eat this with a spoon* just comes down to one little tweak. My biggest piece of expert advice? Don’t rush that final reduction step! If you pull the butter off the heat while it’s still loose, it will thin out as it cools, and you’ll end up with pear sauce instead of that thick, glossy butter texture we’re aiming for. You need to see that spoon coating clearly!
Also, don’t feel locked into the slow cooker if you have a different appliance handy. I know some of you prefer the speed of the Instant Pot, and that works great for cooking the pears down quickly! If you want to try that route, I’ve seen success by pressure cooking for about 15 minutes before reducing on the sauté function. For more ideas on flavor boosts, check out how the folks at Yumsavor does theirs. And remember, if you’re ever short on time, a small batch of this works beautifully in a Dutch oven on the stovetop, though you’ll need to stir more often. For a different kind of sweet treat, I have a lovely recipe for fruit pizza that might be fun next time!
Creative Ways to Use Your Sweet Pear Spread Ideas
Now that you have gorgeous jars of this thick, fragrant pear butter, the real fun begins—eating it! I know the first thing everyone reaches for is toast, and trust me, it’s amazing that way, but this spread is so versatile. I want you to get creative with these sweet pear spread ideas because you put the work in, and now it deserves to shine in so many ways!
Serving Pear Butter as a Healthy Breakfast Spread
For me, the best use is transforming my morning routine. Forget plain yogurt; swirl a big spoonful of this spiced butter into your Greek yogurt. It instantly cuts the tang and gives you a hearty, naturally sweetened boost. It’s one of my favorite ways to pull together a quick and healthy breakfast spread when I’m running out the door.
It’s also divine on waffles or topping a stack of pancakes instead of syrup. If you’re making my creamy oatmeal, stir some in right at the end. The spices bloom in the hot oats, and it’s just pure comfort in a bowl!
Gifting Your Autumn Spreads and Butters
Since this recipe yields a nice amount, it’s perfect for making gift ideas from the kitchen! Everyone loves getting something homemade, and jarred pear butter feels so thoughtful in the fall and winter months. You don’t need fancy labels, either—just grab some cute gingham ribbon or twine, tie it around the top of your sealed jar, and attach a little tag detailing the flavor. That’s instantly charming!

If you’re looking for inspiration on flavor variations, I saw a recipe for salted caramel that looked divine, though I tend to stick to the classic spices. If you want to see how they dressed up their recipe, check out the ideas from Baked in AZ. It just goes to show you how adaptable these fruit butters truly are!
Storage and Reheating Instructions for Pear Butter
Storing your homemade pear butter is super easy once you know the rules for opened versus sealed jars. If you processed your butter using the approved canning method we went over, those sealed jars are happy sitting on a cool, dark shelf for up to a whole year! Isn’t that amazing? But the minute you crack that seal, it becomes a refrigerator item.
Once opened, or if you just decided to keep a batch in a simple airtight container without canning, you need to keep it chilled. It stays wonderfully fresh in the fridge for a good two weeks. Honestly, though, it never lasts that long in my house! When you’re ready to use it, no reheating is necessary—it spreads perfectly straight from the cold.
Frequently Asked Questions About Making Pear Butter
It’s natural to have a few questions pop up when you’re preserving a new fruit or trying a new appliance, like the slow cooker! I’ve gathered the most common things folks ask so you don’t have to worry while your pears are simmering away. Getting these details right ensures a perfect batch of pear butter every single time.
Can I make this pear butter recipe without a slow cooker?
Oh, absolutely! While I preach about the ease of the crockpot, the flavor isn’t exclusive to that machine. If you don’t have one, you can certainly follow the stovetop pear butter instructions. You’ll just need a large, heavy-bottomed pot. Sauté the fruit and spices over medium-low heat, stirring frequently to prevent scorching, until soft—it might take about 2–3 hours. Or, if you have an Instant Pot pear butter fan in the house, you can use the pressure cook setting, which dramatically cuts down the initial cooking time before you move to the sauté phase to reduce it!
What is the difference between pear butter and pear sauce?
This is a classic question in the fruit preserve world! The main difference between pear sauce and pear butter comes down entirely to reduction time. Pear sauce is glorious, but it’s looser and still holds a lot of water content. For pear butter, we go the extra mile: we cook it down, usually uncovered, until it’s intensely concentrated, thick, and glossy. It needs to be thick enough to hold its shape when spread. That final reduction step is what turns a simple sauce into a rich, scoopable butter!
Do I need to peel the pears for pear butter?
Yes, you definitely need to peel the pears for this recipe, and for any truly smooth homemade pear butter recipe if you want the best texture. The peels are tougher and don’t break down as finely as the fruit flesh, even with serious blending. Leaving the skin on results in a gritty or slightly chewy final product. I know peeling three pounds of pears sounds like a chore, but trust me, taking that time ensures you get that velvety, spreadable texture that makes this so wonderful. Since you’re already making a luxury item, don’t skip this step!
If you have other questions or want to tell me how your spiced additions turned out, please reach out via my contact page! And if you’re curious about gourmet variations, I saw a fabulous recipe for a salted caramel version over at Random Cooking that looks like it would be divine!
Share Your Homemade Pear Butter Creations
I’m genuinely so excited for you to try this recipe! Making the shift from thinking about fall flavors to actually bottling them up in jars—it just feels so satisfying and grounded. Once you’ve made your batch of pear butter, I really, really want to hear about it below. Did you love the simple cinnamon and clove combo, or did you get adventurous? Tell me in the comments if you tried adding vanilla bean or maybe a tiny pinch of cardamom! I love seeing the creative spice twists you all come up with, as it helps me think of new ideas for next year.
Don’t forget to snap a picture of how you’re enjoying your first taste—maybe on a warm biscuit or swirled into your morning tea. Tag me on social media! Sharing these little kitchen victories is a huge part of what MayaPlate is all about. It proves that nourishing, delicious food can fit right into your busy life. If you want to learn more about my journey turning kitchen struggles into practical solutions, you can always read up on the MayaPlate story. Happy preserving, friends!
PrintEasy Slow Cooker Spiced Pear Butter with Canning Tutorial
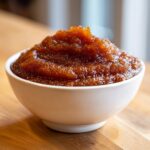
Make a luscious, homemade pear butter using your slow cooker. This easy fruit butter recipe features warm spices and includes simple instructions for water-bath canning to preserve your fall harvest.
- Prep Time: 25 min
- Cook Time: 8 hr
- Total Time: 8 hr 25 min
- Yield: About 4 half-pint jars 1x
- Category: Preserves
- Method: Slow Cooking
- Cuisine: American
- Diet: Vegetarian
Ingredients
- 3 pounds ripe pears (such as Bartlett or Bosc), peeled, cored, and quartered
- 1 cup packed brown sugar
- 1/2 cup water
- 1 teaspoon ground cinnamon
- 1/2 teaspoon ground cloves
- 1/4 teaspoon ground nutmeg
- 1 tablespoon lemon juice
Instructions
- Place the peeled, cored, and quartered pears into the basin of a 4-quart or larger slow cooker.
- Add the brown sugar, water, cinnamon, cloves, and nutmeg over the pears.
- Cover the slow cooker and cook on low for 6 to 8 hours, or on high for 3 to 4 hours, until the pears are very soft.
- Carefully transfer the cooked pear mixture to a blender or use an immersion blender directly in the slow cooker. Blend until completely smooth.
- Return the pureed mixture to the slow cooker. Stir in the lemon juice.
- Cook uncovered on high for 1 to 2 hours, stirring occasionally, until the pear butter has thickened significantly and coats the back of a spoon. This step reduces the moisture content.
- For immediate use, cool completely and store in an airtight container in the refrigerator for up to 2 weeks.
- For canning: Prepare your water bath canner and jars according to standard safety guidelines. Ladle the hot pear butter into hot, sterilized canning jars, leaving 1/4 inch headspace.
- Wipe rims clean, center lids, and screw bands to fingertip tight. Process in a boiling water bath canner for 10 minutes, adjusting for altitude.
- Remove jars and let them cool undisturbed for 12 to 24 hours until sealed. Store sealed jars in a cool, dark place for up to one year.
Notes
- Use firm, ripe pears for the best flavor and texture in this fruit spread.
- You can substitute maple syrup for some or all of the brown sugar for a different sweetness profile.
- This recipe works well in an Instant Pot by cooking on high pressure for 15 minutes, followed by a natural pressure release, then using the sauté function to reduce.
- This spiced pear butter is a wonderful homemade gift idea during the autumn season.
Nutrition
- Serving Size: 2 Tablespoons
- Calories: 75
- Sugar: 18g
- Sodium: 2mg
- Fat: 0g
- Saturated Fat: 0g
- Unsaturated Fat: 0g
- Trans Fat: 0g
- Carbohydrates: 19g
- Fiber: 1g
- Protein: 0g
- Cholesterol: 0mg