
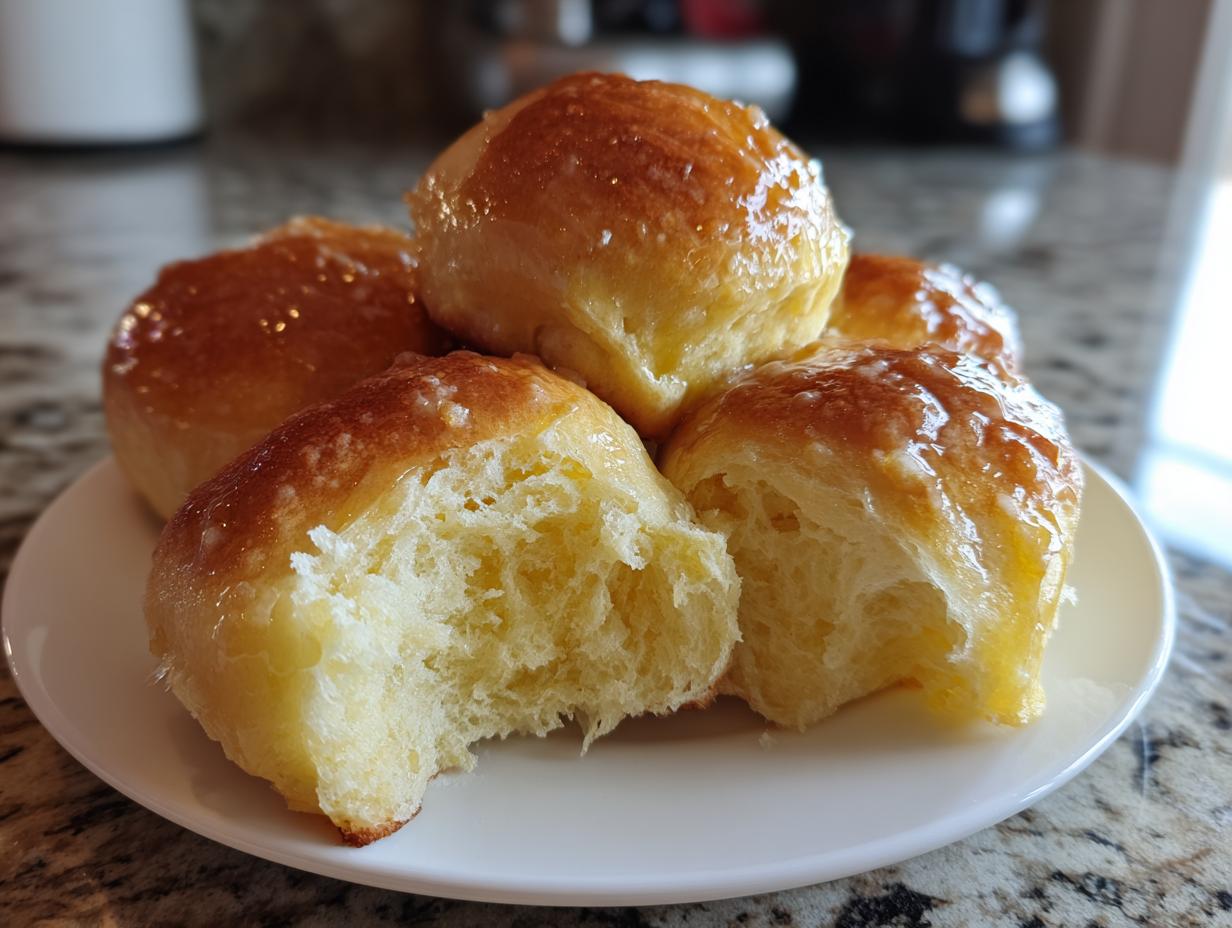
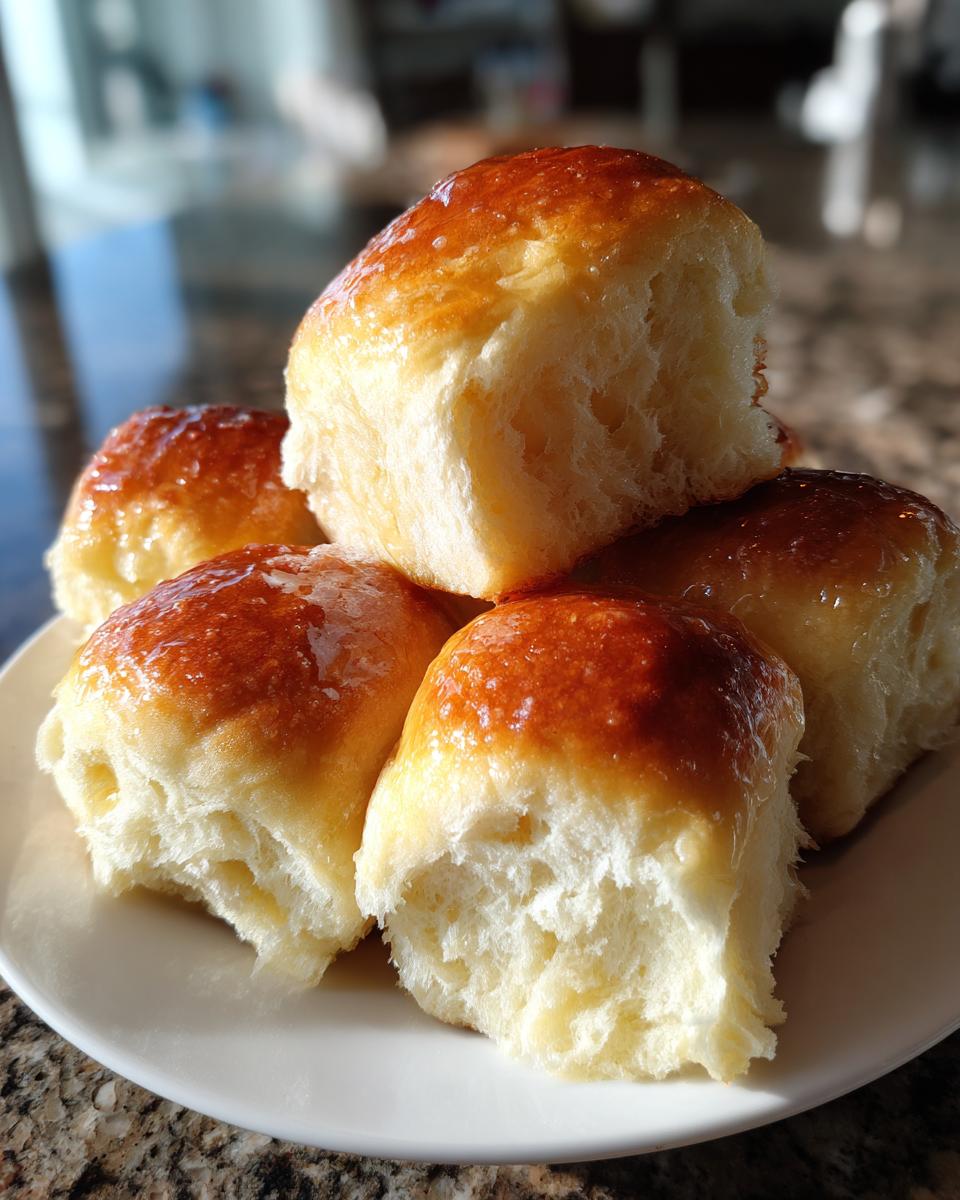
There is nothing that says ‘welcome home’ quite like the smell of fresh, warm bread pulled right out of the oven. Forget those sad, plastic-wrapped packages from the store! I want you to have the absolute best experience, which is why I developed this recipe for the ultimate soft and fluffy homemade dinner rolls. Trust me, these classic, buttery rolls will beat any store-bought version hands down, making them perfect for your next family meal or holiday table.
As someone who understands how quickly life moves—we all have busy schedules, believe me—I focused on techniques that deliver incredible flavor without taking up your entire weekend. My goal here at MayaPlate is to bring that comforting, high-quality food experience back to your table, easily and practically. Get ready to master these amazing yeast dinner rolls; they are truly spectacular.
- Why You Will Bake These Soft Dinner Rolls Recipe Every Time
- Ingredients for The Ultimate Soft and Fluffy Homemade Dinner Rolls
- Expert Tips for Perfectly Risen Rolls: Making Buttery Yeast Rolls From Scratch
- Step-by-Step Instructions for Easy Dinner Roll Recipe
- Achieving Texas Roadhouse Style Rolls Copycat Finish
- Storage and Reheating Instructions for Homemade Bread
- Ingredient Notes and Substitution Options
- Frequently Asked Questions About Baking Dinner Rolls
- Nutritional Estimates for Your Homemade Bread
Why You Will Bake These Soft Dinner Rolls Recipe Every Time
Baking fresh bread shouldn’t feel like a weekend-long chore, and with this recipe, it absolutely doesn’t! I promise that once you try these, you’ll never look back. They hit every mark we want in a perfect side dish.
- Unbelievably Soft Dinner Rolls Recipe: These aren’t just bread; they are clouds! The texture is impossibly tender because of the high fat content and the two proofing stages. They dissolve right in your mouth.
- Genuine Comfort Food Baking: There is nothing more comforting than soaking up gravy or a bit of mashed potato residue with a warm roll. This recipe is pure comfort, making every weeknight feel a little bit like a holiday side dish gathering.
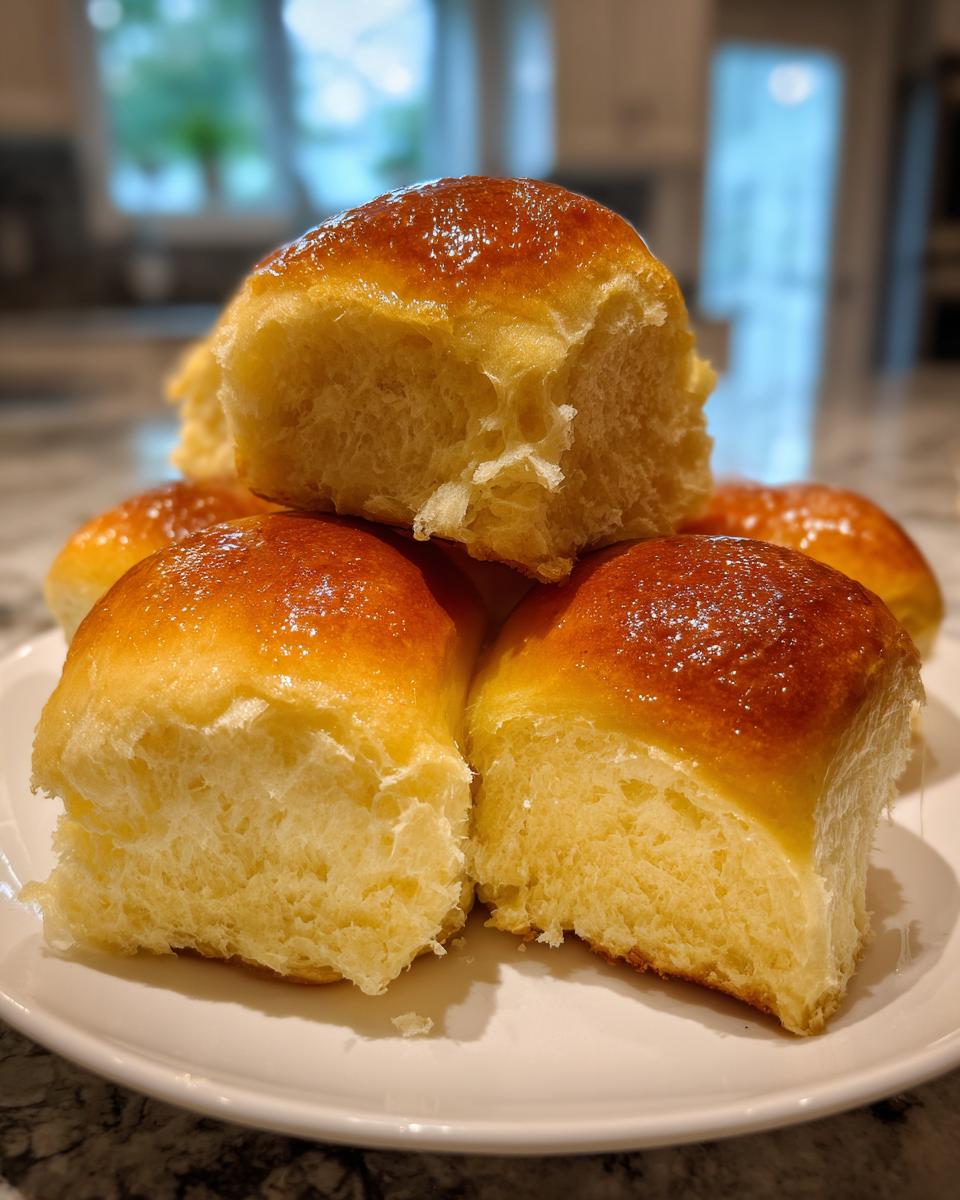
- They Are Better Than Store-Bought: Seriously, the flavor difference is night and day. We use real, melted butter, not just oil, giving you that rich, golden taste that those plastic packs just cannot replicate.
- Excellent Make Ahead Dinner Rolls Option: I know life gets busy, so I built flexibility right in! You can shape these beauties ahead of time and pop them in the fridge, saving you stress when company comes over.
- Fluffy Homemade Bread is Faster Than You Think: While this isn’t technically a “One Hour Dinner Rolls” recipe (you need decent rising time for proper flavor!), your actual hands-on time is so minimal that you can easily prep these while doing other tasks. It’s truly an Easy Dinner Roll Recipe.
Ingredients for The Ultimate Soft and Fluffy Homemade Dinner Rolls
When baking from scratch, the ingredients step is crucial. Since these are Buttery Yeast Rolls, we need quality stuff, and we need that egg to cooperate! Pay close attention to the temperature requirements—they really make the difference between flat hockey pucks and perfectly puffy rolls.
You will need the following for your dough. Remember, good results start with good ingredients!
- 1 cup warm milk (about 110°F—it should feel comfortably warm, not hot, on your wrist)
- 2 1/4 teaspoons active dry yeast
- 1/4 cup granulated sugar
- 1 large egg, room temperature (pull this out while you gather everything else!)
- 1/4 cup unsalted butter, melted and slightly cooled
- 3 1/2 cups all-purpose flour, plus more for dusting
- 1 teaspoon salt
And for that glorious, golden, bakery-style finish that will have everyone asking for seconds:
- 1/2 cup (1 stick) unsalted butter, softened, for brushing (this is non-negotiable for that signature richness!)
- 1 tablespoon honey (optional, this gives you that perfect Texas Roadhouse style glaze)
- 1/2 teaspoon ground cinnamon (optional, to mix with the butter for that slight sweetness)
Expert Tips for Perfectly Risen Rolls: Making Buttery Yeast Rolls From Scratch
I know yeast can sometimes feel intimidating, but it’s really just a living thing that needs the right environment to thrive! Following these little secrets is what separates a good batch of dinner rolls from an absolutely legendary one. We are aiming for that perfect gluten structure so they rise high and light.
Activating the Yeast: The First Step to Fluffy Homemade Bread
You must “proof” your yeast first. Gently pour your active dry yeast right into that warm milk (around 110°F—if it’s too hot, you kill the yeast, and if it’s too cold, it sleeps!). Let it sit for about 5 to 10 minutes. If you see a nice, happy layer of foam or bubbles form on top, that’s your signal! It means the yeast is awake and ready to work its magic on your dough.
Kneading for Elasticity in Your Dinner Rolls
Once you get the dough together, move it onto a lightly floured surface and start kneading. You aren’t trying to wear yourself out, but you do need to work that dough for a solid 5 to 7 minutes. You’re looking for a texture that feels smooth, bouncy, and just slightly tacky—not sticky enough to glue itself to your hands. If it’s too wet, add a tablespoon of your reserved flour at a time until it handles nicely. This kneading develops the gluten structure that holds all those wonderful air bubbles created by the yeast. If you’re interested in the nutritional side of how these ingredients work together, you can always check out my professional background here!
Step-by-Step Instructions for Easy Dinner Roll Recipe
Okay, here’s where the magic happens, but don’t rush it! Baking is a process, especially when you want those airy, soft results. The instructions below are the exact pathway I follow to get 12 perfect buns every time. Remember, the ingredient list showed you what you need; now, we put it all together according to the schedule.
First, start by getting that yeast going, as we covered above. Once you have your shaggy dough formed and kneaded (smooth and smiling!), it’s time for patience:
- Place the dough in a lightly oiled bowl, giving it a quick turn to coat. Cover it up tightly with plastic wrap or a clean kitchen towel. Let this rise in a warm spot, undisturbed, for about 1 to 1.5 hours. When it doubles in size—significantly puffier—you know the first rise is done.
- Gently punch that risen dough down to release the air. This is important! Then, divide it into exactly 12 equal little sections. Roll each piece between your palms until you have a nice, taut ball.
- Arrange these beautiful balls inside a well-greased 9×13 inch baking pan. Give them about an inch of breathing room between each one. They look small now, but they need space to grow together!
- Cover the pan again and let them go for their second rise. This time, it’s shorter, usually 30 to 45 minutes, until they look puffy and are gently touching shoulders.
- Now, preheat your oven to 375°F (190°C). Get it nice and hot before they go in.
- Bake for 15 to 18 minutes. You want them golden brown all over the top. Don’t overbake them; we are aiming for moistness! I sometimes peek at 14 minutes. If you want to check out a super fast approach some bakers use, you can peek at tips like those found here, but my classic method guarantees that unbelievable texture.
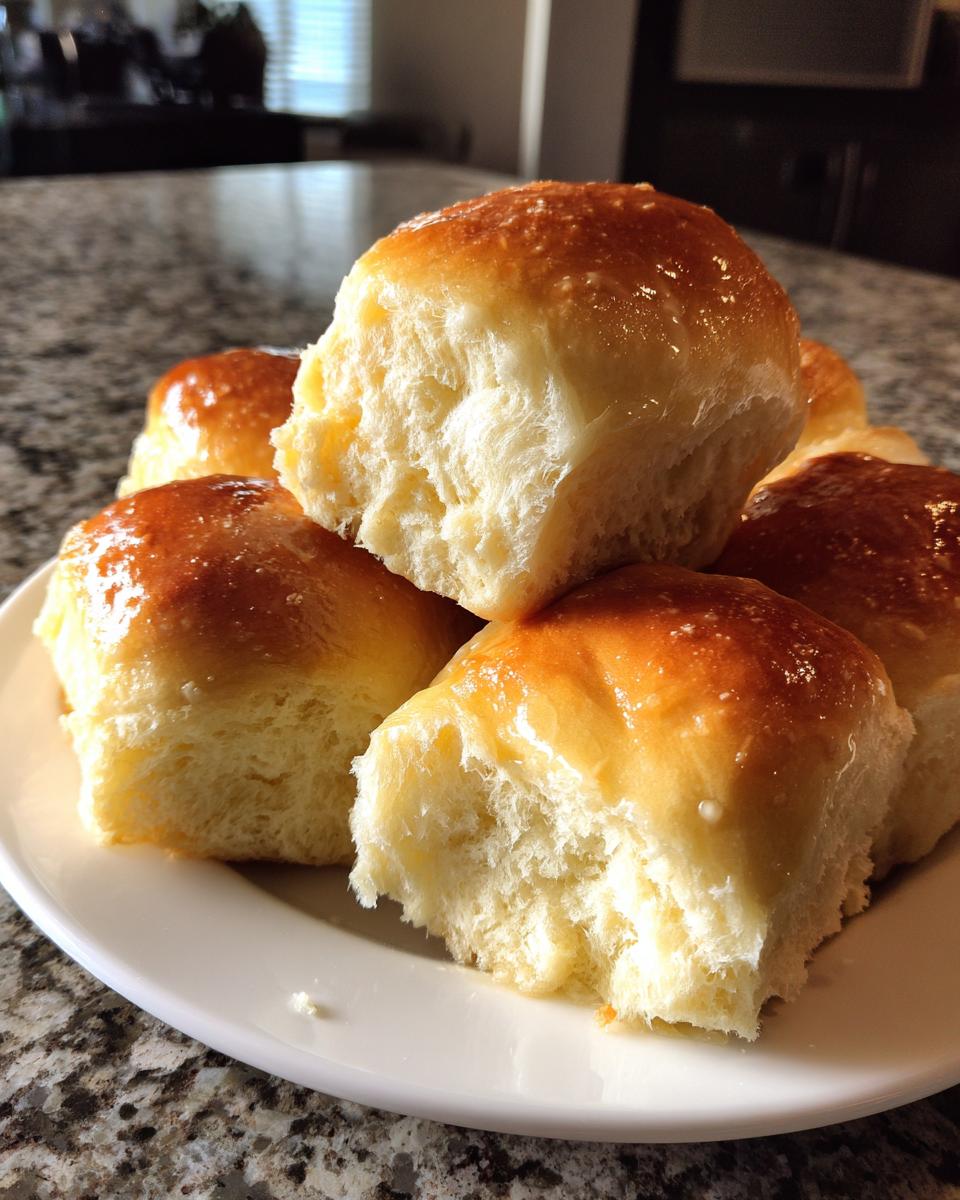
- Pull them out, and immediately melt that final half-cup of butter. Brush the entire surface liberally. That hot roll absorbs that butter immediately, sealing in the moisture!
- Serve them warm—they are heaven when hot!
Shaping and Second Proofing for Soft Dinner Rolls
When you’re dividing the dough, try to be consistent with your portions so they all bake evenly. Roll them firmly enough that the outside skin feels slightly tight, which helps them hold their round shape rather than spreading flat. When you put them in the pan for that second rise, that 1-inch gap is key. They need room to expand and kiss their neighbors—that’s what makes those classic pull-apart sides so soft on the edges! Watch them closely; the visual cue you’re waiting for is when they look noticeably puffy and swollen, almost ready to burst over the top of the pan.
Achieving Texas Roadhouse Style Rolls Copycat Finish
Okay, so while my classic buttery finish is to die for—seriously, just melted butter slathered on piping hot bread is perfect comfort food—I know a lot of you come here also looking for that famous restaurant copycat flavor. And yes, you absolutely can turn these dinner rolls into something spectacularly close to those famous slightly sweet, slightly spicy rolls you get at that big steak chain!
This is all about what you put on them the *second* they come out of the oven. The heat of the roll melts whatever you brush on, forcing that glorious coating right down into the pores of the bread. For this specific flavor profile, we swap plain butter for a special mixture. I’ve tested this ratio over and over, and it gives you that recognizable warmth without making the rolls taste like dessert.
For the ultimate finish that mimics those Texas Roadhouse style rolls copycat magic, you just need to mix that final half-cup of melted butter with the optional ingredients listed in the ingredients section. Stir in that tablespoon of honey and the half teaspoon of cinnamon until it’s blended nicely. See? Not complicated at all!
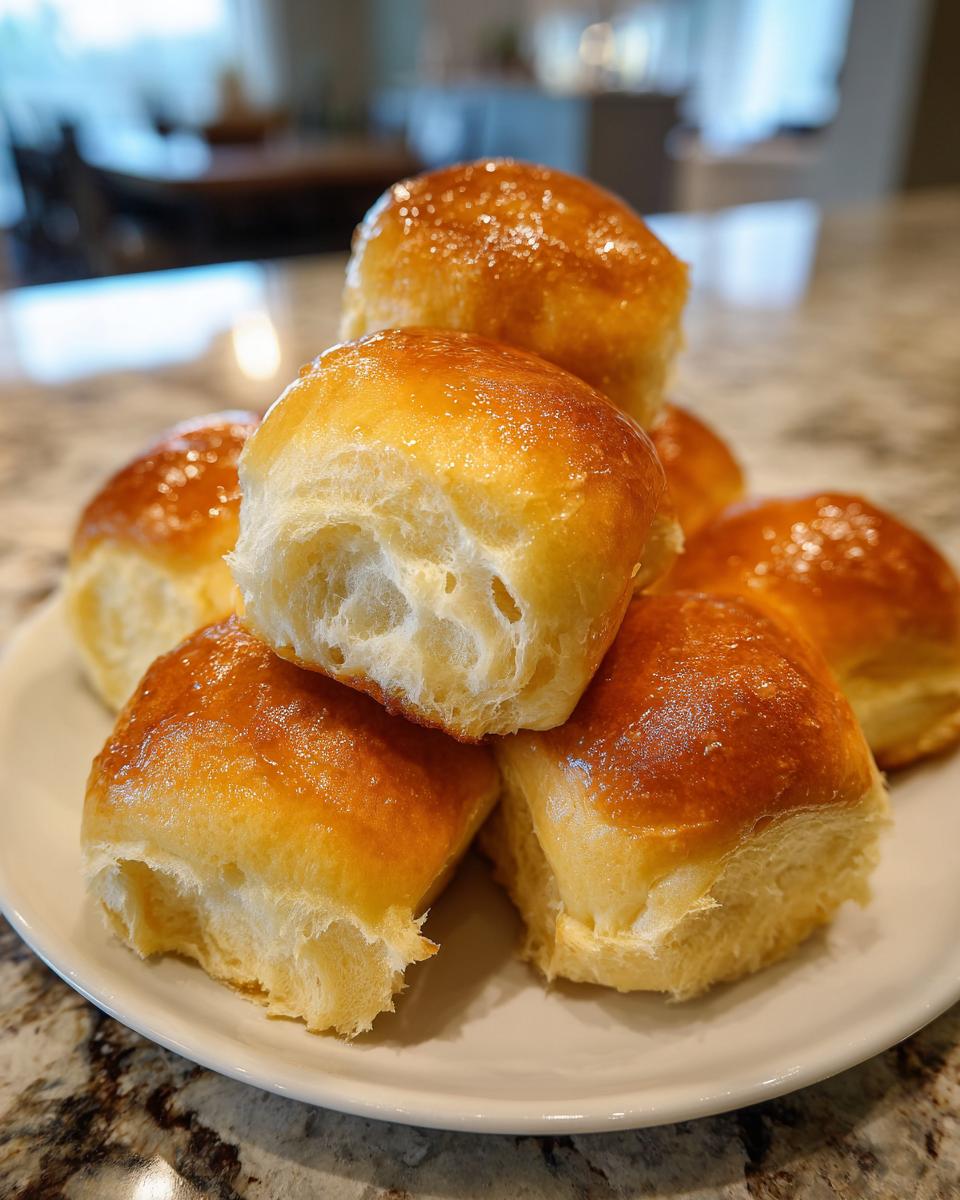
Brush this mixture generously over the entire top surface immediately after they leave the oven. That combination of rich butter, the deep sweetness from the honey, and just a tiny hint of cinnamon creates that signature slight savoriness and sweetness that makes those rolls so addictive. Serve these right away. If you let them cool down first, the topping solidifies too much and doesn’t absorb into the bread as beautifully!
Storage and Reheating Instructions for Homemade Bread
One of the best things about making a big batch of these fluffy homemade yeast rolls is knowing you have leftovers! But you can’t just leave them sitting on the counter in a flimsy plastic bag and expect them to stay soft—come on, we’re better than that! These rolls deserve proper care to maintain their heavenly texture.
The most crucial step right when they come out of the oven is simple: you must let them cool down completely before you even think about putting them away. If you seal warm bread, the steam gets trapped, and bam! You’ve got gummy bread instead of soft dinner rolls. Give them at least an hour on a wire rack.
Once they are totally cooled, you have a few great options depending on when you plan to eat them next:
- For Keeping Them Fresh for a Few Days: I use an airtight container—a large Ziploc bag works perfectly fine, but I prefer a proper sealed container if I have one handy. Storing them this way keeps them at room temperature for up to three days. They stay surprisingly nice and soft!
- For Freezing Your Comfort Food Baking: These freeze beautifully, which is fantastic for saving time later. After they are fully cooled, wrap the entire batch tightly in plastic wrap first, and then slide them into a heavy-duty freezer bag. You can keep them frozen solid for up to three months.
Now, for the best part: bringing them back to life! If you’re pulling them from the fridge or freezer, they need a little heat treatment to bring back that fresh-out-of-the-oven glory. If you’re reheating just a couple, the microwave is fine—10 to 15 seconds should do it, but watch them closely so they don’t get tough!
For the whole batch, or if you’re reheating frozen ones, the oven is unbeatable. Wrap the rolls loosely in foil (this traps the steam so they don’t dry out) and pop them into a 300°F oven for about 10 minutes. They warm right up, and that buttery goodness softens again. Seriously, reheating them this way makes them taste like you just finished the second rise!
Ingredient Notes and Substitution Options
I always get questions about tweaking recipes, especially when life throws a curveball or you run short on one item. While this recipe is designed precisely for that soft, fluffy result, I’ve learned a few tricks over the years that allow for some flexibility. Remember, baking is science, but it’s also about making it work for *your* kitchen!
If you’re looking for Quick Dinner Rolls and you’re really pressed for time, you can subtly adjust the temperature of your milk when activating the yeast. Instead of aiming for a mild 110°F, you can use slightly warmer milk—maybe around 125°F. This speeds up that initial yeast activation, but you have to be careful! You need to watch that first dough rise like a hawk because it will happen faster than the 1 to 1.5 hours listed. It’s a trade-off: you save time, but you lose a little bit of that depth of flavor that develops during a longer, slower proof.
On the flip side, if you are planning ahead, this recipe is fantastic for batch baking and saving for later. If you want Make Ahead Dinner Rolls, follow the instructions right up until the buns are shaped and have completed their second rise in the pan. Instead of baking them, cover the whole pan securely (tightly wrapped foil works wonders) and pop them into the refrigerator. They can chill out in there for up to 12 hours. When you’re ready to bake, just slide them straight into the oven, but remember to add about 5 to 10 minutes to the baking time since they are starting out cold.
Also, please know that just like I mentioned with the honey earlier, these rolls freeze expertly *after* they are baked. Cool them completely, place them in a truly airtight bag, and they will stay perfect in the freezer for up to three months. Nobody is going to guess that you pulled those Old Fashioned Dinner Rolls out of the freezer last week when you reheat them!
For more details on how we handle user information related to saved recipes or preferences, you can always review our Privacy Policy.
Frequently Asked Questions About Baking Dinner Rolls
I get so many great questions every time I post this recipe online! It’s wonderful that so many of you are jumping into making your own bread from scratch. Here are some of the most common things I hear about making these Buttery Yeast Rolls perfectly. Addressing these little snags is what turns a good baker into a great one—it’s all about the little details!
Can I make these into Quick Dinner Rolls by skipping the first rise?
Oh, I know the temptation is strong when you’re short on time! I really, really advise against skipping that first rise entirely if you want the absolute best texture. That long, slow first rise develops the structure and flavor that makes these what they are—our signature Old Fashioned Dinner Rolls, really. If you absolutely must rush, use milk warmer than 110°F (but please, don’t go over 130°F or you’ll kill the yeast!). This might shave off about 20 minutes, but the resulting rolls won’t be quite as lofty or flavorful. For speed, it’s better to just make sure your kitchen is warm for the full rise time.
What makes these rolls so much softer than store-bought options?
It truly comes down to two things! First, the fat content—we use melted butter in the dough and then we generously brush *more* softened butter right on top when they are piping hot from the oven. That extra fat keeps the crumb tender and moist as it cools. Second, it’s the kneading. When you properly knead the dough until it’s elastic, you develop tons of gluten strands. These strands act like tiny, stretchy scaffolds that trap all the carbon dioxide the yeast makes, resulting in those incredible Fluffy Bakery Style Rolls that practically float!
If you have any other burning questions about yeast, kneading, or how to use up leftovers, feel free to reach out! You can find my contact details right here on the site. Happy Baking!
Nutritional Estimates for Your Homemade Bread
Now, let’s talk about the fuel factor! As someone coming from a background in nutrition, I know you want to enjoy these incredible buttery yeast rolls without feeling guilty, but you need to know what you’re working with. It’s important to remember that when you bake from scratch, these numbers are estimates based on the ingredients used in this recipe, particularly the divided yield of 12 rolls.
Baking your own bread at home always gives you an advantage because you control the salt and sugar, but please view this breakdown as a guideline rather than a strict nutritional label. Real-world variation happens depending on exactly how much butter you brush on!
Here are the estimated values per single roll, based on my calculations:
- Serving Size: 1 roll
- Calories: 220
- Sugar: 5g
- Sodium: 250mg
- Fat: 10g
- Saturated Fat: 6g
- Unsaturated Fat: 4g
- Trans Fat: 0g
- Carbohydrates: 30g
- Fiber: 1g
- Protein: 5g
- Cholesterol: 30mg
These wonderfully soft dinner rolls are definitely a treat, packed with flavor and just enough substance to feel satisfying next to your favorite weeknight dinner. If you want to review the rules about how we present information on the site, you can check out our Terms of Use for full clarity! Enjoy them warm!
PrintThe Ultimate Soft and Fluffy Homemade Dinner Rolls (Classic Buttery Recipe)

Bake incredibly soft, fluffy, and buttery yeast rolls from scratch. This recipe delivers comforting, bakery-style homemade bread that is far better than store-bought options, perfect for any family meal or holiday side dish.
- Prep Time: 20 min
- Cook Time: 18 min
- Total Time: 2 hours 18 min
- Yield: 12 rolls 1x
- Category: Side Dish
- Method: Baking
- Cuisine: American
- Diet: Vegetarian
Ingredients
- 1 cup warm milk (about 110°F)
- 2 1/4 teaspoons active dry yeast
- 1/4 cup granulated sugar
- 1 large egg, room temperature
- 1/4 cup unsalted butter, melted and slightly cooled
- 3 1/2 cups all-purpose flour, plus more for dusting
- 1 teaspoon salt
- 1/2 cup (1 stick) unsalted butter, softened, for brushing
- 1 tablespoon honey (optional, for Texas Roadhouse style finish)
- 1/2 teaspoon ground cinnamon (optional, for Texas Roadhouse style finish)
Instructions
- Combine the warm milk and yeast in a large bowl. Let it sit for 5 to 10 minutes until foamy. This shows your yeast is active.
- Whisk the sugar, egg, and melted butter into the yeast mixture until combined.
- In a separate bowl, whisk together 3 cups of the flour and the salt.
- Gradually add the flour mixture to the wet ingredients, mixing until a shaggy dough forms.
- Turn the dough out onto a lightly floured surface. Knead for 5 to 7 minutes, adding the remaining 1/2 cup of flour as needed until the dough is smooth and elastic. It should be soft but not sticky.
- Place the dough in a lightly oiled bowl, turning once to coat. Cover the bowl with plastic wrap or a clean towel and let it rise in a warm place for 1 to 1.5 hours, or until doubled in size. This is your first rise.
- Gently punch down the risen dough. Divide the dough into 12 equal pieces. Roll each piece into a smooth ball.
- Arrange the dough balls in a greased 9×13 inch baking pan, leaving about 1 inch between them for spreading.
- Cover the pan loosely and let the rolls rise again in a warm spot for 30 to 45 minutes, or until puffy. This is your second rise.
- Preheat your oven to 375°F (190°C).
- Bake the rolls for 15 to 18 minutes, or until they are golden brown on top.
- While the rolls are still hot, melt the 1/2 cup of softened butter. Brush the tops generously with the melted butter for a rich, buttery finish.
- For a Texas Roadhouse style finish, mix the melted butter with the optional honey and cinnamon. Brush this mixture over the hot rolls immediately after removing them from the oven.
- Serve your soft dinner rolls warm.
Notes
- For quick dinner rolls, you can use slightly warmer milk (around 125°F) to speed up the initial yeast activation, but watch the dough closely during the second rise.
- If you want make ahead dinner rolls, you can place the shaped rolls (after the second rise) covered in the refrigerator for up to 12 hours. Add 5-10 minutes to the baking time if baking directly from the fridge.
- These rolls freeze well after baking. Cool completely, place in an airtight bag, and freeze for up to three months. Reheat in the oven or microwave.
Nutrition
- Serving Size: 1 roll
- Calories: 220
- Sugar: 5
- Sodium: 250
- Fat: 10
- Saturated Fat: 6
- Unsaturated Fat: 4
- Trans Fat: 0
- Carbohydrates: 30
- Fiber: 1
- Protein: 5
- Cholesterol: 30